Homemade butter tart shells are one of the most rewarding bakes you can make. With a short list of pantry staples, a little chilling time, and a simple rolling and pressing method, you can produce a tender, golden, and flaky crust that works with almost any sweet filling. This guide walks through the ingredients, the dough preparation, and the baking process so your shells turn out beautifully every time.
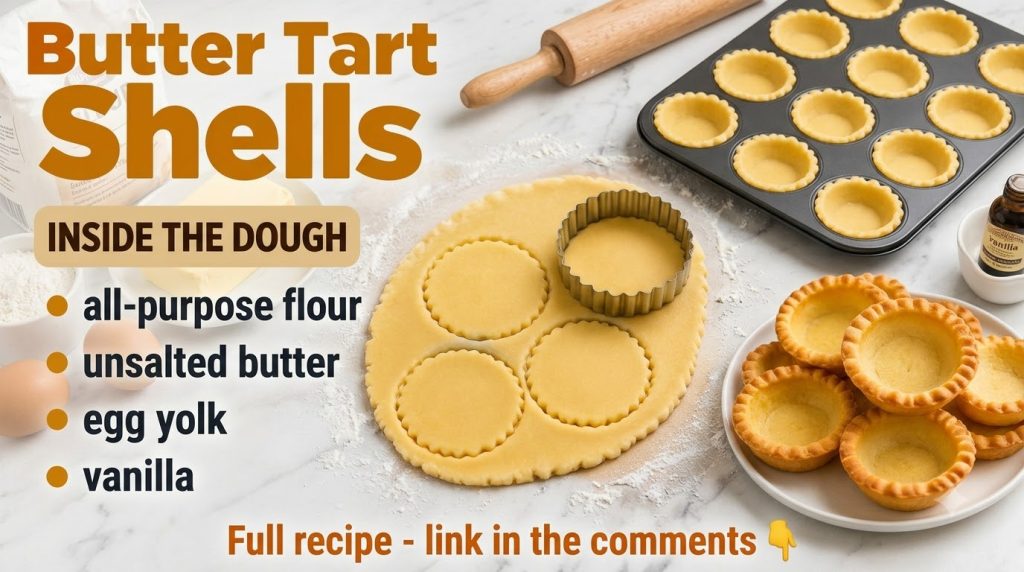
Butter Tart Shells Ingredients
This recipe makes 12 shells, enough to fill a standard 12-cup muffin tin. Measure everything before you start, and keep the butter and water very cold for the flakiest result.
- 250 g (about 2 cups) all-purpose flour
- 150 g (about 2/3 cup, or 10 1/2 tablespoons) unsalted butter, cold and cubed
- 50 g (about 1/2 cup) powdered sugar
- 1 large egg yolk
- 2 to 3 tablespoons ice-cold water
- 1/2 teaspoon vanilla extract
- 1/4 teaspoon salt
How to Make Butter Tart Shells Step by Step
Step 1: Combine the dry ingredients
In a large bowl, whisk together the flour, powdered sugar, and salt. Whisking evenly distributes the salt and sugar so every shell tastes balanced.
Step 2: Cut in the cold butter
Add the cold butter cubes to the dry mixture. Using your fingertips, a pastry cutter, or two forks, work the butter in until the mixture looks like coarse crumbs with some pea-sized pieces remaining. Those visible butter bits are what create flakiness during baking.
Step 3: Add the wet ingredients
In a small cup, stir together the egg yolk, vanilla extract, and 2 tablespoons of ice-cold water. Pour this over the crumbs and gently stir with a spatula. Add the remaining tablespoon of water only if the dough will not hold together when pressed.
Step 4: Form and chill the dough
Gather the dough into a ball, flatten it into a disc, and wrap it in plastic wrap. Refrigerate for at least 30 minutes. Chilling firms the butter again, which makes the dough easier to roll and helps the shells keep their shape.
Step 5: Roll and cut the circles
On a lightly floured surface, roll the dough to about 3 mm (1/8 inch) thickness. Use a fluted round cutter, about 8 to 9 cm (3 to 3 1/2 inches) across, to cut out circles. Re-roll the scraps once if needed, and chill the cut circles for about 10 minutes if they feel soft.
Step 6: Line the muffin tin
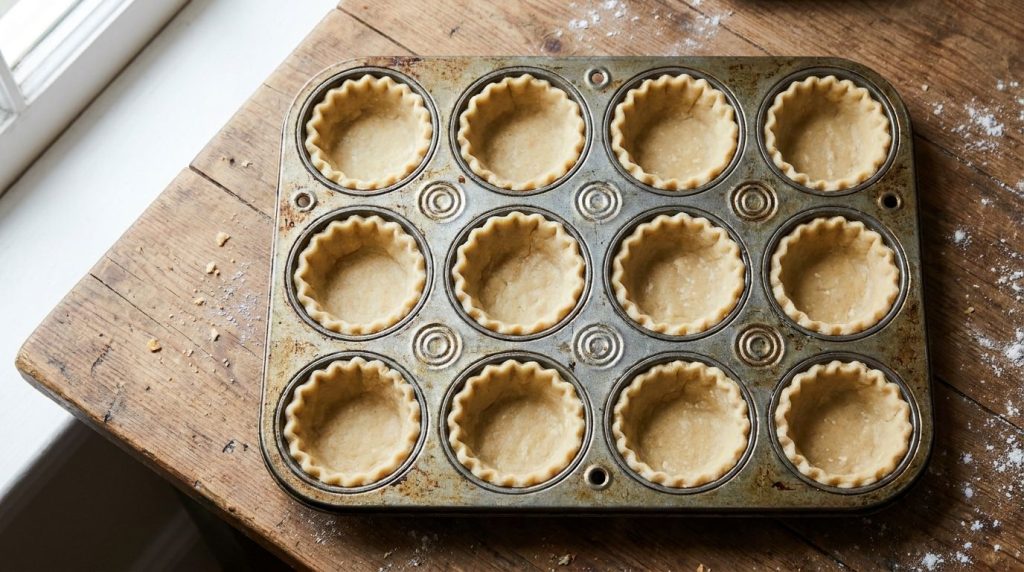
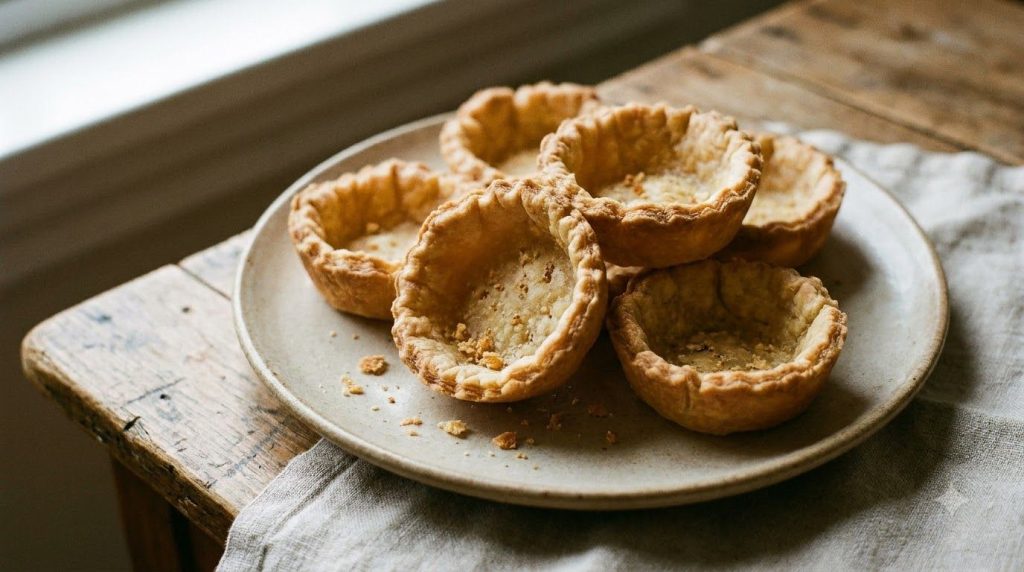
Gently press each circle into a cup of a greased 12-cup muffin tin, pressing the dough against the sides so the fluted edges sit above the rim. Prick the bottoms lightly with a fork to reduce puffing.
Step 7: Chill and bake
Refrigerate the lined tin for 15 minutes. Preheat the oven to 175 C (350 F). Bake the shells for about 12 to 15 minutes, or until they are golden brown and the edges look set. For fillings that need no further baking, bake until the base is fully golden. For fillings that will be baked again, bake only until lightly golden so the shells do not overbake.
Step 8: Cool before filling
Let the shells cool in the tin for about 5 minutes, then transfer them to a wire rack. Cooling completely before filling helps prevent soggy bottoms.
Storage Tips for Butter Tart Shells
- Unbaked dough: wrap tightly and refrigerate for up to 2 days, or freeze for up to 1 month. Thaw in the refrigerator before rolling.
- Baked shells: store completely cool shells in an airtight container at room temperature for up to 2 days.
- Freezing baked shells: freeze in a sealed container for up to 1 month, then thaw at room temperature before filling.
Tips for Flakier Homemade Shells
- Keep the butter and water very cold, and chill the dough whenever it feels soft.
- Avoid overworking the dough, since this can make the shells tough rather than tender.
- Use a light hand when pressing the dough into the tin to keep the layers intact.
- These shells work well with many sweet fillings, so you can use them for a variety of dessert creations.
Frequently Asked Questions
Can I make butter tart shells without a fluted cutter?
Yes. A plain round cutter or a sturdy drinking glass will work. The fluted edge is decorative and helps give the shells a classic look.
Why did my shells shrink in the oven?
Shrinking often happens when the dough is too warm or was stretched while pressing it into the tin. Chilling the lined tin before baking usually helps.
Enjoy experimenting with your own fillings. With a little practice, these homemade shells can become a reliable part of your baking routine.
Final Thoughts
Homemade butter tart shells are simple to prepare once you understand the key steps: keep everything cold, handle the dough gently, and bake until golden. With these shells on hand, your next dessert can start from a strong, flaky base.