If you have ever scrolled past a homemade beauty recipe promising youthful, radiant skin, you are not alone. Everyday ingredients like petroleum jelly, baby oil, and coffee have become popular in DIY skincare circles, and many people love the idea of mixing up a simple cream at home. In this guide, we will take a friendly, honest look at what this kind of homemade moisturizer can and cannot do, so you can decide if it is a good fit for your routine.
What Is Collagen, and Why Does It Matter?
Collagen is a protein that helps keep skin firm, smooth, and bouncy. As we get older, the skin naturally produces less of it, which is one reason fine lines and dryness become more noticeable over time. It is also influenced by sun exposure, sleep, stress, and overall nutrition.
Here is the honest part: a cream applied to the surface of your skin cannot rebuild collagen deep inside the dermis the way some marketing suggests. What topical products can do is help your skin look plumper, feel softer, and hold moisture better, and that alone can make a real difference in how your face looks every day.
Common Ingredients in Homemade Moisturizers
Many DIY recipes you will see online use a few familiar pantry and bathroom staples. Each one plays a different role.
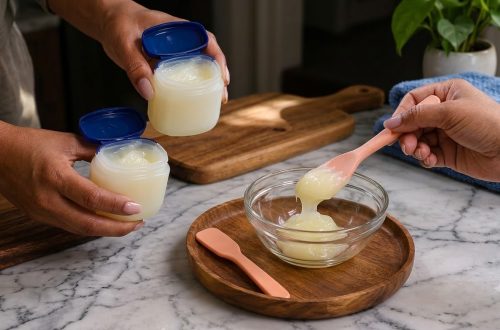
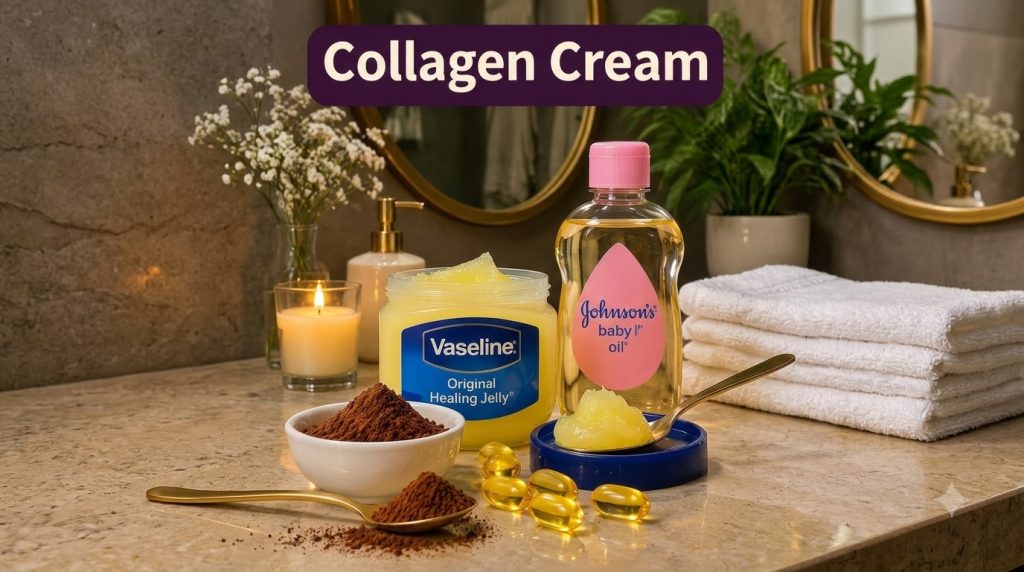
- Petroleum jelly creates a protective layer that helps lock in moisture, which is useful for very dry areas.
- Baby oil is a mineral oil that can soften the feel of dry skin and add a light sheen.
- Coffee is often added for its natural color and gentle texture, though it can irritate sensitive skin.
- Softgel capsules are sometimes mixed in by people who use vitamin E or similar oils, but the contents vary by product, so always check the label first.
Because every person’s skin is different, it is smart to read up on each ingredient before you use it on your face.
A Gentle Way to Try a Homemade Cream
If you want to experiment, keep things simple and safe. Start with a clean, dry container and clean hands. Make only a small batch so you are not stuck with a large amount that you do not like. Blend your chosen ingredients slowly until they feel smooth and even, and store the mixture in a cool, dry place with the lid closed.
Before using any new mixture on your face, do a patch test. Apply a tiny amount to the inside of your wrist or behind your ear and wait at least 24 hours. If you notice redness, itching, or swelling, wash the area with mild soap and water and skip the recipe.
Mistakes to Avoid
- Applying a heavy, greasy layer to acne-prone or oily skin, which can lead to clogged pores.
- Using scrubby coffee grounds on broken, irritated, or sunburned skin.
- Mixing in too many ingredients at once, which makes it hard to know what is causing a reaction.
- Keeping a homemade product for weeks without checking for changes in smell, color, or texture.
- Skipping sunscreen during the day, since sun damage is one of the biggest drivers of visible aging.
Realistic Expectations for Youthful Skin
A homemade moisturizer can be a comforting part of a self-care routine, especially on dry winter days or during a relaxing evening spa moment. Pair it with a gentle cleanser, daily sunscreen, good sleep, and plenty of water for the best results. Give your skin several weeks to respond, and remember that glowing skin comes from consistent habits rather than one magic ingredient.
If you have persistent dryness, irritation, or concerns about aging, a dermatologist can recommend treatments that are backed by clinical research. Your skin deserves care that is both gentle and well informed.
Final Thoughts
DIY beauty can be fun, affordable, and relaxing when you approach it with curiosity and caution. Enjoy the process of creating something with your own hands, keep your expectations grounded, and focus on the everyday habits that keep your skin healthy. Have you tried a homemade moisturizer before? Share your experience in the comments and let us know what worked for you!