Looking for a guilt-free treat that comes together quickly? These homemade sugar-free chocolates are rich, smooth, and surprisingly simple to make at home. With just a handful of pantry staples and no added sugar, you can satisfy a sweet craving without any fuss.
This recipe is a great fit for beginners, busy families, and anyone who wants more control over what goes into their desserts. Because you choose the ingredients yourself, you can adjust the sweetness to your taste and keep the recipe simple. You will learn how to melt, mix, mold, and set your chocolates so they come out smooth and glossy every time.
Please note that the original video shares its full recipe in the first comment. The method below is a practical home-kitchen version built around the same idea of simple, sugar-free chocolate, so you can make it with ingredients you likely already have.
Recipe Summary
- Prep Time: 10 minutes
- Cook Time: 5 minutes (melting only)
- Chill Time: 30 minutes
- Total Time: About 45 minutes
- Servings: About 12 small chocolates
- Difficulty Level: Easy
- Course: Dessert, Snack
- Cuisine: Home-style
- Diet Type: Sugar-free, gluten-free, vegetarian
Why You’ll Love This Recipe
- Ready in under an hour, including chilling time
- Beginner-friendly with no special skills needed
- Contains no added sugar
- Uses simple, easy-to-find ingredients
- Perfect for portion control, since each chocolate is already sized for you
- Easy to customize with your favorite flavors
- Makes a thoughtful homemade gift
Ingredients
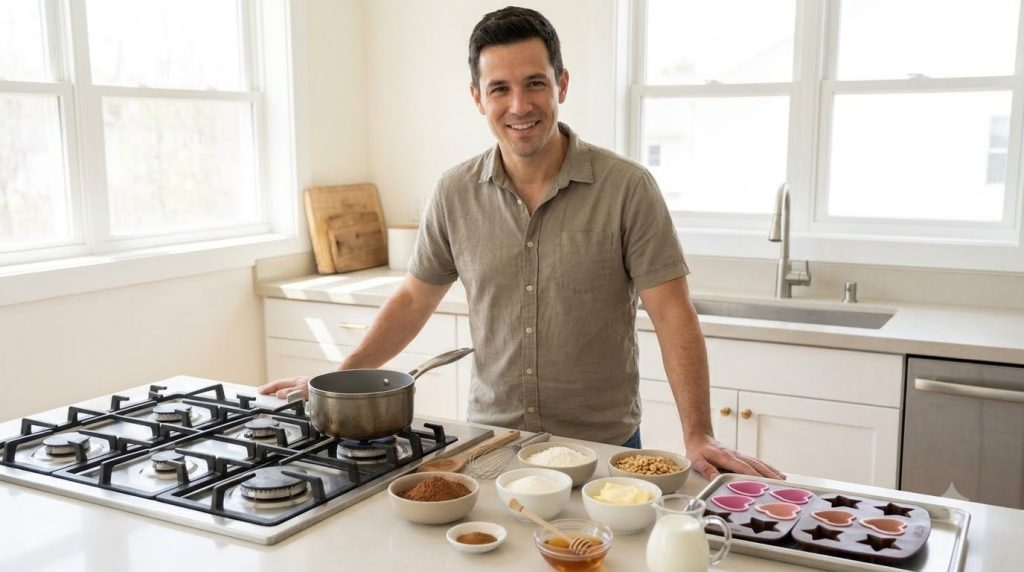
- 1/2 cup (about 100 g) cocoa butter or refined coconut oil, melted
- 1/2 cup (about 50 g) unsweetened cocoa powder
- 3 tablespoons powdered erythritol or allulose (adjust to taste)
- 1/2 teaspoon pure vanilla extract
- 1 pinch fine sea salt
- Optional: 1 tablespoon chopped nuts or unsweetened shredded coconut
Substitutions: Use coconut oil instead of cocoa butter for a softer chocolate that melts more easily. Use a few drops of liquid stevia in place of powdered sweetener if you prefer. Replace vanilla with almond extract or a pinch of cinnamon for a different flavor.
Equipment Needed
- Small heatproof bowl
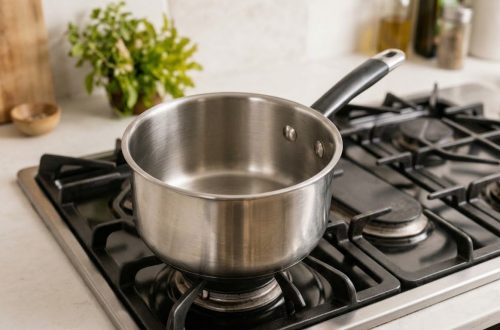
- Saucepan (for a double boiler) or microwave-safe bowl
- Whisk or small spoon
- Measuring cups and spoons
- Silicone candy or ice cube mold
- Small spatula or spoon for pouring
Step-by-Step Instructions
- Melt the fat. Place the cocoa butter or coconut oil in a heatproof bowl set over a saucepan of barely simmering water. Stir gently until fully melted, about 3 to 5 minutes. If you prefer the microwave, heat in 15-second bursts, stirring between each one, so it does not overheat. The mixture should look clear and smooth.
- Add the cocoa powder. Remove the bowl from the heat. Sift or whisk in the unsweetened cocoa powder a little at a time. Keep stirring until there are no dry lumps. The texture should look like thick, glossy chocolate sauce.
- Sweeten and flavor. Stir in the powdered erythritol or allulose, vanilla extract, and salt. Taste a small drop on a spoon once it has cooled slightly, and add more sweetener if you like it sweeter. The mixture should be smooth and pourable, not grainy.
- Add any extras. If using nuts or shredded coconut, stir them in now so they are evenly spread throughout the chocolate.
- Fill the mold. Carefully pour the mixture into a silicone mold, filling each cavity about three-quarters full. Gently tap the mold on the counter to release any air bubbles. Work quickly, since the chocolate begins to thicken as it cools.
- Chill until set. Place the mold on a flat plate or tray and refrigerate for about 30 minutes, or until the chocolates are firm to the touch. For the best shape, avoid moving the tray until they are fully set.
- Unmold and serve. Gently push each chocolate out of the mold. If they stick, let the mold sit at room temperature for 2 to 3 minutes and try again. Serve right away or store as described below.
Nutrition Highlights
This recipe contains no added sugar and uses sugar-free sweeteners in place of table sugar. Cocoa powder adds a rich, deep chocolate flavor, and cocoa butter or coconut oil gives the chocolate a smooth texture. Because the exact nutrition content depends on the brands and amounts you use, check the labels of your specific ingredients if you are tracking nutrients.
Ingredient Benefits
- Unsweetened cocoa powder: Provides a deep chocolate flavor and a rich color without added sugar.
- Cocoa butter or coconut oil: Creates a smooth, firm texture that sets well in the refrigerator.
- Erythritol or allulose: Adds sweetness without table sugar, and these sweeteners are commonly used in sugar-free baking.
- Vanilla extract: Rounds out the flavor and makes the chocolate taste more balanced.
- Sea salt: Brings out the natural flavor of the cocoa.
Expert Tips
- Melt the fat slowly so it does not scorch, since burnt cocoa butter can taste bitter.
- Sift the cocoa powder to avoid lumps and create a silky final texture.
- Taste the mixture before pouring, because sweetness levels vary between brands of sweetener.
- Keep the mixture warm but not hot while pouring to prevent it from setting in the bowl.
- Tap the mold on the counter to remove air bubbles and get smoother tops.
- Keep coconut oil chocolates in a cool place, since they soften above about 75 degrees Fahrenheit.
- For a richer chocolate, use a little less cocoa and more cocoa butter.
- For a milk-chocolate style flavor, add a tablespoon of unsweetened coconut milk powder, if you have it on hand.
Recipe Variations
- Mint version: Add 1/4 teaspoon peppermint extract in place of the vanilla.
- Orange version: Stir in 1/2 teaspoon finely grated orange zest.
- Nutty version: Mix in finely chopped almonds or pecans.
- Coconut version: Use coconut oil and add 2 tablespoons of unsweetened shredded coconut.
- Spiced version: Add a pinch of cinnamon or a tiny pinch of ground chili for a warm kick.
Storage Instructions
- Refrigerator: Store the chocolates in an airtight container in the refrigerator for up to 2 weeks.
- Freezer: Freeze them in a sealed container for up to 3 months. Thaw in the refrigerator for about 20 minutes before eating.
- Shelf life at room temperature: Keep them in a cool place for no more than a few hours, especially if you used coconut oil.
- Best containers: Use a glass or BPA-free plastic container with a tight lid, and place parchment paper between layers.
Frequently Asked Questions
Can I make these chocolates ahead of time?
Yes. You can make them a day or two before you plan to serve them. Keep them chilled until ready to eat.
Can I freeze them?
Yes. Freeze them in a sealed container, separated by parchment paper, for up to three months.
Can I use a different sweetener?
Yes. Choose a sugar-free sweetener that measures like sugar, or use liquid stevia. Start with less and taste as you go, because sweetness varies by product.
Why did my chocolate turn grainy?
Graininess often happens when the mixture overheats or when powdered sweetener does not fully dissolve. Melt gently and whisk until smooth, and consider using a finer powdered sweetener.
Why are my chocolates soft at room temperature?
Coconut oil melts at a relatively low temperature. Store the chocolates in the refrigerator, or use cocoa butter for a firmer result.
Can children eat these chocolates?
These chocolates are generally suitable for children who can safely eat small treats. Because they contain cocoa, keep portions modest and check with a healthcare professional if you have specific dietary concerns.
Can I use fresh flavorings?
Yes. Finely grated citrus zest works well, but make sure it is completely dry before stirring it in, since moisture can affect the texture.
Conclusion
These homemade sugar-free chocolates prove that a simple dessert can be both satisfying and easy to make. With just a few pantry ingredients, a little melting, and some patience while they set, you can create a treat that feels special without any added sugar. Try the basic recipe first, then experiment with your favorite flavors. We hope you enjoy every bite, and we would love to hear how your batch turns out!