Craving something chocolatey but don’t want to turn on the oven? This easy microwave chocolate mug cake comes together in a single mug in about two minutes, using pantry staples you probably already have. It’s the perfect answer when a sweet craving hits late in the evening or when you want a warm, cozy treat without the fuss.
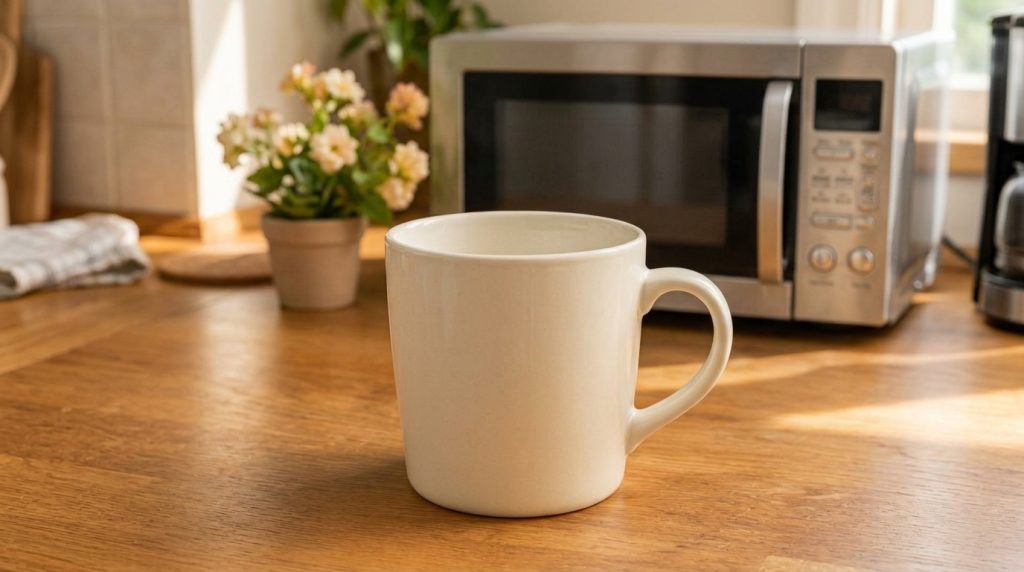
Because it’s made in the microwave, there’s no preheating, no cake pan to wash, and very little cleanup. The result is a soft, moist, fudgy cake with a rich cocoa flavor. It’s a fun recipe for beginners, busy students, or anyone who wants a quick dessert for one.
Recipe Summary
- Prep Time: 5 minutes
- Cook Time: 1 to 2 minutes in the microwave
- Total Time: About 7 minutes
- Servings: 1 mug cake
- Difficulty Level: Easy
- Course: Dessert
- Cuisine: American
- Diet Type: Vegetarian
Why You’ll Love This Recipe
- Ready in about two minutes
- No oven required
- Beginner-friendly with simple steps
- Uses ingredients most kitchens already have
- Only one mug to wash
- Easy to adjust sweetness and add-ins
- A satisfying single-serving treat
Ingredients
- 4 tablespoons all-purpose flour (about 30 grams). Substitute: gluten-free all-purpose flour blend.
- 2 tablespoons unsweetened cocoa powder. Substitute: Dutch-process cocoa powder for a darker, smoother flavor.
- 3 tablespoons granulated sugar. Substitute: brown sugar or a sugar-free baking sweetener measured for equal sweetness.
- 1/4 teaspoon baking powder
- 1 pinch of salt
- 3 tablespoons milk. Substitute: any milk of choice, such as oat, almond, or soy milk.
- 2 tablespoons neutral vegetable oil. Substitute: melted butter or coconut oil.
- 1/4 teaspoon vanilla extract (optional but recommended)
- 1 tablespoon semisweet chocolate chips (optional). Substitute: chopped dark chocolate.
Equipment Needed
- A microwave-safe mug at least 12 ounces (about 350 milliliters)
- Measuring spoons
- A small fork or spoon for mixing
- A microwave
- A heat-resistant oven mitt or towel for removing the mug
Step-by-Step Instructions
- Choose the right mug. Pick a microwave-safe mug that holds at least 12 ounces. A wider mug is better because the cake rises as it cooks, and a small mug can overflow.
- Mix the dry ingredients. Add the flour, cocoa powder, sugar, baking powder, and salt to the mug. Stir with a fork for about 20 seconds until no streaks of cocoa or clumps of baking powder remain. This takes about 1 minute.
- Add the wet ingredients. Pour in the milk, vegetable oil, and vanilla extract. Stir well, scraping the sides and bottom of the mug, until the batter is smooth and has no dry pockets of flour. The batter should be thick and glossy, similar to brownie batter. This takes about 1 minute.
- Add the chocolate chips. If you’re using them, fold in the chocolate chips so they are spread evenly through the batter. Save a few to sprinkle on top if you like.
- Microwave in short bursts. Cook on high for 60 seconds. Check the top. It should look set and spring back lightly when touched. If it still looks wet and shiny, microwave for 15 more seconds at a time. Most microwaves need 70 to 90 seconds in total. Stop as soon as the top is set, because overcooking can make the cake dry and rubbery.
- Rest briefly. Let the mug cake sit for about 1 minute. The cake will continue to firm up slightly as it cools, and the mug will be very hot.
- Serve carefully. Use an oven mitt or towel to handle the mug. Eat the cake warm, straight from the mug, or top it with a small spoonful of yogurt or a few berries if you like.
Nutrition Highlights
- Provides a quick, portion-controlled dessert for one
- Made with cocoa powder, which adds rich chocolate flavor with relatively little sugar
- Contains a small amount of protein from the flour and milk
- Easy to adjust sweetness, fat, and ingredients to fit your preferences
Because ingredient brands vary, exact nutrition values depend on the products you use. Check the labels on your own ingredients if you need specific numbers.
Ingredient Benefits
- All-purpose flour: Gives the cake its structure and soft, tender crumb.
- Cocoa powder: Provides deep chocolate flavor and color without much added fat.
- Sugar: Sweetens the cake and helps create a moist texture.
- Baking powder: Helps the cake rise so it isn’t dense.
- Milk: Adds moisture and richness, and helps the batter blend smoothly.
- Vegetable oil: Keeps the cake soft and tender after cooking.
- Vanilla extract: Rounds out the chocolate flavor with a warm, sweet note.
- Chocolate chips: Add pockets of melted chocolate and extra texture.
Expert Tips
- Avoid overcooking. Microwaving too long is the most common mistake and makes the cake tough. Add time in short 15-second bursts.
- Use a large enough mug. A cup smaller than 12 ounces can overflow as the batter rises.
- Mix thoroughly. Scrape the bottom and sides of the mug so no dry flour is left behind.
- Don’t skip the baking powder. It helps the cake rise and keeps the texture light.
- Let it cool slightly. The cake firms up as it rests, so it will taste better and be easier to eat.
- Adjust for your microwave. Wattage varies, so the first time you make this, check the cake at 60 seconds and add time as needed.
Recipe Variations
- Dairy-free version: Use oat or almond milk and coconut oil.
- Vegan version: Use plant-based milk, a neutral oil, and dairy-free chocolate chips. This recipe does not contain eggs, so it is naturally egg-free.
- Lower-sugar version: Reduce the sugar to 2 tablespoons, or use a sugar substitute measured for similar sweetness.
- Peanut butter chocolate version: Stir in 1 teaspoon of peanut butter before microwaving.
- Mint chocolate version: Add a few drops of peppermint extract instead of vanilla.
- Cinnamon version: Add a pinch of ground cinnamon to the dry ingredients.
Storage Instructions
Refrigerator storage: Mug cakes are best eaten right away. If you have leftovers, cover the mug with plastic wrap and refrigerate for up to 1 day. The texture will be firmer when chilled.
Freezer storage: This recipe is not recommended for freezing, because the texture becomes dense after thawing.
Shelf life: Best eaten the same day it’s made.
Best containers: Use a microwave-safe mug or a small airtight container. Reheat for 10 to 15 seconds in short bursts before eating.
Frequently Asked Questions
Can I make this ahead of time?
This mug cake is best made fresh because it cooks in just a couple of minutes and is at its softest when warm.
Can I freeze it?
Freezing isn’t recommended. The texture becomes dense and dry once thawed.
What milk works best?
Whole milk gives the richest result, but oat, almond, and soy milk all work well.
Can I use a different type of flour?
Yes. A gluten-free all-purpose flour blend works well as a direct replacement.
Why is my mug cake rubbery?
It was most likely overcooked. Next time, check it at 60 seconds and add time only in short bursts.
Can children eat this?
Yes, as an occasional treat. Make sure it has cooled enough to eat safely, since the mug and cake can be very hot.
Can I skip the egg?
This recipe is already egg-free, so there’s nothing to skip.
Can I make it without cocoa powder?
Cocoa is what gives this cake its chocolate flavor, so it’s best to keep it in the recipe.
Conclusion
This easy microwave chocolate mug cake proves that a satisfying dessert doesn’t need an oven or a long list of ingredients. With a few pantry staples and about two minutes in the microwave, you’ll have a soft, fudgy chocolate treat ready whenever the craving strikes. Try it once, adjust the sweetness and add-ins to suit your taste, and enjoy it warm. Happy baking, and enjoy every spoonful!