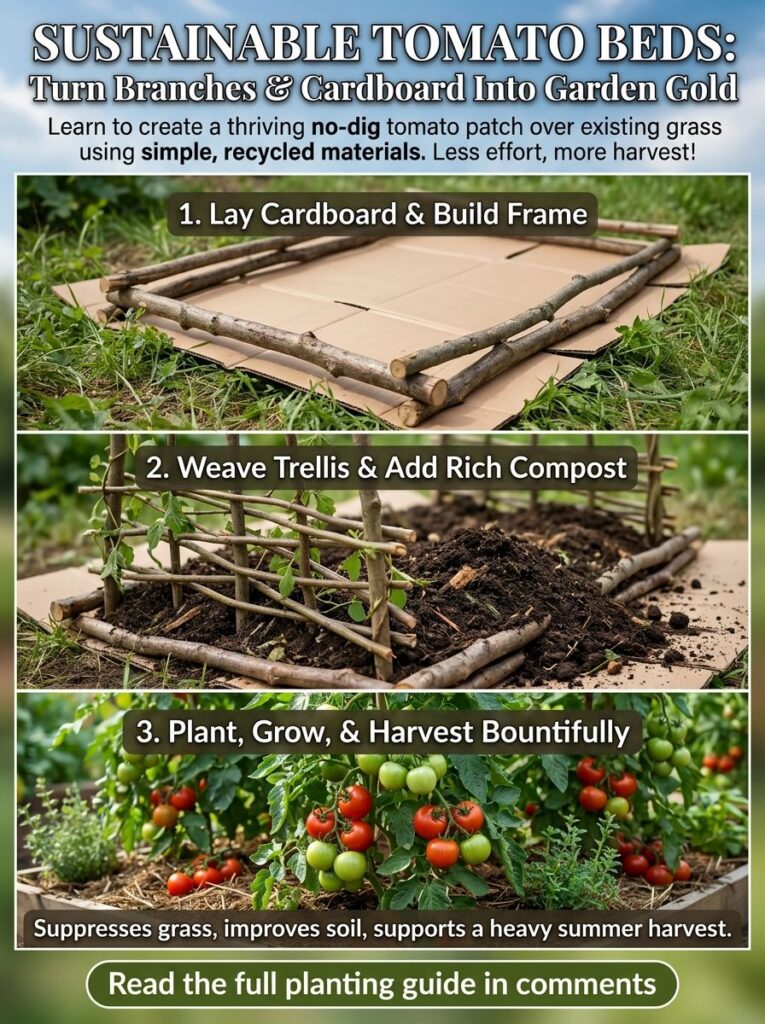
Are you dreaming of luscious, home-grown tomatoes but intimidated by digging up your yard or starting complex raised beds? What if I told you that you could create a thriving tomato patch right over existing grass using simple materials you might even find in your backyard? It’s not magic, but it feels pretty close when you see your garden transform!
Today, we’re diving into a clever, no-dig method that builds healthy soil and a sturdy trellis, ensuring a bountiful harvest with less effort. This approach is not only incredibly effective for growing plump, juicy tomatoes but also wonderfully sustainable, transforming ‘waste’ materials into ‘garden gold.’ Let’s get our hands dirty (figuratively, of course, thanks to the no-dig method!) and build a tomato bed that will make your neighbors green with envy!
Why Choose a Sustainable, No-Dig Tomato Bed?
This method isn’t just a clever trick; it’s a foundation for a healthier, more productive garden. Here’s why you’ll love it:
- Builds Incredible Soil: By layering organic materials like cardboard and compost, you create a rich, living soil ecosystem from the ground up, full of beneficial microorganisms.
- Suppresses Weeds: The cardboard layer acts as a fantastic weed barrier, smothering existing grass and preventing new weeds from sprouting through. Less weeding for you!
- Conserves Water: Organic matter acts like a sponge, retaining moisture and reducing the need for frequent watering.
- Utilizes Resources: Instead of buying expensive lumber for raised beds, you’re repurposing fallen branches and cardboard that might otherwise go to waste.
- Supports Strong Growth: The built-in trellis provides excellent support for your tomato plants, keeping fruit off the ground and improving air circulation, which can reduce disease.
- Less Back-Breaking Work: No heavy digging, tilling, or turning of soil is required!
Gathering Your “Garden Gold” Materials
Before we start, let’s collect our simple, sustainable ingredients. You might already have many of these:
- Cardboard: Flattened cardboard boxes (remove all tape and labels, especially plastic ones).
- Fallen Branches: Various sizes, from sturdy limbs for the frame to more flexible ones for weaving a trellis. Look for branches that are relatively straight and long enough for your desired bed size.
- Rich Compost: High-quality, finished compost is key. If you make your own, even better! You’ll need a good amount to fill your bed.
- Soil Amendments (Optional): A bag of organic potting mix, worm castings, or a balanced organic fertilizer can give your young plants an extra boost.
- Tomato Seedlings: Choose varieties suited for your USDA hardiness zone. Determinate (bush) varieties are great for smaller trellises, while indeterminate (vining) varieties will thrive with taller support.
- Basic Garden Tools: Shovel or pitchfork (for moving compost), a strong pair of pruners or loppers, and a watering can or hose.
Step-by-Step Guide: Building Your Sustainable Tomato Haven
Step 1: Laying the Foundation – Cardboard and Base Frame
First things first, pick the perfect spot! Tomatoes love sunshine, so choose an area that gets at least 6-8 hours of direct sunlight each day.
-
Prepare Your Area: Lightly moisten the grass where you plan to build your bed. This helps the cardboard break down and encourages microbial activity.
-
Lay Down Cardboard: Start laying flattened cardboard directly over the grass. Overlap the edges by several inches to ensure no grass or weeds can poke through. Think of it like laying shingles on a roof. Make sure to remove any plastic tape or labels from the cardboard.
-
Form the Base Frame: Use your sturdiest fallen branches to create a rectangular (or square) border directly on top of the cardboard. These branches will define the shape of your bed and hold everything in place. You can interlock them or simply lay them end-to-end to form the perimeter. If you have some thicker, shorter pieces, you can use them as ‘stakes’ at the corners to further secure your frame by pushing them into the ground.
Laying down the cardboard and forming your initial bed frame.
Step 2: Building Your Sturdy Trellis and Adding Richness
Now for the exciting part – giving your tomatoes the support they need and the nourishment they crave!
-
Weave Your Trellis: Take more flexible branches and begin weaving them vertically into your base frame. You can push them into the ground a few inches deep around the perimeter and then weave horizontal branches through them, creating a lattice or basket-like structure. Aim for a trellis that’s at least 4-6 feet tall, as indeterminate tomatoes can grow quite large. The tighter the weave, the sturdier your trellis will be.
-
Fill with Compost: Once your frame and trellis are established, it’s time to add the ‘gold.’ Fill the entire bed with a thick layer of rich compost, at least 8-12 inches deep. This is where your plants will draw most of their nutrients. You can mix in some organic potting mix or worm castings if you wish. Gently moisten the compost as you fill it.
The woven trellis takes shape, ready to be filled with nutrient-rich compost.
Step 3: Planting for Abundance
With your bed prepared, it’s planting time!
-
Choose the Right Plants: Select healthy tomato seedlings. If you’re in a cooler climate, consider determinate varieties that produce fruit all at once. For longer seasons, indeterminate varieties offer a continuous harvest.
-
Planting Technique: Plant your tomato seedlings directly into the compost. If your seedlings are leggy (tall and thin), you can plant them deeper, burying part of the stem, as tomatoes can root along the buried stem. Space your plants according to their mature size, usually 18-24 inches apart.
-
Initial Watering: Give your newly planted tomatoes a good, deep watering to help them settle in and establish root contact with the compost.
Step 4: Care and Harvest for a Continuous Bounty
Your work isn’t over, but the ongoing care is simple and rewarding.
-
Water Consistently: Keep the compost consistently moist, especially as fruits begin to form. Avoid overhead watering to prevent fungal diseases; water at the base of the plant.
-
Mulch (Optional but Recommended): Once your plants are established, you can add a layer of straw or wood chips on top of the compost. This helps retain moisture, regulate soil temperature, and further suppress weeds.
-
Train Your Plants: As your tomatoes grow, gently weave them through the branches of your trellis. This support is crucial for heavy fruit production. You can use soft ties if needed, but the woven branches should provide ample support.
-
Monitor for Pests and Diseases: Regularly inspect your plants for any signs of trouble. Early detection is key for organic pest and disease management.
-
Enjoy Your Harvest: Pick tomatoes when they are fully colored and firm. Regular harvesting encourages the plant to produce more fruit!
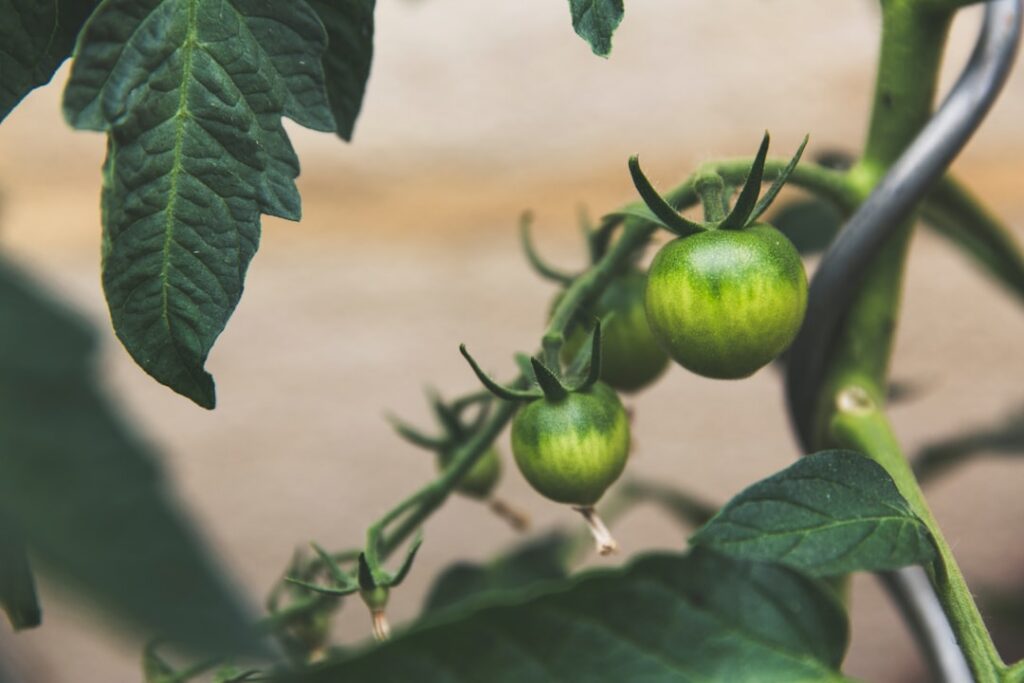
A testament to your efforts: abundant, healthy tomatoes!
Beyond Tomatoes: Adapting This Method
This sustainable, no-dig technique isn’t just for tomatoes! You can adapt it for many other plants. Think climbing beans, cucumbers, peas, or even vining squash that benefit from vertical support. For plants that don’t need a trellis, simply skip the vertical weaving step and create a sturdy raised bed with compost.
A Thriving, Sustainable Practice Awaits!
Creating a sustainable tomato bed from branches and cardboard is more than just a gardening technique; it’s a way to deepen your connection with nature, reduce waste, and enjoy the freshest produce right from your yard. It transforms daily routines into a thriving, sustainable practice, making you feel inspired and confident in your gardening skills.
So, why not give it a try? Gather those fallen branches, grab some cardboard, and start building your own garden gold today. You’ll be amazed at the results!
What’s your favorite no-dig trick or sustainable gardening tip? Share your wisdom with our community in the comments below! We’d love to learn from your experiences.