Longing for that coveted natural glow and a healthy, rosy complexion? The secret might be closer and simpler than you think. Harnessing the ancient beauty powers of roses, you can create your own luxurious, nourishing cream right in your kitchen. This DIY rose cream recipe is designed to bring out your skin’s inherent radiance, leaving it soft, supple, and beautifully luminous. Dive into the world of natural skincare and discover how to achieve that ‘pink glowing skin’ look with ingredients you can trust.
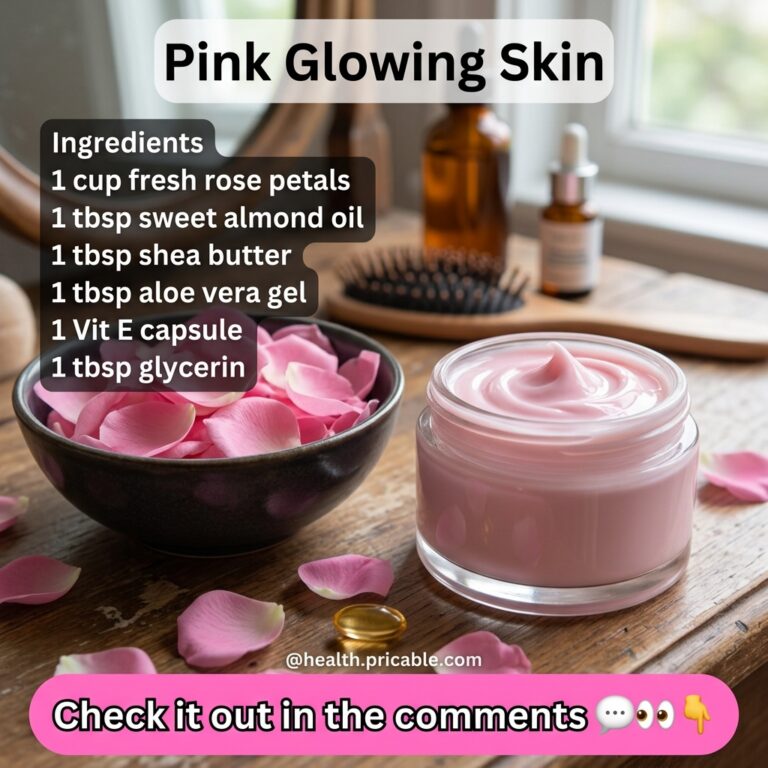 Craft your own beauty with the essence of fresh roses.
Why Rose is Your Skin’s Best Friend
Roses are not just beautiful; they are packed with therapeutic properties that make them exceptional for skincare. For centuries, various cultures have used roses for their medicinal and cosmetic benefits. Here’s why rose-infused skincare is a game-changer for achieving radiant skin:
- Anti-inflammatory: Rose helps to soothe irritated skin, reducing redness and calming conditions like rosacea or eczema.
- Antioxidant Powerhouse: Rich in Vitamin C and other antioxidants, roses fight against free radical damage, which contributes to premature aging and dullness.
- Hydrating and Toning: Rose water and rose oil are excellent humectants, drawing moisture into the skin. They also act as natural astringents, helping to tighten pores and improve skin tone.
- Antiseptic and Antibacterial: These properties make rose beneficial for acne-prone skin, helping to cleanse and prevent breakouts.
- Aromatherapy Benefits: The delicate scent of rose is known to reduce stress and promote relaxation, enhancing your overall well-being.
The Magic Ingredients You’ll Need
Creating your own rose cream involves a few key ingredients, each playing a vital role in the final product’s texture and efficacy. Quality ingredients are paramount for the best results.
- Fresh or Dried Rose Petals: Preferably organic, as they will be infused into your cream. For convenience, you can also use pure rose water.
- Carrier Oils: Opt for nourishing oils like sweet almond oil, jojoba oil, or grapeseed oil. These are rich in vitamins and fatty acids that moisturize and protect the skin.
- Beeswax or Emulsifying Wax: Essential for giving your cream its texture and stability, ensuring the oil and water phases blend seamlessly. Beeswax is a natural thickener, while emulsifying wax provides a more traditional cream consistency.
- Distilled Water or Rose Hydrosol: Used as the water phase. Rose hydrosol (rose water) will amplify the rose benefits.
- Vegetable Glycerin (Optional): A humectant that helps to draw moisture into the skin.
- Vitamin E Oil: A powerful antioxidant and a natural preservative that extends the shelf life of your cream.
- Essential Oils (Optional): Rose absolute or geranium essential oil can enhance the fragrance and therapeutic benefits, but use sparingly.
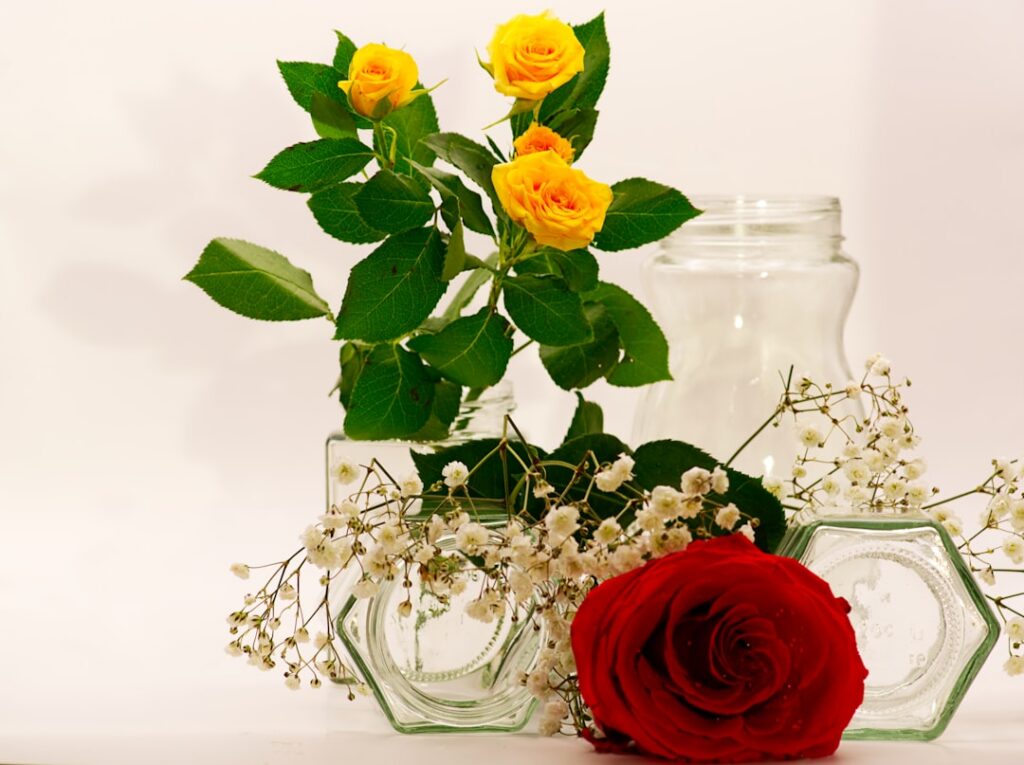 Gather your natural treasures to create your perfect rose cream.
Step-by-Step Guide to Your DIY Rose Cream
Making your own rose cream is a rewarding process. Follow these instructions carefully for a beautiful, effective product.
Phase 1: Preparing Your Rose Infusion (if using fresh/dried petals)
- Gentle Infusion: If using fresh petals, gently rinse them. Place 1 cup of fresh rose petals (or 1/2 cup dried) into a heat-proof jar.
- Cover with Oil: Pour 1/2 cup of your chosen carrier oil (e.g., sweet almond oil) over the petals, ensuring they are fully submerged.
- Heat Gently: Place the jar in a saucepan filled with about 2-3 inches of water, creating a double boiler. Heat on low for 1-2 hours, allowing the oil to infuse with the rose properties without overheating. Alternatively, you can let it infuse in a sunny spot for 1-2 weeks.
- Strain: Once infused, strain the oil through a fine-mesh sieve or cheesecloth, pressing out all the oil from the petals. Discard the petals. This is your rose-infused oil.
Phase 2: Crafting the Cream
- Melt Waxes & Oils: In a clean, heat-proof glass jar, combine 1/4 cup of your rose-infused oil (or plain carrier oil if not doing an infusion) with 1 tablespoon of beeswax pellets (or emulsifying wax).
- Double Boiler Method: Place this jar in a saucepan with a few inches of water, creating a double boiler. Heat on medium-low until the beeswax/emulsifying wax has fully melted and integrated with the oil.
- Heat Water Phase: In a separate heat-proof container, gently warm 1/4 cup of distilled water or rose hydrosol. It should be warm, but not boiling, roughly the same temperature as your oil mixture.
- Emulsify: Slowly pour the warm water/hydrosol into the melted oil and wax mixture while continuously stirring with a small whisk or a hand frother. Continue stirring until the mixture starts to thicken and turn into a creamy emulsion. This can take several minutes.
- Add Final Touches: Once the cream has cooled down slightly but is still warm, stir in 1/2 teaspoon of Vitamin E oil and 1/4 teaspoon of vegetable glycerin (if using). If adding essential oils, add 5-10 drops of rose absolute or geranium essential oil now.
- Transfer & Cool: Pour your freshly made rose cream into a clean, sterilized airtight jar. Allow it to cool completely at room temperature before sealing.
How to Incorporate Your Rose Cream into Your Routine
This DIY rose cream can be used as part of your daily skincare regimen:
- Morning & Night: Apply a small amount to your cleansed face and neck, gently massaging it in circular motions until absorbed.
- Targeted Treatment: Use it on dry patches, rough elbows, or as a hand cream for an extra boost of hydration.
- Makeup Base: Its moisturizing properties make it an excellent primer for a smooth makeup application.
 Experience the gentle touch of nature with every application.
Tips for Best Results
- Patch Test: Always perform a patch test on a small area of your skin 24 hours before full application to check for any sensitivities.
- Sterilize Everything: Ensure all your tools and containers are thoroughly sterilized to prevent bacterial contamination and prolong the shelf life of your cream.
- Storage: Store your rose cream in a cool, dark place. Due to its natural composition, it’s best to use it within 1-2 months. If you notice any change in scent, color, or texture, discard it. For longer storage, you can keep it in the refrigerator.
- Quality Ingredients: Source high-quality, organic ingredients whenever possible to maximize benefits and minimize exposure to pesticides.
Embrace the beauty of nature and the satisfaction of creating your own skincare. This DIY rose cream is more than just a moisturizer; it’s a ritual that connects you to the earth’s bounty, promising natural ‘pink glowing skin’ and a moment of serene self-care.