Are you searching for a straightforward, budget-friendly way to give your skin a little extra love? In a world filled with complex skincare routines and expensive products, sometimes the best solutions are the simplest ones, right in your kitchen or bathroom cabinet. Here at Healthy Roots, we believe in practical, accessible wellness, and that includes nurturing your skin naturally.
Today, we’re diving into the wonderful world of DIY facial oils with a simple yet effective blend: a homemade moisturizing oil featuring baby oil, vitamin E, and the gentle touch of rice-infused oil. This isn’t about chasing fleeting beauty trends or making grand anti-aging claims. Instead, it’s about embracing ingredients known for their hydrating and protective properties, helping you achieve softer, more supple, and healthier-looking skin. Get ready to unlock the secret to a naturally dewy complexion with ingredients you can trust.
What Is Baby Oil?
Often associated with delicate baby skin, baby oil is a popular, readily available product that’s surprisingly versatile in adult skincare. At its core, baby oil is typically made from mineral oil, sometimes with added fragrance.
The Science Behind Baby Oil’s Skincare Benefits
Mineral oil, the primary component of most baby oils, is an occlusive agent. This means it forms a protective barrier on the skin’s surface, acting like a seal. This barrier significantly helps to reduce transepidermal water loss (TEWL), which is the natural process where water evaporates from your skin. By preventing this moisture loss, baby oil effectively locks in hydration, keeping your skin soft and supple.
- Moisture Retention: Its occlusive properties are excellent for keeping moisture trapped within the skin, making it an ideal choice for dry or dehydrated skin.
- Softening Effect: Regular use can lead to noticeably softer and smoother skin due due to enhanced hydration.
- Non-Comedogenic (for most): Despite common misconceptions, mineral oil is considered non-comedogenic, meaning it’s unlikely to clog pores for most people. Its molecular structure prevents it from penetrating pores, so it sits on the surface, creating that protective layer.
It’s important to choose unscented or lightly fragranced baby oil if you have sensitive skin, as fragrances can sometimes cause irritation. When used as part of a facial oil blend, it provides a lightweight, non-greasy base that helps deliver other beneficial ingredients to your skin’s surface.
Benefits of Vitamin E for Skin
Vitamin E is a powerhouse ingredient widely celebrated in the skincare world, and for good reason. Often found in various creams, serums, and oils, this fat-soluble vitamin brings several key advantages to your skin.
A Powerful Antioxidant
One of Vitamin E’s most significant roles is its antioxidant capability. In our daily lives, our skin is constantly exposed to environmental stressors like pollution and UV radiation. These stressors can generate free radicals, which are unstable molecules that can damage skin cells, leading to dullness and contributing to the appearance of skin aging over time.
- Protection from Environmental Stressors: As an antioxidant, Vitamin E helps to neutralize these free radicals, offering a layer of protection against environmental damage. It works by scavenging free radicals, helping to keep your skin looking healthy and vibrant.
- Supporting Skin Barrier Function: Beyond its antioxidant role, Vitamin E is known to support the skin’s natural barrier function. A strong skin barrier is crucial for retaining moisture and protecting against irritants. By supporting this barrier, Vitamin E can contribute to more resilient and hydrated skin.
- Soothing Properties: Many people find that Vitamin E has soothing properties, making it a beneficial ingredient for calming and comforting the skin.
When incorporating Vitamin E into your DIY facial oil, you’re adding an ingredient that helps fortify your skin’s natural defenses and supports overall skin health, contributing to a healthy-looking complexion.
Why Rice Is Used in Traditional Beauty Routines
Rice isn’t just a staple food; it’s also a cherished ingredient in traditional beauty practices, particularly across Asia, where its benefits for skin have been recognized for centuries. From rice water rinses to rice flour masks, this humble grain has played a significant role in achieving radiant skin.
Embracing Nature’s Goodness
The beauty of rice lies in its natural composition. It contains various beneficial compounds, including amino acids, vitamins (like B vitamins), and antioxidants, which can contribute to skin health when applied topically. In traditional beauty, rice has been valued for its ability to:
- Soften and Smooth Skin: Rice-infused oil can contribute to a noticeably smoother and softer skin texture. The emollient properties derived from rice can leave the skin feeling silky and refined.
- Even Skin Tone: While not a ‘brightening’ agent in the sense of altering skin pigmentation, the consistent use of rice-based products has been associated with a more even-looking skin tone and a natural radiance in many traditional practices. This often comes from improved hydration and a smoother surface reflecting light more evenly.
- Gentle Nourishment: Rice is known for being gentle on the skin, making it suitable for a wide range of skin types. The components in rice can help to nourish the skin without causing irritation.
By infusing rice into an oil, we’re harnessing these gentle, natural elements, allowing them to impart their subtle goodness into our DIY facial oil. It’s a nod to time-honored traditions that emphasize natural ingredients for lasting wellness and beauty.
Ingredients Overview
Creating your DIY facial oil is incredibly simple, requiring just a few key ingredients. Quality matters here, so try to source the best you can find.
The Essential Components
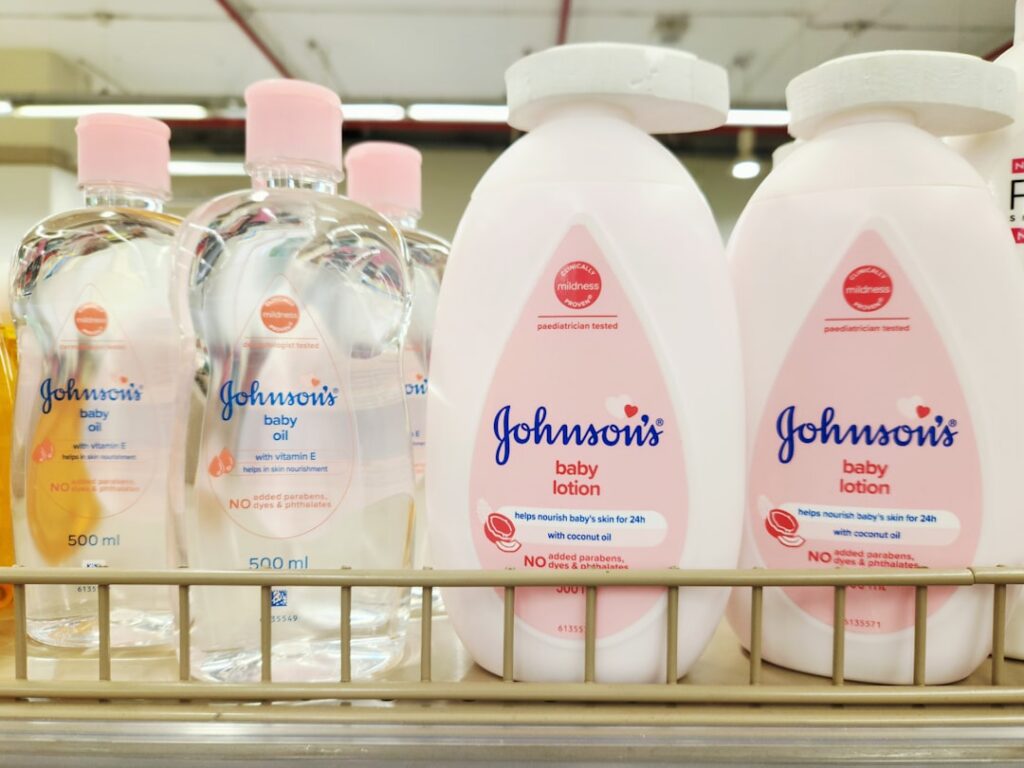
- Baby Oil (Mineral Oil based): Approximately 1/2 cup (120 ml). Choose an unscented or very lightly fragranced version, especially if you have sensitive skin. This forms the base of your moisturizing blend.
- Liquid Vitamin E Oil: 1 teaspoon. Look for pure liquid Vitamin E oil (tocopherol) rather than capsules, as it’s easier to measure and blend. This adds antioxidant benefits.
- Uncooked White Rice: 2 tablespoons. Any variety of white rice (e.g., jasmine, basmati, long-grain) will work. Ensure it’s clean and dry.
- Optional: Essential Oil (for scent, use with caution): 2-3 drops of a skin-safe essential oil like lavender, frankincense, or chamomile. Essential oils are potent; always research their safety for skin application and conduct a patch test. This is purely for aroma, not for therapeutic skin benefits in this context.
This simple combination allows each ingredient to play its part in creating a hydrating and skin-softening oil.
Equipment Needed
To make your DIY facial oil, you’ll need a few common kitchen or home items. Having everything ready before you start will make the process smooth and enjoyable.
What You’ll Need
- Small, Clean Glass Jar with a Tight-Fitting Lid: A mason jar (8 oz or smaller) is perfect for infusing the rice. Ensure it’s thoroughly cleaned and dry to prevent contamination.
- Small Dark Glass Dropper Bottle (1 oz / 30 ml recommended): For storing your finished facial oil. Dark glass helps protect the oil from light degradation, extending its shelf life. A dropper makes application easy and hygienic.
- Fine-Mesh Sieve or Cheesecloth: Essential for straining the rice from the infused oil, ensuring a smooth, particle-free finished product.
- Measuring Spoons and Cups: For accurate measurement of ingredients.
- Small Funnel: Extremely helpful for transferring the oil into the dropper bottle without spills.
- Labels or Masking Tape and Pen: To label your bottle with the date and ingredients for easy tracking.
Having these items ready will ensure a seamless process as you create your homemade moisturizing oil.
Step-by-Step Recipe: Crafting Your Facial Oil
Now that you have all your ingredients and equipment, let’s get to the fun part: making your very own DIY Baby Oil & Vitamin E Facial Oil. Follow these steps carefully for the best results.
The Process
-
Prepare Your Rice Infusion:
First, ensure your 2 tablespoons of uncooked white rice are clean and completely dry. You can gently rinse them if needed, but make sure they are air-dried for at least 24 hours to prevent any water from contaminating your oil. Place the dry rice into your clean glass jar.
-
Add Baby Oil for Infusion:
Pour approximately 1/2 cup (120 ml) of baby oil over the rice in the jar. Make sure the rice is fully submerged. Seal the jar with its tight-fitting lid.
-
Infuse the Rice:
Follow the instructions in the ‘How to Infuse the Rice Properly’ section below. This process typically takes 1-2 weeks for a gentle solar infusion, or a few hours if you opt for a very gentle heat infusion method. Shake the jar gently every day or two.
-
Strain the Infused Oil:
Once your rice is properly infused, line your fine-mesh sieve with a piece of cheesecloth (if using). Place the sieve over a clean bowl or measuring cup. Pour the rice-oil mixture through the sieve, allowing the infused oil to collect below. Gently press the rice with the back of a spoon to extract as much oil as possible. Discard the strained rice.
-
Combine with Vitamin E Oil:
Transfer the strained, rice-infused baby oil into a clean bowl. Add 1 teaspoon of liquid Vitamin E oil to this blend. Stir gently with a clean spoon until thoroughly combined.
-
(Optional) Add Essential Oils:
If you choose to add essential oils for scent, now is the time. Add 2-3 drops of your chosen skin-safe essential oil (e.g., lavender). Stir well. Remember to patch test any essential oils you plan to use.
-
Transfer to Dropper Bottle:
Using your small funnel, carefully pour the finished facial oil into your dark glass dropper bottle. Fill it almost to the top, leaving a little space for the dropper.
-
Label and Store:
Secure the dropper lid tightly. Label your bottle with the name of your DIY oil and the date it was made. Store it in a cool, dark place away from direct sunlight.
Congratulations! You’ve just created your very own homemade moisturizing oil, ready to nourish your skin.
How to Infuse the Rice Properly
Infusing the rice is a crucial step to extract its beneficial properties into the baby oil. There are two primary methods for infusing, and both require patience and attention to detail.
Method 1: Solar Infusion (Slow & Gentle)
This method uses the gentle warmth of the sun to slowly infuse the oil, making it ideal for delicate ingredients like rice.
- Preparation: Ensure your 2 tablespoons of rice are clean and completely dry. Place them into your clean glass jar.
- Combine: Pour 1/2 cup of baby oil over the rice, making sure it’s fully submerged. Seal the jar tightly.
- Placement: Place the sealed jar in a sunny spot, such as a windowsill that receives direct sunlight for several hours a day.
- Shake Daily: Gently shake the jar once a day to ensure the rice is constantly moving through the oil, facilitating an even infusion.
- Patience is Key: Allow the rice to infuse for 1 to 2 weeks. You might notice a subtle change in the oil’s color or scent as it absorbs the rice’s essence.
- Strain: After the infusion period, strain the oil as described in the main recipe steps.
Method 2: Gentle Heat Infusion (Faster)
If you’re short on time, a gentle heat infusion can speed up the process, but care must be taken not to overheat the oil, which can degrade its quality.
- Setup: Place the rice and baby oil in a clean, heat-proof glass jar, as described above.
- Double Boiler Method: Set the jar (without its lid) into a saucepan filled with about 1-2 inches of water, creating a double boiler.
- Low Heat: Heat the water over the lowest setting on your stovetop. The goal is to gently warm the oil, not cook it. The water should be simmering very gently, not boiling vigorously.
- Infuse: Let the rice infuse in the gently heated oil for 2-4 hours. Stir occasionally to ensure even heating and infusion. Monitor the temperature constantly to prevent the oil from getting too hot. It should feel warm to the touch, not hot.
- Cool and Strain: Remove the jar from the heat and allow the oil to cool completely before straining the rice.
Regardless of the method you choose, proper infusion ensures that the rice’s emollient properties are effectively transferred to your facial oil, contributing to a smoother-feeling skin.
Storage Instructions
Proper storage is essential to maintain the quality and extend the shelf life of your homemade facial oil. Because it contains natural ingredients, it’s more susceptible to degradation than highly processed commercial products.
Best Practices for Longevity
- Use Dark Glass Bottles: As recommended in the equipment section, dark amber or cobalt blue glass bottles are ideal. They help protect the oil from UV light, which can cause oxidation and reduce the potency of ingredients like Vitamin E.
- Keep in a Cool, Dark Place: Store your facial oil away from direct sunlight and heat sources (like a sunny window sill or near a radiator). A cool cabinet, drawer, or even a refrigerator (if you prefer a cooling sensation upon application) is suitable. Heat and light are major culprits in spoiling oils.
- Ensure Tight Seals: Always make sure the dropper lid is tightly closed after each use. Exposure to air can also lead to oxidation and reduce the oil’s effectiveness.
- Avoid Contamination: Use the dropper to dispense the oil directly onto your fingertips, rather than touching the dropper to your face or other surfaces. This prevents the introduction of bacteria into your precious blend.
By following these simple storage tips, you can ensure your DIY facial oil remains fresh and effective for as long as possible.
Shelf Life
Understanding the shelf life of your DIY facial oil is crucial for safety and efficacy. Unlike commercial products with extensive preservatives, homemade blends have a shorter lifespan. This is why making small batches is always recommended.
When to Use and When to Replace
- General Guideline: Typically, a homemade facial oil like this, made with a stable base like baby oil and Vitamin E, will have a shelf life of approximately 3-6 months. The exact duration can vary depending on the freshness of your ingredients, storage conditions, and how well you prevent contamination.
- Signs of Spoilage: It’s important to pay attention to any changes in your oil, as these are clear indicators that it may have gone rancid or become contaminated:
- Smell: The most common sign of spoilage is a change in odor. If your oil develops a stale,