Hey beauty besties! Did you know that a simple vegetable from your kitchen can be your skin’s new secret weapon? We’re talking about okra! 🌱 This natural wonder isn’t just for cooking; it’s packed with vitamins, antioxidants, and amazing hydrating properties that can transform your skin, giving you that youthful, radiant glow we all love. Let’s dive into the magic of okra for your skin!
Why Okra is a Skincare Superstar
Okra, often known as “lady’s finger,” is more than just a healthy food. For your skin, it’s like a hydrating hug! Here’s why it deserves a spot in your beauty routine:
- Deep Hydration: Okra gel is rich in mucilage, a slimy substance that’s fantastic for attracting and retaining moisture. This means plump, supple skin that feels incredibly soft.
- Natural Anti-Aging: Those fine lines and wrinkles? Okra can help! Its hydrating power helps to plump up the skin, making fine lines appear less noticeable, giving you a smoother, more youthful complexion. Some even call it ‘nature’s botox’!
- Soothing & Calming: If you have sensitive or irritated skin, okra’s gentle properties can help soothe and calm redness, leaving your skin feeling comfortable and happy.
- Antioxidant Boost: Loaded with vitamins like C and A, okra helps protect your skin from environmental damage and promotes overall skin health.
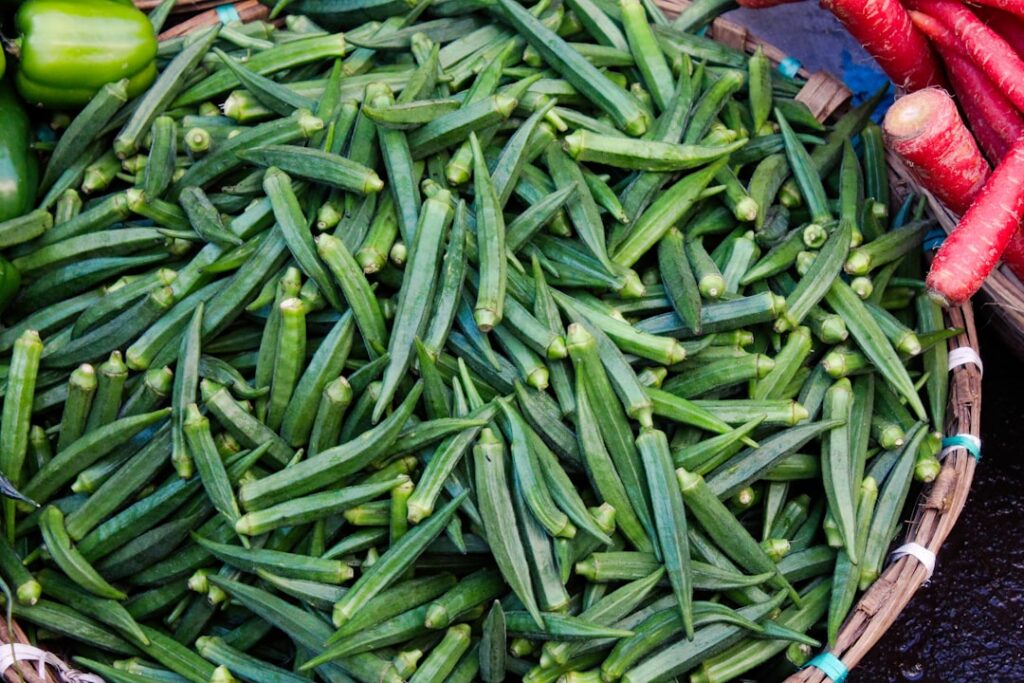
DIY Okra Gel: Your Recipe for Radiant Skin
Ready to unlock okra’s beauty benefits? Making your own okra gel at home is super easy and uses ingredients you probably already have. Here’s how to do it:
What You’ll Need:
- About 5-7 fresh okra pods
- 1 cup of filtered water
Step-by-Step Instructions:
- Wash & Chop: Thoroughly wash your okra pods under cool water. Then, slice them into small, thin pieces. This helps release all the beneficial mucilage.
- Boil & Simmer: Place the chopped okra pieces in a small pot with the filtered water. Bring the mixture to a boil, then immediately reduce the heat to a low simmer. Let it simmer for 10-15 minutes, or until the water thickens into a noticeable gel-like consistency and the okra is soft.
- Cool & Strain: Take the pot off the heat and let the okra mixture cool down completely. This is important for handling and preserving the gel. Once cool, strain the gel through a fine-mesh sieve or a cheesecloth into a clean, airtight container. Gently press the okra pieces to extract every last drop of the goodness.
- Store: Your fresh, homemade okra gel is ready! Store it in the refrigerator for up to one week to keep it fresh.
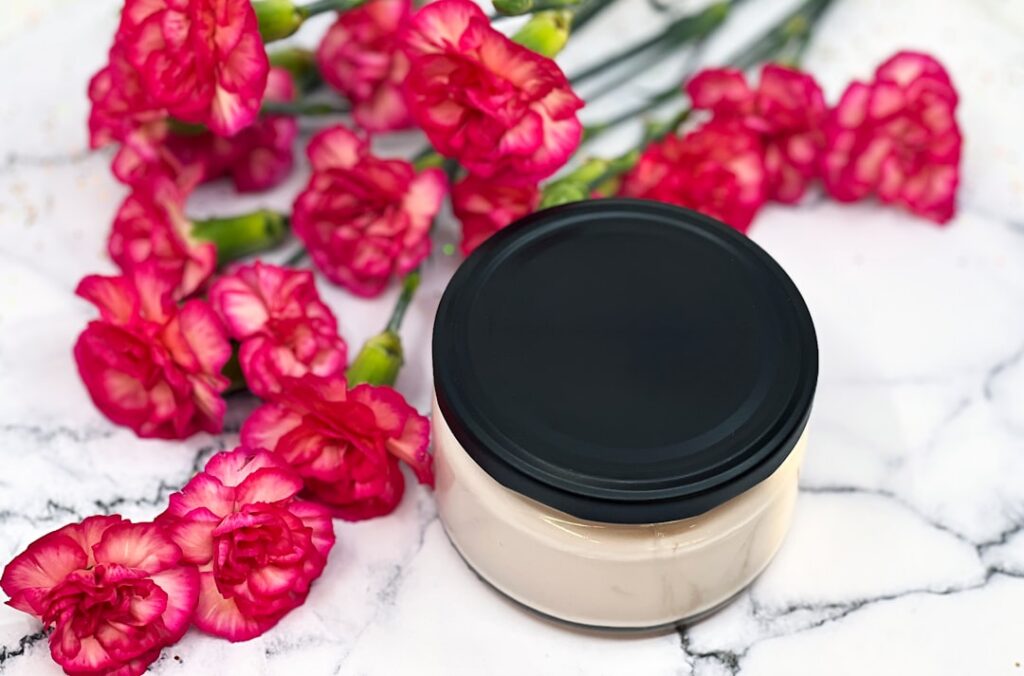
How to Use Your Okra Gel for Best Results
Using your DIY okra gel is simple and fits perfectly into any routine:
- Cleanse First: Always start with a clean face and neck.
- Apply: Gently apply a thin, even layer of the okra gel to your skin.
- Relax & Rinse: Leave it on for 15-20 minutes. You can use this time for a little self-care! Then, rinse it off with cool water.
- Overnight Boost (Optional): For an extra dose of hydration and anti-aging benefits, you can even leave a thin layer of the gel on overnight. Just make sure it’s fully absorbed before you hit the pillow.
- Frequency: For amazing results, use your okra gel 2-3 times a week. Consistency is key!
Your skin will feel incredibly soft, hydrated, and look wonderfully plump and fresh. It’s an affordable, natural way to achieve that sought-after youthful glow, right from your own kitchen!
Share Your Okra Story!
Have you ever tried okra for your skin, or are you excited to give this DIY beauty hack a go? We’d love to hear your thoughts and experiences! Share them in the comments below. 👇