Hey beauty besties! Are you dreaming of waking up to smooth, radiant, and youthful-looking skin? We all want that amazing glow, and it’s easier than you think to achieve it right from your own home. Today, we’re diving into a super simple yet powerful secret: a homemade anti-aging night serum that can truly transform your skin while you sleep!
Forget complicated routines and expensive products. Our philosophy at Beauty Tips Daily is all about simple, natural, and effective solutions. This DIY night serum is packed with nourishing ingredients that work wonders to combat signs of aging, hydrate, and give you that coveted youthful bounce.
Why a Night Serum is Your Skin’s Best Friend
Nighttime is when your skin goes into repair mode. It’s the perfect time to give it a boost with concentrated ingredients that can penetrate deeply and work undisturbed. A night serum can:
- Boost Cell Regeneration: Help your skin repair itself and produce new cells.
- Deeply Hydrate: Lock in moisture and prevent dryness.
- Fight Fine Lines & Wrinkles: Nourish the skin to reduce the appearance of aging.
- Enhance Radiance: Promote a healthy, glowing complexion.
- Deliver Potent Nutrients: Provide a concentrated dose of vitamins and antioxidants.
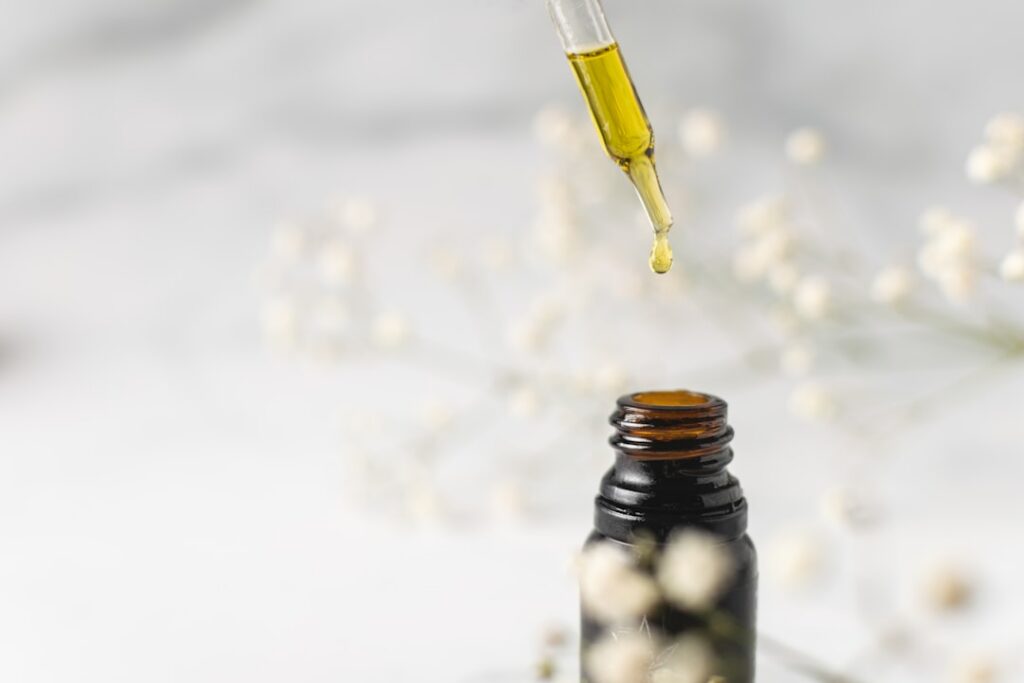
The Magic Ingredients for Your DIY Anti-Aging Night Serum
We’ve chosen ingredients known for their incredible skin-loving properties:
1. Rosehip Oil (The Regenerator)
- Rich in Vitamin A (retinoic acid) which helps with cell turnover and collagen production.
- Packed with essential fatty acids that nourish and hydrate.
- Known to reduce the appearance of scars, dark spots, and fine lines.
2. Jojoba Oil (The Balancer)
- Mimics your skin’s natural sebum, making it perfect for all skin types, even oily or acne-prone.
- Deeply moisturizing without feeling greasy.
- Helps balance oil production and soothes irritation.
3. Vitamin E Oil (The Protector)
- A powerful antioxidant that helps protect skin cells from damage.
- Promotes healing and strengthens the skin barrier.
- Adds an extra layer of nourishment and can help extend the shelf life of your serum.
4. Lavender Essential Oil (The Soother & Calmer) – Optional
- Known for its calming and anti-inflammatory properties.
- Helps soothe skin and can promote a relaxing night’s sleep.
- (Always use high-quality, pure essential oils and perform a patch test.)
Your Simple DIY Anti-Aging Night Serum Recipe
Ready to whip up your own elixir of youth? Here’s how:
What You’ll Need:
- 1 oz (30ml) dark glass dropper bottle (dark glass helps protect oils from light degradation)
- Small funnel (optional, but makes pouring easier)
- Measuring spoons
Ingredients:
- 2 tablespoons Rosehip Oil
- 1 tablespoon Jojoba Oil
- 1/2 teaspoon Vitamin E Oil (from a capsule or liquid form)
- 3-5 drops Lavender Essential Oil (optional)
Instructions:
- Clean & Sanitize: Ensure your dropper bottle is thoroughly clean and dry. You can sanitize it by rinsing with rubbing alcohol and letting it air dry.
- Combine Oils: Using your funnel, carefully pour the rosehip oil, jojoba oil, and vitamin E oil into the dark glass dropper bottle.
- Add Essential Oil (Optional): If using, add 3-5 drops of lavender essential oil. You can adjust this amount based on your preference and skin sensitivity.
- Mix Well: Secure the dropper cap tightly and gently shake the bottle to ensure all ingredients are well combined.
- Store Properly: Store your serum in a cool, dark place away from direct sunlight and heat to maintain its potency.
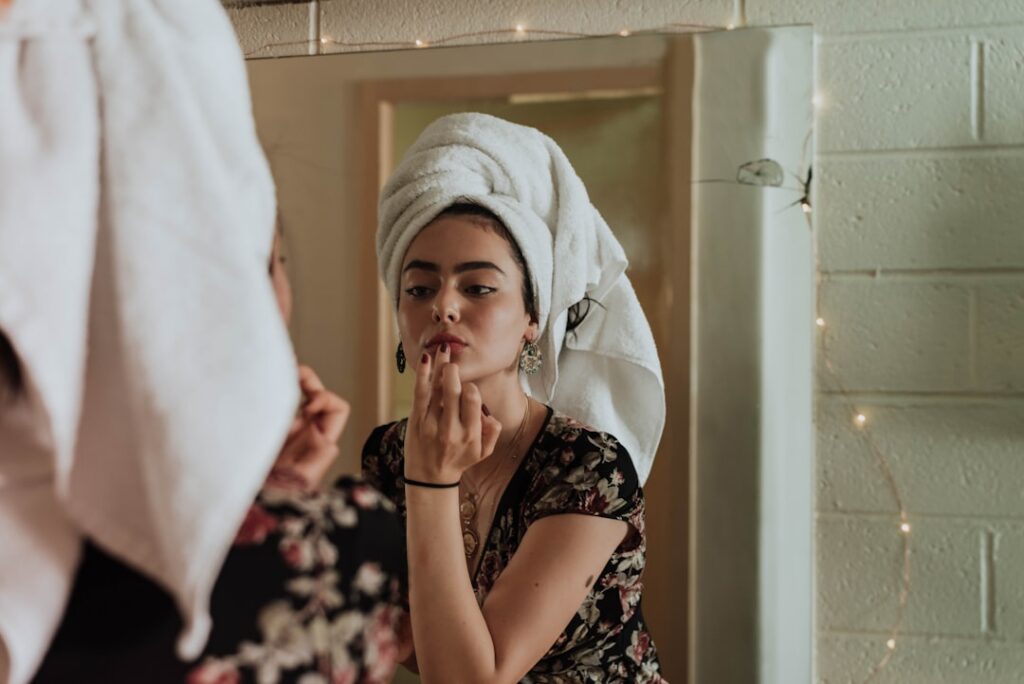
How to Use Your Homemade Night Serum for Best Results
Consistency is key when it comes to skincare!
- Cleanse: Start with a clean face. Gently cleanse your skin to remove all makeup, dirt, and impurities.
- Tone (Optional): If you use a toner, apply it now.
- Apply Serum: Dispense 2-4 drops of your DIY night serum onto your fingertips. Gently pat and massage the serum into your face and neck using upward motions until absorbed.
- Moisturize (Optional): If your skin needs extra hydration, you can follow with your regular night cream, though this serum is often moisturizing enough on its own.
- Sleep & Glow: Let the serum work its magic overnight!
Important Tips:
- Patch Test: Always perform a patch test on a small area of your skin (like behind your ear or inner forearm) 24 hours before applying the serum to your entire face, especially if you have sensitive skin or are using essential oils.
- Shelf Life: This homemade serum is best used within 3-6 months. Trust your nose – if the scent changes or it smells rancid, it’s time to make a new batch.
- Less is More: A little goes a long way! Don’t overdo it with the drops.
Unlock Your Skin’s Potential!
There you have it, beauty bestie! A simple, natural, and incredibly effective way to give your skin the love it deserves. This DIY anti-aging night serum is your secret weapon for waking up to a more youthful, radiant complexion every single day.
Give this recipe a try and let us know your experience in the comments below! We love hearing from you. Don’t forget to share this amazing tip with your friends who also dream of glowing skin!