Have you ever tried to grow beautiful plants from seed, only to find some of them stubbornly refuse to sprout? You’re not alone! Many gardeners encounter this challenge, especially with certain perennial flowers, native plants, and even some vegetables. The secret to awakening these dormant seeds often lies in a natural process called cold stratification.
At Garden – L. Quyên, we love sharing easy-to-understand tips that help you succeed in your gardening journey. Today, we’re diving deep into cold stratification – a fascinating gardening hack that mimics winter conditions to trick seeds into thinking it’s time to wake up and grow!
What is Cold Stratification?
Cold stratification is a natural process that seeds undergo to break dormancy. Think about seeds that drop from a plant in the fall – they don’t germinate immediately. Instead, they lie dormant through the cold, moist winter months. This period of cold and moisture is crucial; it breaks down inhibitors within the seed coat and prepares the embryo for germination when spring arrives. Essentially, you’re giving your seeds a mini-winter vacation in a controlled environment to encourage them to sprout when planted.
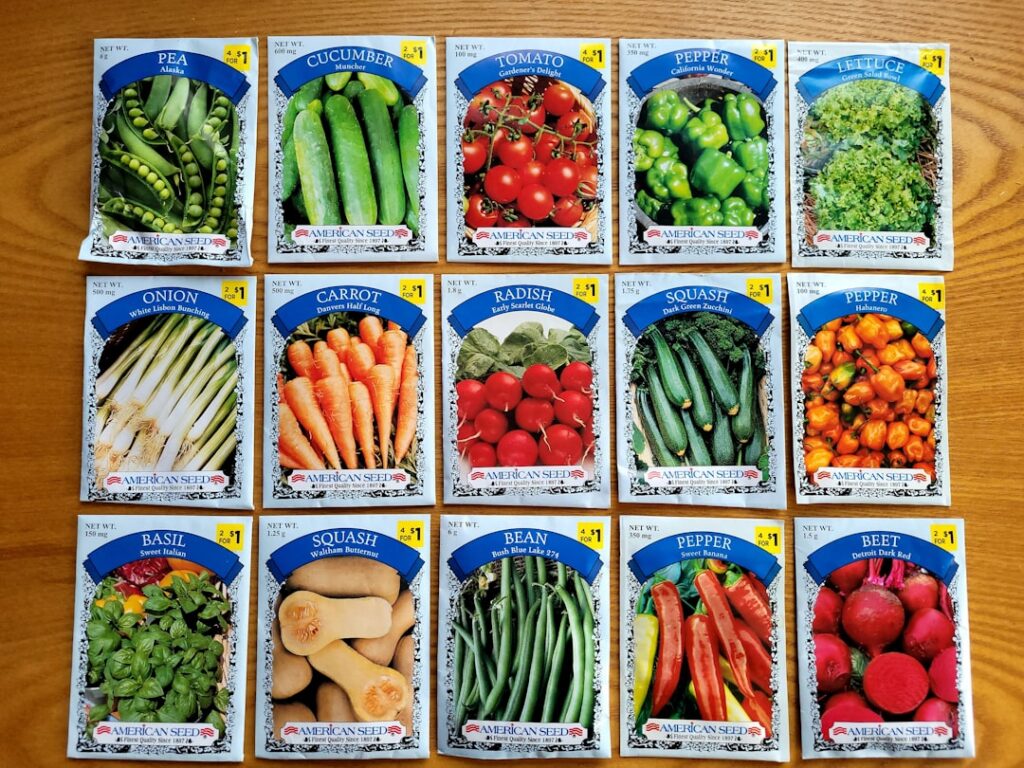
Why Do Some Seeds Need It?
Many plants, especially those native to temperate climates with distinct seasons, have evolved to require a cold period before they can germinate. This is a survival mechanism that prevents seeds from sprouting too early, for instance, during a warm spell in late fall, only to be killed by the subsequent freezing temperatures. The cold treatment ensures that they only germinate when conditions are consistently favorable for growth.
Common Seeds That Benefit from Cold Stratification:
- Perennial Flowers: Echinacea (Coneflower), Lavender, Milkweed, Primrose, Columbine
- Trees & Shrubs: Maples, Oaks, Dogwoods, Serviceberry, Hawthorn
- Fruits: Apples, Pears, Cherries, Blueberries
- Some Herbs & Vegetables: Parsley, Cilantro, some varieties of lettuce
How to Cold Stratify Your Seeds (The Easy Way!)
There are a few methods, but the most common and easiest for home gardeners is moist cold stratification in your refrigerator. Here’s a simple step-by-step guide:
1. Gather Your Materials:
- Seeds: The ones you want to stratify!
- Moist Medium: Peat moss, vermiculite, sand, or a mixture of peat and sand. Paper towels can also work for smaller seeds.
- Container: A sealable plastic bag (like a zip-top bag), a small plastic container with a lid, or a clean yogurt cup.
- Spray Bottle: For misting.
- Labeling Supplies: Permanent marker, labels or masking tape.
2. Prepare Your Medium:
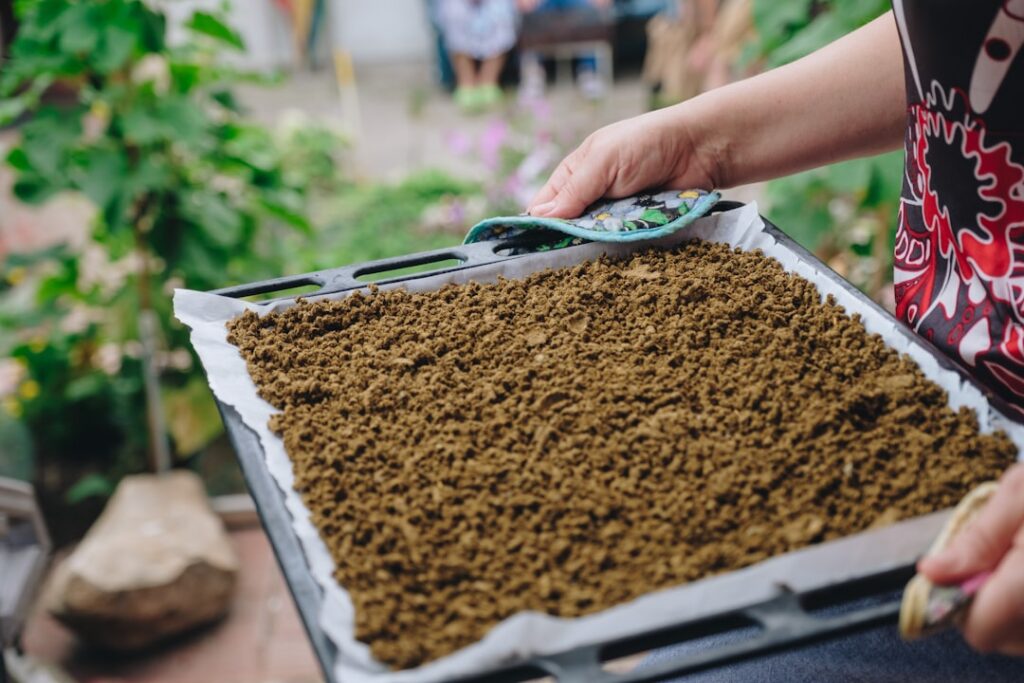
Moisten your chosen medium. It should be damp like a wrung-out sponge, not soaking wet. If you squeeze it, only a few drops of water should come out. Too much moisture can lead to mold.
3. Mix Seeds with Medium:
Gently mix your seeds into the moist medium. For small seeds, you might spread them on a damp paper towel, fold it, and place it in a bag.
4. Place in Container & Label:
Transfer the seed-and-medium mixture into your chosen container. Seal it well, but don’t make it airtight if using a bag, allowing for a tiny bit of air exchange. Crucially, label your container with the seed type and the date you started stratification. This is vital for keeping track!
5. Refrigerate:
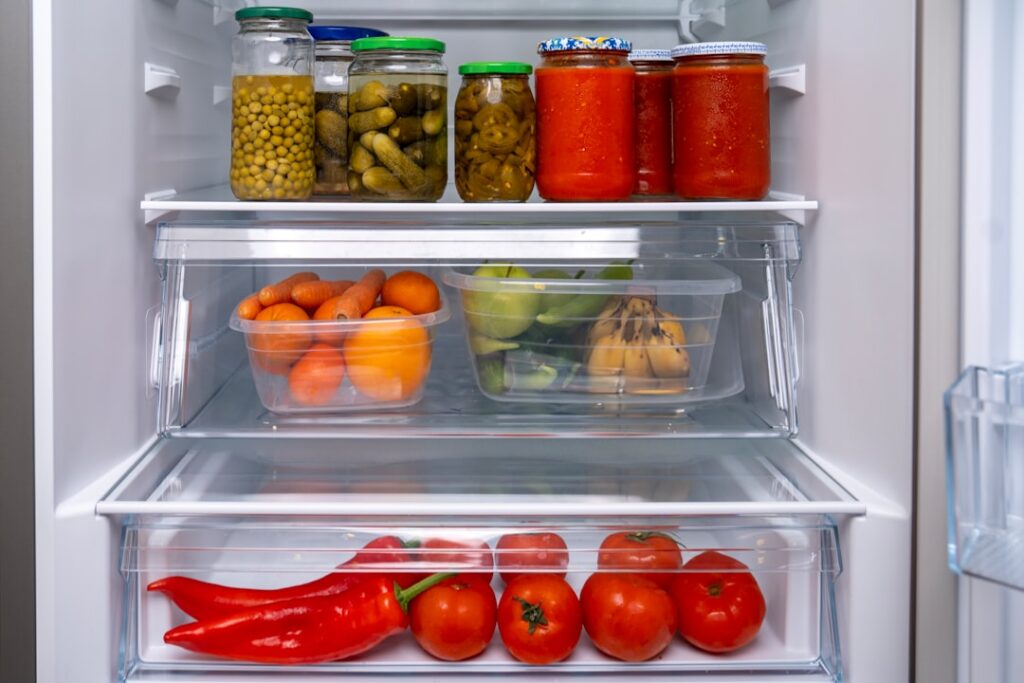
Place the sealed container in your refrigerator. The ideal temperature range is typically between 34-41°F (1-5°C), which is the standard temperature for most household refrigerators. Avoid putting them in the freezer!
6. Monitor & Maintain:
Check your seeds periodically (once a week or every two weeks) to ensure the medium remains moist and to look for any signs of mold. If it dries out, mist it lightly with water. If you see mold, remove the affected seeds and medium, and try again with fresh, sterile medium.
7. Planting Time!
Stratification periods vary, typically lasting anywhere from 4 to 12 weeks, depending on the seed type. Consult your seed packet for specific recommendations. Once the stratification period is complete, your seeds are ready to be sown according to their normal planting instructions, either indoors for transplanting or directly into your garden.
Tips for Success:
- Research Specifics: Always check your seed packets or reliable gardening resources for the exact cold stratification duration needed for your specific seeds.
- Sterile Medium: Using a sterile medium (like new peat moss or vermiculite) can help prevent mold and fungal issues.
- Don’t Rush It: Patience is key! Nature takes its course, and rushing the process can lead to poor germination.
- Mimic Nature: For some seeds, you can also try winter sowing outdoors. This allows nature to provide the cold stratification directly, though it’s less controlled.
Embrace the Wonder of Dormancy
Cold stratification might sound like a complicated process, but it’s a wonderfully simple technique that significantly boosts the germination rates of many beautiful plants. By understanding and mimicking nature’s cycles, you unlock the incredible potential hidden within tiny seeds, transforming your garden into a thriving, vibrant haven. Give it a try, and prepare to be amazed by the magic of awakened seeds!