Imagine plucking fresh, aromatic ginger right from your backyard or even your kitchen counter! Growing your own ginger is incredibly rewarding, offering a constant supply of this versatile spice for cooking, teas, and remedies. It’s surprisingly easy, even if you don’t have a sprawling garden. Let’s dig in and discover how you can cultivate your very own ginger harvest at home!
Why Grow Ginger at Home?
Beyond the satisfaction of nurturing a plant, homegrown ginger offers several benefits:
- Unmatched Freshness: Store-bought ginger often travels long distances and can be dry or less potent. Homegrown ginger is vibrant, juicy, and packed with flavor.
- Cost-Effective: Once you establish your plant, it can provide an ongoing harvest, saving you money on grocery runs.
- Organic Control: You control the growing environment, ensuring your ginger is free from unwanted pesticides or chemicals.
- Health Benefits: Ginger is renowned for its anti-inflammatory and digestive properties. Having it fresh and readily available is a huge plus!
- Beautiful Plant: Ginger plants have attractive, glossy leaves and can add a tropical touch to your indoor or outdoor space.
What You’ll Need to Get Started
Gathering your supplies is the first step. You likely have most of these items already!
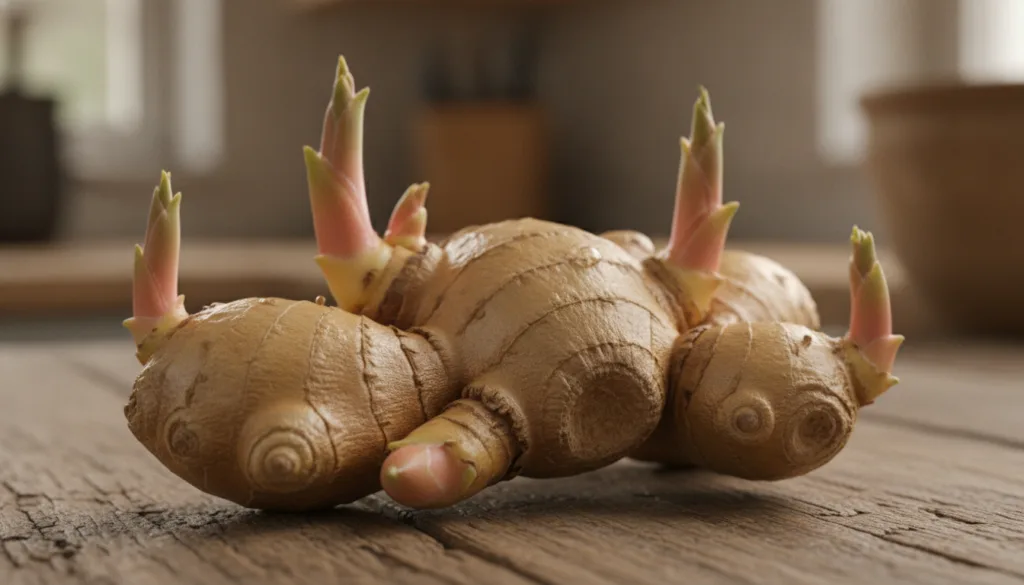
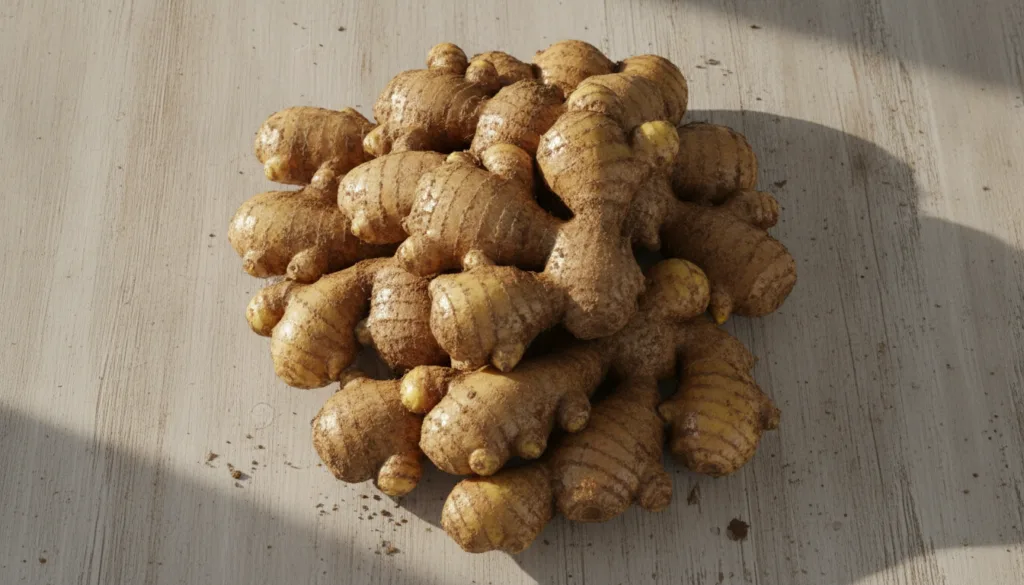
- Ginger Rhizome: This isn’t a root, but an underground stem. Choose a fresh, firm piece from the grocery store or a garden center that has a few visible ‘eyes’ or buds (small green points) on it. Organic ginger is often preferred as it’s less likely to be treated with growth inhibitors.
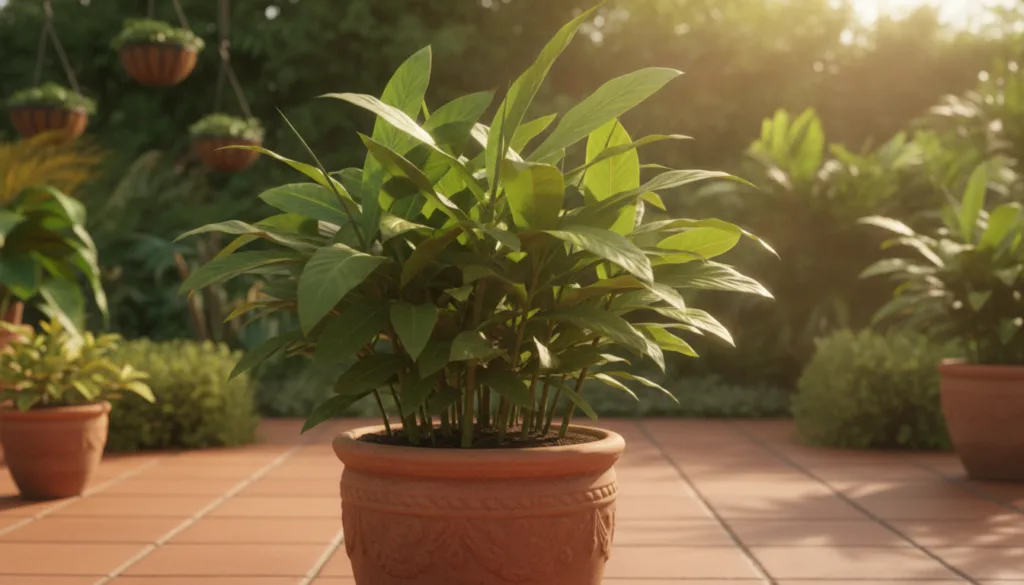
- Pot or Container: Ginger needs space to grow horizontally. A wide, shallow pot (at least 12-15 inches in diameter and 8-10 inches deep) is ideal. Drainage holes are crucial!
- Potting Mix: A rich, well-draining potting mix is best. You can amend it with compost or coco coir for added nutrients and moisture retention.
- Watering Can: For consistent moisture.
- Sunny Spot: A location that receives partial shade to full sun, especially morning sun.
Step-by-Step Guide to Planting Ginger
1. Preparing Your Ginger Rhizome
If your ginger piece is large, you can cut it into smaller sections, ensuring each piece has at least one ‘eye’ or bud. Let the cut pieces dry for a day or two to form a callus; this helps prevent rot once planted. Some gardeners also like to soak the ginger in warm water overnight to encourage sprouting.
2. Planting Your Ginger
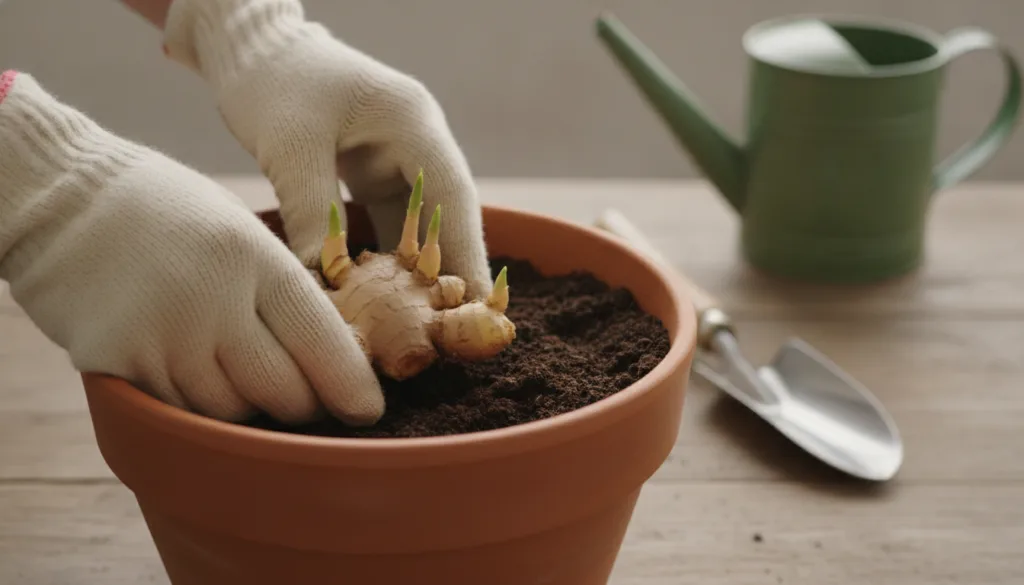
- Fill your chosen pot with potting mix, leaving about an inch or two from the rim.
- Place the ginger pieces with the ‘eyes’ pointing upwards, about 1-2 inches below the soil surface. Space them a few inches apart if planting multiple pieces in one pot.
- Gently cover with soil and water thoroughly until water drains from the bottom.
3. Care and Growing Conditions
- Light: Ginger thrives in warm temperatures and appreciates bright, indirect light or morning sun. Too much harsh afternoon sun can scorch the leaves.
- Watering: Keep the soil consistently moist but not waterlogged. Water regularly, especially during dry spells. Reduce watering slightly in cooler months.
- Humidity: As a tropical plant, ginger loves humidity. Misting the leaves or placing the pot on a pebble tray filled with water can help, especially indoors.
- Fertilizing: Feed your ginger plant every few weeks with a balanced liquid fertilizer, especially during its active growing phase (spring and summer). Organic compost tea is also a great option.
- Pest Control: Ginger is generally pest-resistant, but keep an eye out for common garden pests like aphids or spider mites. Treat with organic insecticidal soap if necessary.
Harvesting Your Homegrown Ginger
Ginger takes time to mature. You can expect your first harvest roughly 8-10 months after planting, when the leaves begin to yellow and die back. However, you can also gently dig around the edges of the pot after about 4-6 months to snip off smaller pieces of ‘new’ ginger (which will have thinner skin and a milder flavor) without disturbing the main plant.
To harvest the main crop:
- Carefully tip the pot over or dig up the entire plant.
- Shake off excess soil and break off the rhizomes you want to use.
- You can replant a piece with ‘eyes’ to start a new plant for a continuous supply!
Storing Your Homegrown Ginger
Once harvested, you can store fresh ginger in a cool, dry place for a few weeks, or in the refrigerator for longer periods. For extended storage, freeze ginger whole or grated – it’s easy to grate from frozen!
Tips for Success
- Patience is Key: Ginger can be slow to sprout and grow. Don’t get discouraged if you don’t see immediate results.
- Container Gardening: If you live in a cooler climate, growing ginger in pots allows you to bring them indoors when temperatures drop.
- Successive Planting: Plant a new batch of ginger every few months to ensure a continuous supply.
- Soil Amendments: Enrich your soil with well-rotted compost annually to keep it fertile.
Growing ginger at home is a rewarding journey that connects you more deeply with your food and garden. With a little care and patience, you’ll soon be enjoying your very own homegrown ginger, adding a fresh, zesty kick to all your favorite dishes and drinks. Happy gardening!