Unlock the Secret to Thriving Plants: Homemade Compost for Vibrant Garden Soil
Welcome, fellow garden enthusiasts! Are you dreaming of a garden overflowing with lush greenery, bountiful harvests, and vibrant blooms? The secret to achieving this gardening paradise often lies right beneath your feet, or more accurately, in the rich, dark goodness of your soil. Today, we’re diving deep into the wonderful world of homemade compost – a true game-changer for any gardener looking to cultivate a thriving living garden.
Why Homemade Compost is Your Garden’s Best Friend
Think of compost as a superfood for your soil. It’s not just fertilizer; it’s a living, breathing amendment that transforms average soil into an incredibly fertile and healthy environment for your plants. Here’s why making your own compost is one of the best things you can do for your garden:
- Enriches Soil Structure: Compost improves drainage in heavy clay soils and water retention in sandy soils, creating the perfect texture for root growth.
- Boosts Nutrient Content: It slowly releases essential nutrients, providing a steady, natural food supply for your plants and reducing the need for chemical fertilizers.
- Introduces Beneficial Microbes: Compost is teeming with microorganisms that help break down organic matter, fight off plant diseases, and make nutrients more available to your plants.
- Reduces Waste: By composting kitchen scraps and yard waste, you divert organic materials from landfills, helping the environment and creating a sustainable cycle in your own backyard.
- Cost-Effective: Why buy expensive soil amendments when you can make your own nutrient-rich compost for free?
Understanding the Basics: What to Compost (and What Not To!)
The beauty of compost is its simplicity, but there are a few guidelines to follow for the best results. A healthy compost pile needs a good balance of “greens” (nitrogen-rich materials) and “browns” (carbon-rich materials).
Greens (Nitrogen-Rich)
- Fruit and vegetable scraps
- Coffee grounds and tea bags
- Fresh grass clippings
- Plant trimmings (non-diseased)
- Manure (from herbivores like chickens, cows, or horses)
Browns (Carbon-Rich)
- Dried leaves
- Straw and hay
- Shredded newspaper and cardboard (non-glossy)
- Wood chips and sawdust (in moderation)
- Twigs and small branches
What NOT to Compost
Avoid these items to prevent pests, odors, and potential plant pathogens:
- Meat, bones, and dairy products
- Oils and greasy foods
- Diseased plants
- Weeds that have gone to seed
- Pet waste (from carnivores)
- Chemically treated wood or plants
Simple Steps to Making Your Own Compost Pile
You don’t need fancy equipment to start composting. A simple pile or a designated bin will do wonders!
1. Choose Your Spot
Select a shaded, well-drained area in your garden, ideally close enough to your kitchen for convenience but away from your main living spaces. Ensure good airflow.
2. Start with a Base Layer
Begin with a layer of coarse brown materials like twigs or straw. This helps with drainage and aeration.
3. Alternate Layers
Build your pile by alternating layers of greens and browns, like a lasagna! Aim for roughly a 2:1 or 3:1 ratio of browns to greens for optimal decomposition. Moisten each layer as you add it – the pile should be damp like a wrung-out sponge.
4. Keep it Aerated
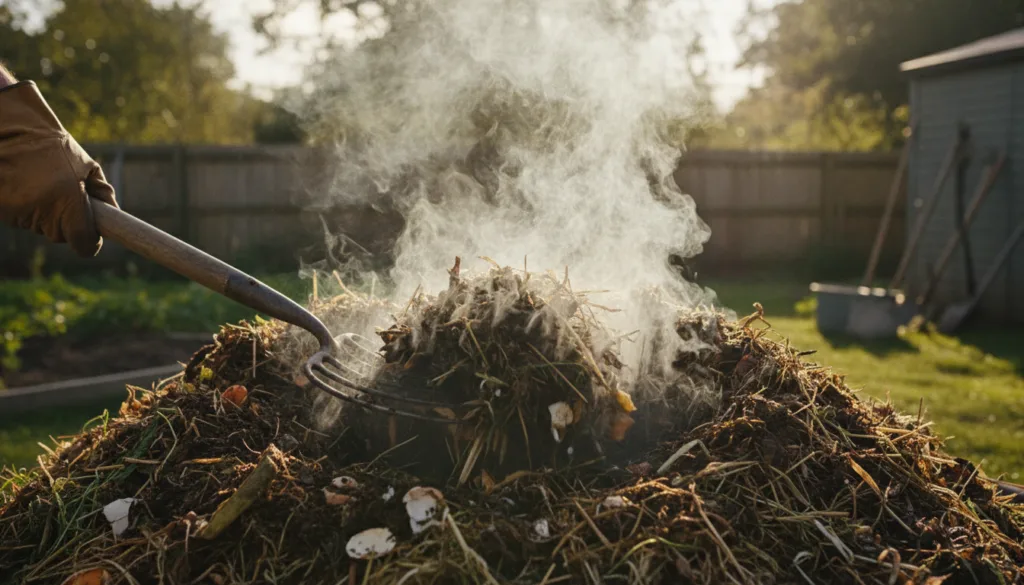
Air is crucial for the beneficial microbes. Turn your compost pile regularly (every week or two) with a pitchfork or a special compost aerator. This speeds up decomposition and prevents unpleasant odors.
5. Maintain Moisture
Your compost pile needs to stay consistently moist, but not soaking wet. If it looks dry, give it a good watering.
When is Your Compost Ready?
You’ll know your compost is ready when it’s dark brown, crumbly, smells earthy and sweet, and you can no longer recognize the original materials. This usually takes anywhere from two months to a year, depending on the materials and how often you turn it.
Using Your Homemade Compost
Once your compost is ready, the fun begins! Here are a few ways to incorporate this