Unlock a world of delicious vegan recipes by making your own fresh oat flour at home! It’s incredibly simple, budget-friendly, and perfect for everything from baking to wholesome smoothies. You’ll truly taste the fresh difference and elevate your plant-based cooking.
Why Make Your Own Oat Flour?
Store-bought oat flour is convenient, but making your own offers several advantages:
- Freshness: Freshly ground oats retain more of their natural flavor and nutrients, lending a richer taste to your dishes.
- Cost-Effective: Buying whole oats is often significantly cheaper than pre-packaged oat flour, saving you money in the long run.
- Control: You control the texture, from coarse to super fine, depending on your recipe’s needs.
- Accessibility: If you run out of flour or live far from a specialty store, whole oats are widely available.
- Naturally Gluten-Free: While oats are naturally gluten-free, cross-contamination can occur during processing. Making your own from certified gluten-free oats ensures purity for those with sensitivities.
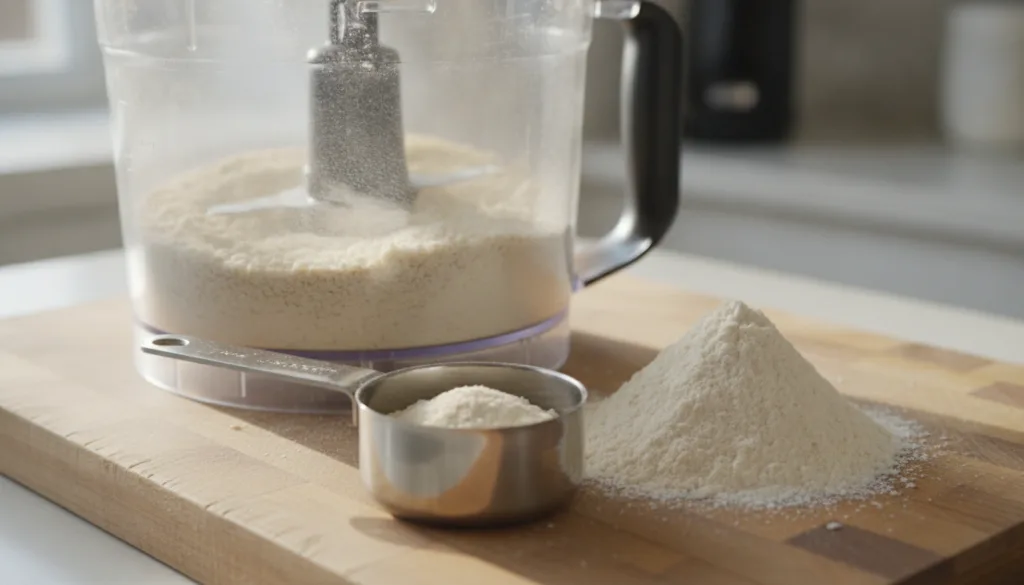
How to Make Fresh Oat Flour at Home
You only need two things: rolled oats and a high-speed blender or food processor.
Ingredients:
- Rolled Oats (Old-fashioned oats work best. For gluten-free, ensure they are certified gluten-free.)
Equipment:
- High-speed blender or food processor
- Airtight container for storage
Instructions:
- Measure Your Oats: Decide how much oat flour you need. Generally, 1 cup of rolled oats yields slightly less than 1 cup of oat flour (about 3/4 cup to 7/8 cup).
- Add to Blender/Food Processor: Pour the rolled oats into your high-speed blender or food processor. Ensure it’s clean and completely dry to prevent clumping.
- Blend Until Fine: Secure the lid and blend on high speed. Start with short pulses, then blend continuously until the oats break down into a fine, flour-like consistency. This usually takes 30 seconds to 2 minutes, depending on your appliance.
- Check Consistency: Stop and check the flour. It should be smooth and powdery, without large oat flakes. If it’s too coarse, blend for a bit longer.
- Cool Before Storing: Once blended, the flour may be slightly warm. Spread it out on a plate for a few minutes to cool completely before storing. This prevents condensation and clumping.
- Store Properly: Transfer the cooled oat flour to an airtight container. Store it in a cool, dark pantry for up to a month, or in the refrigerator/freezer for extended freshness (up to 3 months).
Tips for Success
- Don’t Overfill: For best results, don’t overfill your blender or food processor. Process in batches if making a large quantity.
- Use Rolled Oats: Quick oats can also work but may yield a slightly denser flour. Steel-cut oats are too hard and won’t blend into a fine flour easily.
- Sift for Finer Texture: For recipes requiring a very fine flour (like delicate baked goods), you can sift the homemade oat flour through a fine-mesh sieve. Any larger pieces can be re-blended.
- Adjust Recipes: When substituting oat flour in recipes, remember it absorbs more liquid than wheat flour. You might need to adjust liquid content slightly.
Unlock Your Vegan Kitchen Potential
Homemade oat flour is a game-changer for plant-based cooking. Use it in pancakes, muffins, cookies, breads, or as a thickener for smoothies and soups. Its mild, slightly nutty flavor complements a wide range of dishes.
What’s your favorite recipe using oat flour? Tell us in the comments below!