Unlock Radiant Skin with DIY Toners!
Ever wondered if there’s a simple, natural secret to achieving that coveted glowing, youthful skin? We’re thrilled to tell you that the answer is a resounding YES! You don’t need expensive serums or complex routines. The magic often lies in everyday ingredients found right in your kitchen.
At Beauty – Thảo, Ngọc, we believe in empowering you with practical, natural beauty solutions. Today, we’re diving deep into the world of homemade toners – your new best friend for tightening pores, fading dark spots, and revealing truly luminous skin. Ready to ditch the chemicals and embrace the power of nature?

Why DIY Toners Are a Game-Changer for Your Skin
Toners are an essential step in any skincare routine, designed to cleanse, balance, and prepare your skin for subsequent treatments. While store-bought options can be effective, DIY toners offer unique advantages:
- Natural & Gentle: You control the ingredients, ensuring no harsh chemicals, alcohol, or synthetic fragrances irritate your skin.
- Cost-Effective: Save money by using ingredients you likely already have or can easily purchase for pennies.
- Customizable: Tailor your toner to address your specific skin concerns, whether it’s acne, dryness, hyperpigmentation, or sensitivity.
- Freshness: Homemade toners are made fresh, maximizing the potency of natural extracts.
Key Natural Ingredients for Your DIY Toners
Let’s explore some incredible ingredients you can use to craft your perfect toner:
- Apple Cider Vinegar (ACV): A powerhouse for balancing skin’s pH, fighting bacteria, and gently exfoliating. It can significantly help with large pores and dark spots.
- Rose Water: Known for its soothing, anti-inflammatory, and hydrating properties. It’s excellent for sensitive skin and gives a beautiful glow.
- Green Tea: Packed with antioxidants, green tea fights free radicals, reduces inflammation, and can help with anti-aging and acne.
- Aloe Vera Gel: A fantastic moisturizer and healer, aloe vera soothes irritation, reduces redness, and promotes skin repair.
- Witch Hazel: A natural astringent that tightens pores and reduces inflammation. Choose alcohol-free versions for sensitive skin.
- Lemon Juice: A natural brightener (use sparingly and with caution for sun exposure!) that can help fade dark spots due to its citric acid content.
- Cucumber: Hydrating and cooling, cucumber juice can reduce puffiness and soothe tired skin.
Easy & Effective DIY Toner Recipes
Here are a few of our favorite recipes to get you started on your journey to radiant skin:
1. The Balancing & Brightening ACV & Rose Water Toner
This toner is fantastic for balancing oily skin, minimizing pores, and gently brightening your complexion.
- 1 part Organic Apple Cider Vinegar (with the mother)
- 3 parts Rose Water
- Optional: A few drops of essential oil like lavender or frankincense (for added benefits and scent)
Instructions: Mix ACV and rose water in a clean spray bottle or glass container. Shake well before each use. Apply with a cotton pad after cleansing or spritz directly onto your face.

2. Soothing & Anti-Aging Green Tea & Aloe Vera Toner
Perfect for sensitive or aging skin, this toner calms inflammation and delivers a boost of antioxidants.
- 1/2 cup freshly brewed Green Tea (cooled completely)
- 1/4 cup Pure Aloe Vera Gel
Instructions: Brew a strong cup of green tea and let it cool. Mix the cooled green tea with pure aloe vera gel in a clean bottle. Store in the refrigerator for a refreshing feel. Apply with a cotton pad or spray.
3. Refreshing & Dark Spot Fading Cucumber & Lemon Toner
This brightening toner is ideal for reducing puffiness and gently working on dark spots. Remember to use lemon juice sparingly and apply SPF!
- 1/2 fresh Cucumber, blended and strained to extract juice
- 1 teaspoon fresh Lemon Juice (optional, for brightening)
- 1/4 cup Distilled Water
Instructions: Blend half a cucumber and strain the juice through a fine-mesh sieve or cheesecloth. Mix the cucumber juice with distilled water and lemon juice (if using) in a clean bottle. Store in the refrigerator. Use within 3-5 days.
How to Use Your DIY Toner for Best Results
- Cleanse: Start with a clean face. Wash away makeup and impurities with your favorite gentle cleanser.
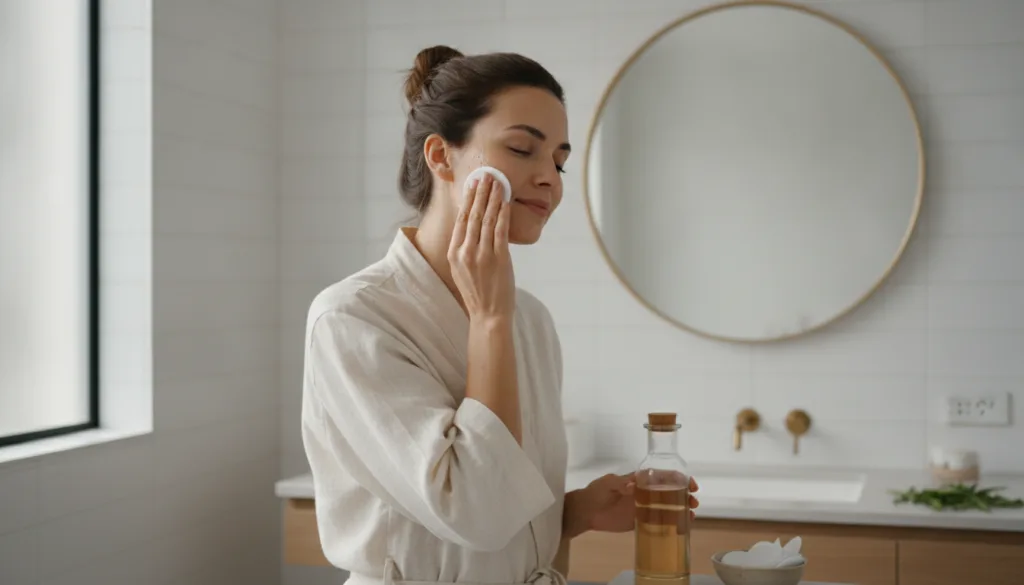
- Tone: Pour a small amount of your DIY toner onto a cotton pad, or simply spritz it directly onto your face (with eyes closed!). Gently wipe or pat it all over your face and neck.
- Moisturize: Follow up immediately with your favorite serum and moisturizer while your skin is still slightly damp to lock in hydration.
Storage Tip: Since these toners are natural and preservative-free, they have a shorter shelf life. Store them in the refrigerator for up to one week to maintain freshness and potency. Discard if you notice any changes in smell or appearance.
Tips for Beautiful, Healthy Skin
- Patch Test: Always test any new DIY recipe on a small area of your skin (like behind your ear or on your inner arm) before applying it to your entire face, especially if you have sensitive skin.
- Consistency is Key: Regular use will yield the best results. Make toning a consistent part of your morning and evening routine.
- Sun Protection: When using ingredients like lemon juice, always follow up with a broad-spectrum sunscreen, as they can increase sun sensitivity.
- Listen to Your Skin: If any ingredient causes irritation, discontinue use immediately.
Embrace Your Natural Glow!
Creating your own toners is a rewarding journey into natural beauty that can lead to incredible results. Imagine tightening those pores, fading dark spots, and revealing the luminous, healthy skin you’ve always dreamed of, all with ingredients you trust.
Ready to try these easy, effective DIY beauty secrets? We’d love to hear about your experience! What’s one skin goal you’re working towards right now? Let us know in the comments below!