Have you ever enjoyed a delicious dragon fruit and wondered if you could grow your own? The good news is, you absolutely can! Instead of tossing those tiny black seeds, let’s turn them into a thriving plant right in your home. Growing your own dragon fruit from seeds is a fun, rewarding, and surprisingly simple project that brings a touch of the tropics to your garden or windowsill.
Many gardeners are intimidated by growing tropical fruits, but dragon fruit (also known as pitaya) is remarkably resilient and can be started with just a few seeds and a little water. It’s an exciting journey from a small seed to a beautiful, vining cactus that can eventually bear its own unique fruit. Plus, imagine the satisfaction of harvesting something you’ve grown from scratch!
Why Grow Dragon Fruit from Seed?
Growing plants from seed offers a profound connection to nature and a deeper understanding of the plant life cycle. For dragon fruit, it’s also a cost-effective way to expand your plant collection. While it might take a few years for your seed-grown dragon fruit to produce fruit, the process of nurturing it from a tiny sprout is incredibly gratifying. It’s a fantastic project for beginners and seasoned gardeners alike, offering a unique visual appeal as the cactus grows.
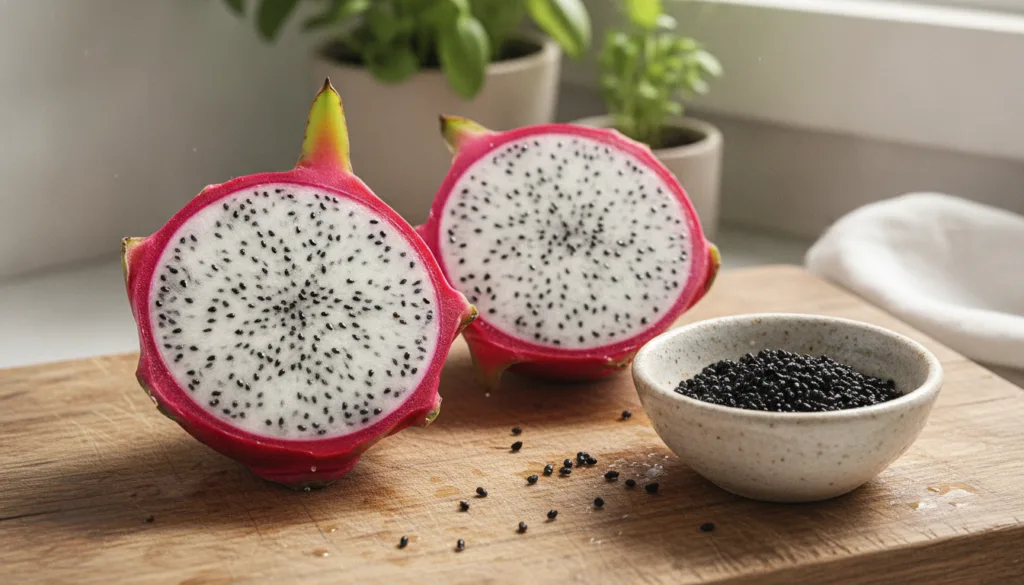
How to Grow Dragon Fruit from Seeds in Water: A Step-by-Step Guide
This method focuses on germinating your dragon fruit seeds in water, which can be a fascinating way to observe the early stages of growth.
What You’ll Need:
- Fresh dragon fruit (any color variety)
- A small bowl or jar
- Paper towel or fine-mesh sieve
- Water (preferably filtered or distilled)
- A clear container (e.g., a small glass jar or plastic container with a lid)
- Patience!
Step 1: Extract the Seeds
- Slice the Fruit: Cut a ripe dragon fruit in half.
- Scoop Out Pulp: Gently scoop out the pulp containing the small black seeds.
- Clean the Seeds: This is crucial! You need to remove all the fruit pulp from around the seeds to prevent mold. Place the pulp in a fine-mesh sieve and rinse it under running water, gently rubbing to separate the seeds from the pulp. Alternatively, you can mash the pulp in a small bowl with water, let it sit for a bit, then pour off the pulp and water, leaving the heavier seeds at the bottom. Repeat until the seeds are clean.
- Dry Slightly: Pat the cleaned seeds dry on a paper towel for an hour or two. This helps prevent fungal issues.
Step 2: Germinate in Water
- Prepare Your Container: Fill your clear container with about 1-2 inches of water. Room temperature is ideal.
- Add Seeds: Carefully sprinkle your cleaned, slightly dried dragon fruit seeds into the water. They should float initially or sink slowly.
- Find a Warm Spot: Place your container in a warm location, ideally with bright, indirect sunlight. A temperature between 70-85°F (21-29°C) is perfect for germination.
- Change Water Regularly: To prevent mold and ensure oxygen supply, change the water every 1-2 days.
- Observe for Sprouts: Within 1-2 weeks, you should start to see tiny white roots emerging from the seeds, followed by small green sprouts. This is the exciting part!
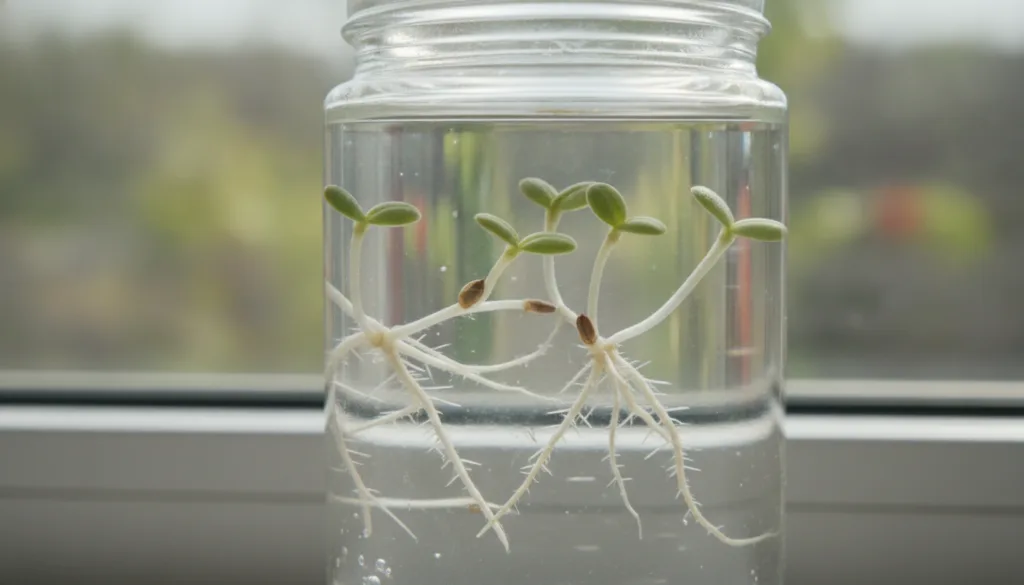
Step 3: Transplant to Soil
Once your seedlings have developed a few sets of leaves (usually when they are about 1-2 inches tall and have robust roots), they are ready for their next home.
- Prepare Potting Mix: Dragon fruit are cacti, so they need well-draining soil. A succulent or cactus potting mix is ideal. You can also mix standard potting soil with perlite or sand for better drainage.
- Choose Small Pots: Start with small pots (3-4 inches in diameter) with drainage holes.
- Gently Transplant: Carefully lift the seedlings from the water using tweezers or a small spoon. Plant them shallowly in the soil, ensuring the roots are covered and the first leaves are above the surface. You can plant multiple seedlings in one pot, spacing them an inch or two apart.
- Water Lightly: After transplanting, water the soil lightly.
- Provide Bright, Indirect Light: Place the pots in a spot with plenty of bright, indirect sunlight. Avoid direct, harsh sun initially, which can scorch the tender seedlings.
Step 4: Ongoing Care for Your Dragon Fruit Seedlings
- Watering: Water when the top inch of soil feels dry. Dragon fruit are drought-tolerant, but seedlings need consistent moisture (not soggy) to establish.
- Light: As they grow, dragon fruit plants thrive in full sun, but introduce them to it gradually.
- Support: Dragon fruit are vining cacti and will eventually need a sturdy support structure (like a trellis or post) to climb. You’ll notice their aerial roots reaching out for something to grip.
- Patience: Growing from seed takes time. It can be several years before your plant is mature enough to flower and fruit, but the journey itself is the reward.
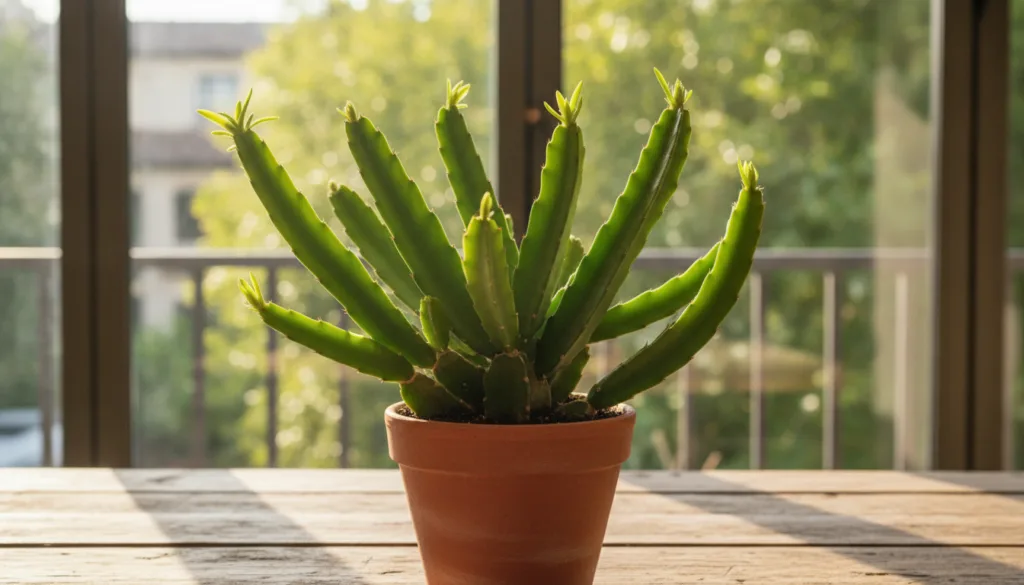
The Reward: A Unique and Beautiful Plant
Even if you don’t grow your dragon fruit specifically for the fruit harvest, the plant itself is a stunning addition to any garden or indoor space. Its unique, triangular stems and potential for large, fragrant night-blooming flowers make it a conversation starter. Plus, nurturing a plant from a tiny seed gives you an unparalleled sense of accomplishment.
So, the next time you enjoy a sweet dragon fruit, remember not to toss those seeds! Give them a second life and embark on a rewarding gardening adventure. Happy growing!