Craving a sweet treat that’s bursting with natural flavor and surprisingly simple to make at home? Say goodbye to artificial ingredients and hello to these vibrant, homemade fruit candies! Perfect for satisfying your sweet tooth, these recipes offer a delightful alternative to store-bought options, allowing you to enjoy the pure goodness of fruit in a fun, chewable form. Whether you’re looking for a healthier snack for kids or a guilt-free indulgence for yourself, these homemade fruit candy recipes are easy, customizable, and incredibly delicious.
Quick Overview
- Main topic: Homemade Fruit Candy
- Best for: Healthy snacking, kid-friendly treats, dessert alternatives
- Number of recipes: 6
- Prep style: Blending, cooking, chilling
- Reader benefit: Natural ingredients, no artificial flavors, easy DIY recipes
Recipe 1: Homemade Strawberry Candy

Enjoy the sweet and slightly tart flavor of strawberries in these easy-to-make candies.
Servings: 4-6
Prep time: 15 minutes
Cook / chill / rest time: 2 hours 10 minutes
Ingredients:
- 1.5 cups Strawberries, fresh or frozen
- 1/4 cup Granulated Sugar
- 1/4 cup Cornstarch
- 1/2 cup Water
- 1 tbsp Lemon Juice, fresh
Instructions:
- Blend strawberries until smooth.
- In a saucepan, combine the blended strawberries, granulated sugar, cornstarch, water, and lemon juice.
- Cook over medium heat, stirring constantly, until the mixture thickens significantly and pulls away from the sides of the pan. This usually takes about 5-7 minutes.
- Pour the mixture into desired silicone molds (small squares or fun shapes work well) or a shallow, parchment-lined dish.
- Chill in the refrigerator for at least 2 hours, or until completely firm.
- Once set, cut into shapes or unmold. For extra sweetness and a beautiful finish, you can optionally roll the candies in granulated sugar.
Storage / Serving / Usage Note: Store these candies in an airtight container in the refrigerator for up to 5 days. Serve chilled as a refreshing snack or light dessert.
Recipe 2: Zesty Orange Candies
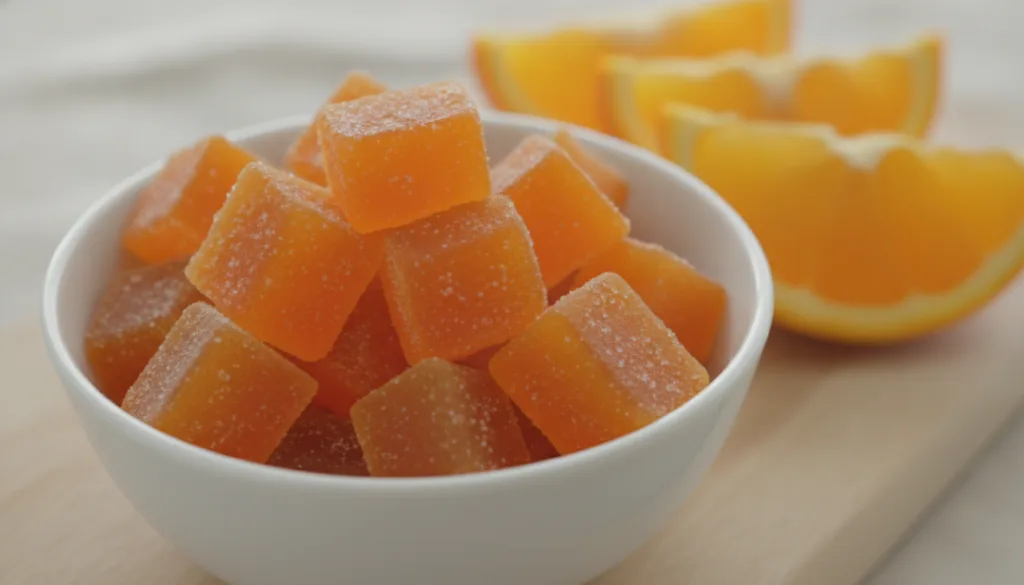
These citrusy treats are a burst of sunshine, offering a refreshing sweet and tangy flavor.
Servings: 4-6
Prep time: 15 minutes
Cook / chill / rest time: 2 hours 10 minutes
Ingredients:
- 1.5 cups Oranges, peeled and deseeded
- 1/4 cup Granulated Sugar
- 1/4 cup Cornstarch
- 1/2 cup Water
- 1 tbsp Lemon Juice, fresh
Instructions:
- Blend oranges until smooth.
- In a saucepan, combine the blended oranges, granulated sugar, cornstarch, water, and lemon juice.
- Cook over medium heat, stirring constantly, until the mixture thickens significantly and pulls away from the sides of the pan. This usually takes about 5-7 minutes.
- Pour the mixture into desired silicone molds or a shallow, parchment-lined dish.
- Chill in the refrigerator for at least 2 hours, or until completely firm.
- Once set, cut into shapes or unmold. Optionally, roll in granulated sugar for a sparkling finish.
Storage / Serving / Usage Note: Keep these candies refrigerated in an airtight container for up to 5 days. A great pick-me-up snack!
Recipe 3: Tropical Mango Chews
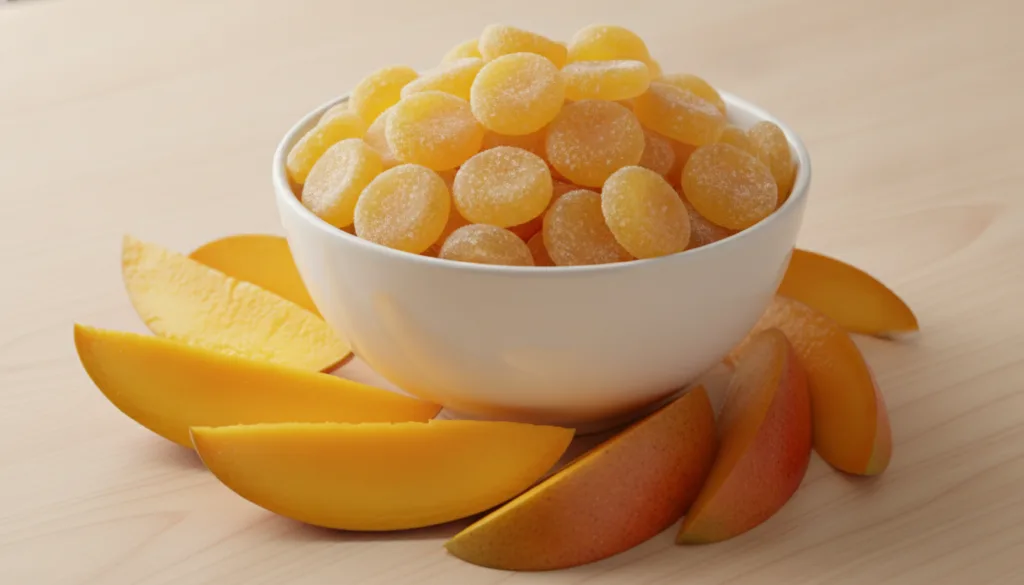
Capture the sweet essence of mango in these chewy, sun-kissed candies.
Servings: 4-6
Prep time: 15 minutes
Cook / chill / rest time: 2 hours 10 minutes
Ingredients:
- 1.5 cups Mango, peeled and diced
- 1/4 cup Granulated Sugar
- 1/4 cup Cornstarch
- 1/2 cup Water
- 1 tbsp Lemon Juice, fresh
Instructions:
- Blend mango until smooth.
- In a saucepan, combine the blended mango, granulated sugar, cornstarch, water, and lemon juice.
- Cook over medium heat, stirring constantly, until the mixture thickens significantly and pulls away from the sides of the pan. This usually takes about 5-7 minutes.
- Pour the mixture into desired silicone molds or a shallow, parchment-lined dish.
- Chill in the refrigerator for at least 2 hours, or until completely firm.
- Once set, cut into shapes or unmold. For an extra touch, roll in granulated sugar.
Storage / Serving / Usage Note: Store in an airtight container in the refrigerator for up to 5 days. Perfect for a taste of the tropics!
Recipe 4: Tangy Kiwi Bites
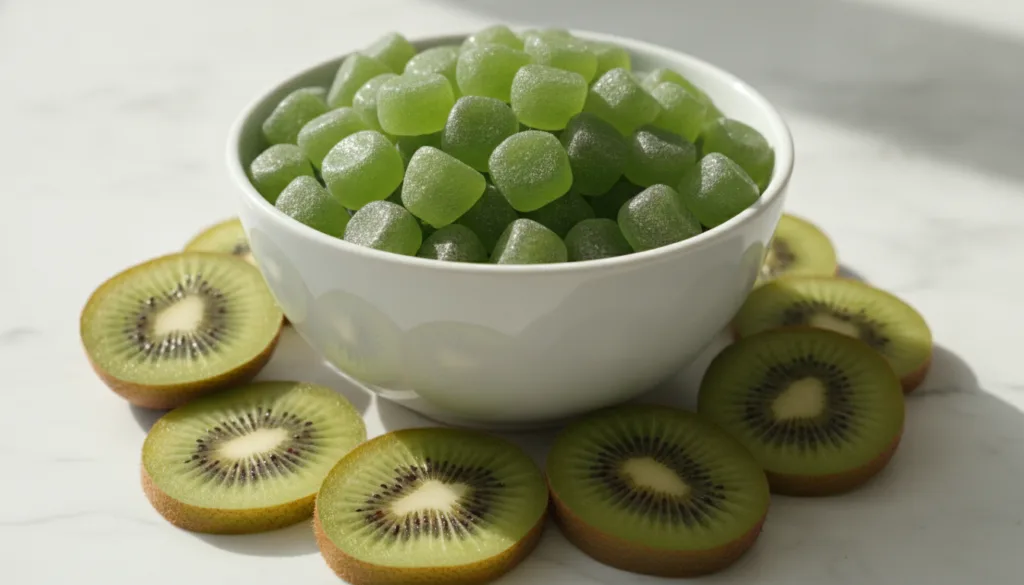
These bright green candies are refreshingly tangy and a fun way to enjoy kiwi.
Servings: 4-6
Prep time: 15 minutes
Cook / chill / rest time: 2 hours 10 minutes
Ingredients:
- 1.5 cups Kiwi, peeled and diced
- 1/4 cup Granulated Sugar
- 1/4 cup Cornstarch
- 1/2 cup Water
- 1 tbsp Lemon Juice, fresh
Instructions:
- Blend kiwi until smooth.
- In a saucepan, combine the blended kiwi, granulated sugar, cornstarch, water, and lemon juice.
- Cook over medium heat, stirring constantly, until the mixture thickens significantly and pulls away from the sides of the pan. This usually takes about 5-7 minutes.
- Pour the mixture into desired silicone molds or a shallow, parchment-lined dish.
- Chill in the refrigerator for at least 2 hours, or until completely firm.
- Once set, cut into shapes or unmold. Optionally, roll in granulated sugar for a sweet outer layer.
Storage / Serving / Usage Note: Keep refrigerated in an airtight container for up to 5 days. A unique and healthy candy option.
Recipe 5: Sweet Pineapple Treats
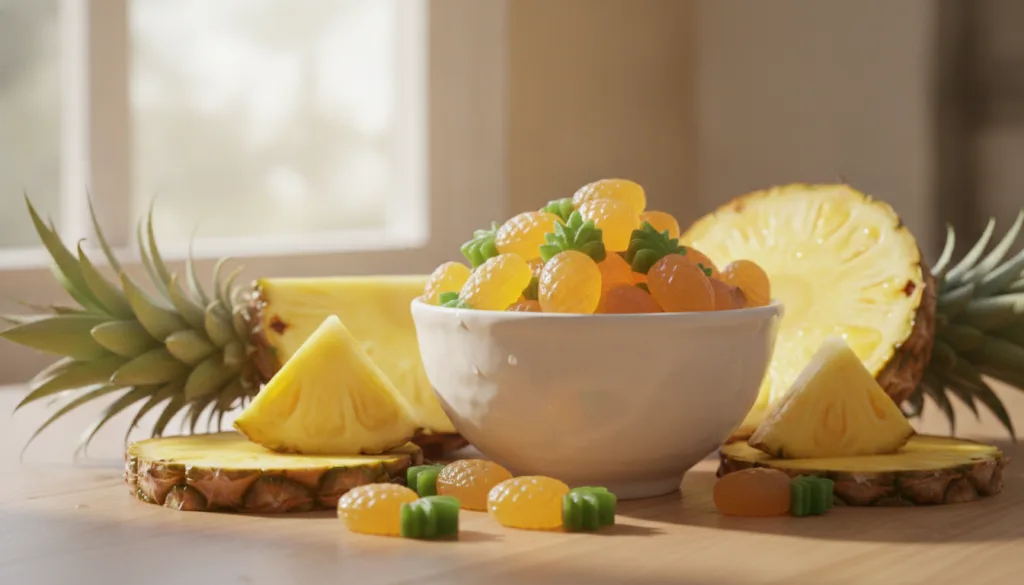
Indulge in the tropical sweetness of pineapple with these delightful homemade treats.
Servings: 4-6
Prep time: 15 minutes
Cook / chill / rest time: 2 hours 10 minutes
Ingredients:
- 1.5 cups Pineapple, peeled, cored, and diced
- 1/4 cup Granulated Sugar
- 1/4 cup Cornstarch
- 1/2 cup Water
- 1 tbsp Lemon Juice, fresh
Instructions:
- Blend pineapple until smooth.
- In a saucepan, combine the blended pineapple, granulated sugar, cornstarch, water, and lemon juice.
- Cook over medium heat, stirring constantly, until the mixture thickens significantly and pulls away from the sides of the pan. This usually takes about 5-7 minutes.
- Pour the mixture into desired silicone molds or a shallow, parchment-lined dish.
- Chill in the refrigerator for at least 2 hours, or until completely firm.
- Once set, cut into shapes or unmold. Rolling in granulated sugar is an optional step for extra sweetness.
Storage / Serving / Usage Note: Store these candies in an airtight container in the refrigerator for up to 5 days. A perfect post-meal sweet.
Recipe 6: Juicy Grape Squares
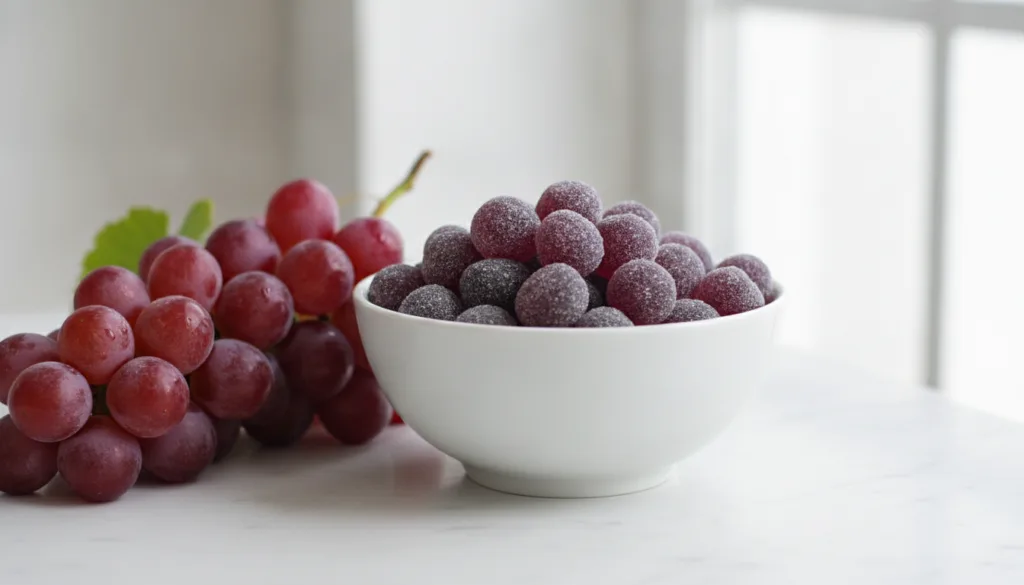
These naturally sweet grape squares are a delightful and refreshing treat, packed with fruity flavor.
Servings: 4-6
Prep time: 15 minutes
Cook / chill / rest time: 2 hours 10 minutes
Ingredients:
- 1.5 cups Grapes, red or green, stems removed
- 1/4 cup Granulated Sugar
- 1/4 cup Cornstarch
- 1/2 cup Water
- 1 tbsp Lemon Juice, fresh
Instructions:
- Blend grapes until smooth.
- In a saucepan, combine the blended grapes, granulated sugar, cornstarch, water, and lemon juice.
- Cook over medium heat, stirring constantly, until the mixture thickens significantly and pulls away from the sides of the pan. This usually takes about 5-7 minutes.
- Pour the mixture into desired silicone molds or a shallow, parchment-lined dish.
- Chill in the refrigerator for at least 2 hours, or until completely firm.
- Once set, cut into shapes or unmold. Optionally, roll in granulated sugar for a slightly sweeter finish.
Storage / Serving / Usage Note: Store in an airtight container in the refrigerator for up to 5 days. A fun treat for all ages.
Simple Tips for Best Results
- Choose Ripe Fruit: The riper the fruit, the more natural sweetness your candies will have, reducing the need for extra sugar.
- Adjust Sweetness: Taste your fruit puree before adding sugar. Adjust the amount of sugar according to your fruit’s natural sweetness and your preference.
- Thickening is Key: Ensure the mixture cooks long enough to thicken significantly. This is crucial for the candies to set properly. It should be thick like jam or a very thick sauce.
- Use Silicone Molds: Silicone molds make unmolding incredibly easy and allow for fun shapes. If using a dish, line it with parchment paper for easy removal.
- Chill Thoroughly: Don’t rush the chilling process. At least 2 hours, or until fully firm, is essential for perfect texture.
- Storage: Always store homemade fruit candies in the refrigerator due to their fresh fruit content.
FAQ
Can I use frozen fruit for these recipes?
Yes, absolutely! Frozen fruit works just as well. Simply thaw it partially before blending for the best consistency.
How can I make these candies less sweet?
You can reduce the amount of granulated sugar or omit it entirely if your fruit is very sweet. The lemon juice helps balance the flavor.
What if my candy doesn’t set?
If your candy doesn’t set, it likely didn’t cook long enough to activate the cornstarch sufficiently. You can gently reheat the mixture, stirring constantly, until it thickens more, then re-chill.
Final Thoughts
Making your own homemade fruit candy is a rewarding way to enjoy sweet treats without artificial additives. These six vibrant recipes offer a spectrum of flavors, making it easy to find a new favorite. Experiment with different fruits, shapes, and coatings to personalize your candies. Enjoy the simple pleasure of a wholesome, delicious treat made right in your kitchen!
MEDICAL DISCLAIMER:
The information provided in this article is for general informational purposes only and does not constitute medical advice. Always consult with a qualified healthcare professional before making any decisions related to your health or diet, especially if you have existing medical conditions or dietary restrictions.