Are you dreaming of incredibly soft, supple, and radiant skin? We all want that healthy glow, and sometimes the simplest solutions are the best. Today, we’re diving into a wonderful DIY beauty hack that combines two powerhouse ingredients you might already have in your home: Nivea Creme and olive oil!
This simple, yet luxurious blend is perfect as a revitalizing overnight treatment. It harnesses the deeply moisturizing power of Nivea Creme with the nourishing benefits of olive oil to leave your skin feeling wonderfully smooth and looking bright by morning. It’s an affordable and effective way to give your skin a little extra love.
The Magic Duo: Nivea Creme & Olive Oil
Before we jump into the recipe, let’s understand why these two ingredients work so well together:
Nivea Creme: A Classic for Deep Moisture
Nivea Creme has been a beloved skincare staple for generations, known for its rich, thick formula that provides intense hydration. It’s excellent for:
- Deep Moisturizing: Its occlusive properties help lock in moisture, creating a protective barrier on the skin.
- Soothing Dryness: Perfect for areas prone to dryness, like elbows, knees, and even the face for those with dry skin types.
- Accessibility: Widely available and budget-friendly.
Olive Oil: Nature’s Nourishing Elixir
Olive oil isn’t just for cooking; it’s a fantastic natural ingredient for skincare, packed with goodness:
- Rich in Antioxidants: Contains vitamins A, E, and K, which help protect the skin from environmental stressors.
- Deeply Moisturizing: A natural emollient that helps to soften and hydrate the skin without clogging pores for most skin types.
- Anti-inflammatory Properties: Can help soothe irritated skin.
- Enhances Glow: Regular use can contribute to a healthier, more radiant complexion.
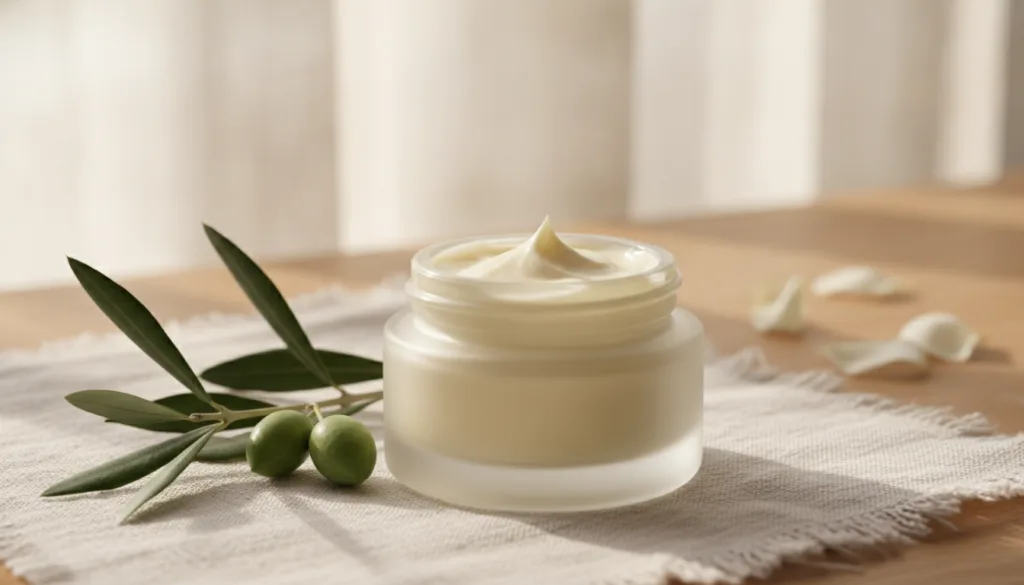
How to Make Your Olive Oil Creme
This DIY recipe is incredibly simple and takes just a few minutes to prepare. You’ll only need two ingredients!
What You’ll Need:
- 1 small container of Nivea Creme (the classic blue tin works perfectly)
- 1-2 teaspoons of extra virgin olive oil
- A clean, small container or jar for storage
- A small spoon or spatula for mixing
Step-by-Step Instructions:
- Scoop out Nivea Creme: Open your Nivea Creme tin and scoop a generous amount into your clean, empty container. The amount depends on how much you want to make; you can start with about 2-3 tablespoons.
- Add Olive Oil: Drizzle 1-2 teaspoons of extra virgin olive oil over the Nivea Creme. Start with one teaspoon and add more if you prefer a richer consistency.
- Mix Thoroughly: Using your spoon or spatula, mix the Nivea Creme and olive oil together. Stir gently but thoroughly until the olive oil is fully incorporated and you have a smooth, consistent cream. It might take a few minutes to get the perfect blend.
- Store: Once mixed, close the lid on your container. Your homemade olive oil creme is ready to use!
How to Use Your Overnight Olive Oil Creme
This cream is best applied before bedtime, allowing the ingredients to work their magic while you sleep.
Application Steps:
- Cleanse Your Face: Start with a freshly cleansed face, removing all makeup and impurities.
- Tone (Optional): If you use a toner, apply it now.
- Apply the Creme: Take a small amount of your homemade olive oil creme and gently warm it between your fingertips.
- Massage into Skin: Apply it evenly to your face and neck, massaging in gentle upward motions. Pay extra attention to any dry patches.
- Enjoy Your Beauty Sleep: Leave the cream on overnight. It will absorb into your skin, providing deep nourishment.
- Wake Up Glowing: In the morning, simply rinse your face with lukewarm water and continue with your usual morning skincare routine. You’ll likely notice softer, more hydrated skin!
Tips for Best Results
- Patch Test: Before applying to your entire face, always do a patch test on a small area of your skin to ensure you don’t have any adverse reactions.
- Adjust Oil Amount: If you have oilier skin, you might want to use slightly less olive oil. For very dry skin, you can add a bit more.
- Consistency is Key: For the best results, try to use this overnight treatment a few times a week, or whenever your skin needs an extra boost of moisture.
- Storage: Store your homemade cream in a cool, dark place. Since it’s a DIY product, it’s best to make small batches and use them within a few weeks to ensure freshness.
Remember, while DIY recipes are wonderful for natural beauty, they are not a substitute for professional medical advice or treatment for skin conditions. Always listen to your skin and consult a dermatologist if you have specific concerns.
We hope you love trying out this simple yet effective olive oil creme. It’s a beautiful way to treat your skin to some natural goodness and wake up with a lovely, healthy-looking glow!
Have you tried this hack or a similar one? Share your experience in the comments below!