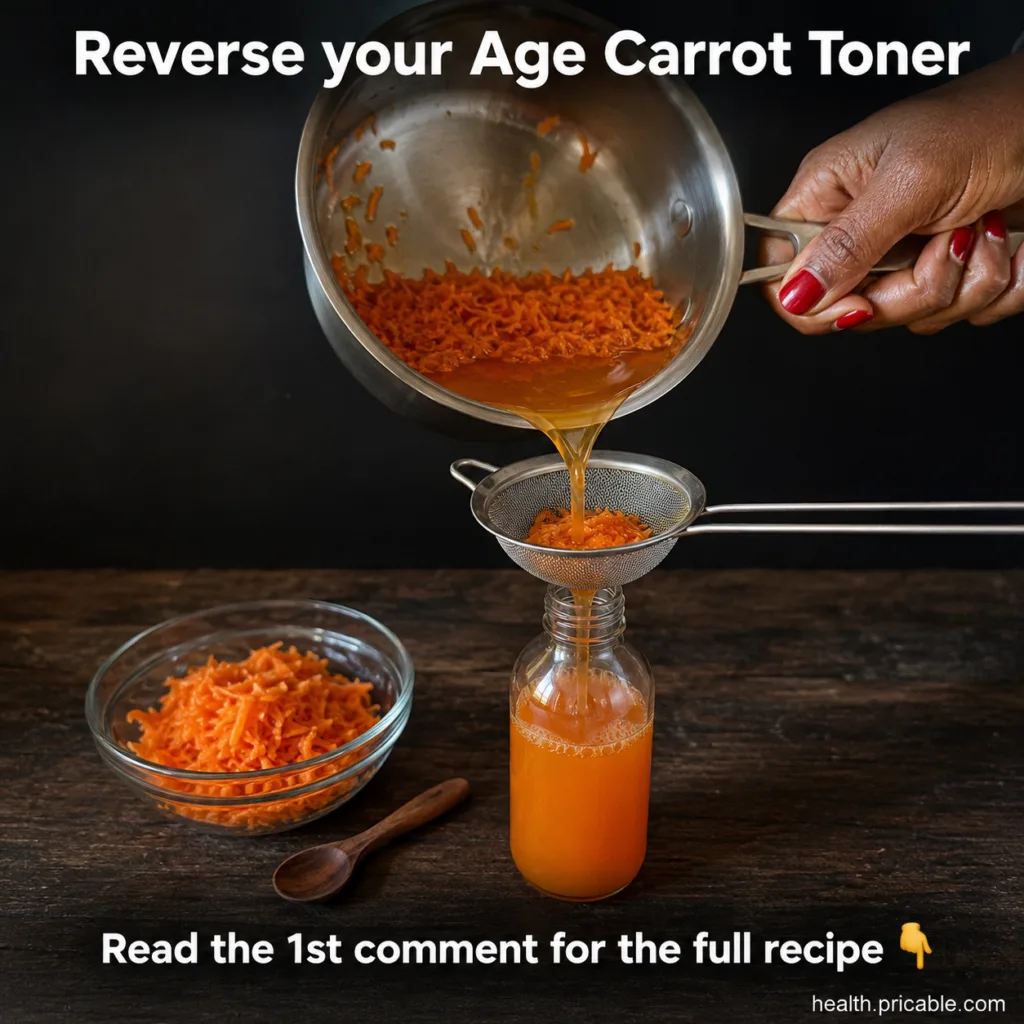
Embrace a natural glow with a simple homemade beauty solution. This DIY carrot toner is an easy-to-make recipe designed to support a smoother, more radiant, and youthful-looking complexion using everyday ingredients.
Quick Recipe
Start creating your refreshing carrot toner today with this straightforward recipe.
- Prep time: 15 minutes (plus cooling time)
- Best for: Dull skin, uneven skin tone, supporting a youthful glow
- Use type: Toner
- Main ingredients:
- Carrots
- Distilled water
Ingredients
- 1-2 medium-sized fresh carrots
- 1 cup (240ml) distilled water (or good quality filtered water)
- Optional: ½ teaspoon vegetable glycerin (for added hydration)
- Optional: 2-3 drops of a skin-friendly essential oil, such as lavender or rose (ensure it’s diluted and suitable for facial use)
How to Make It
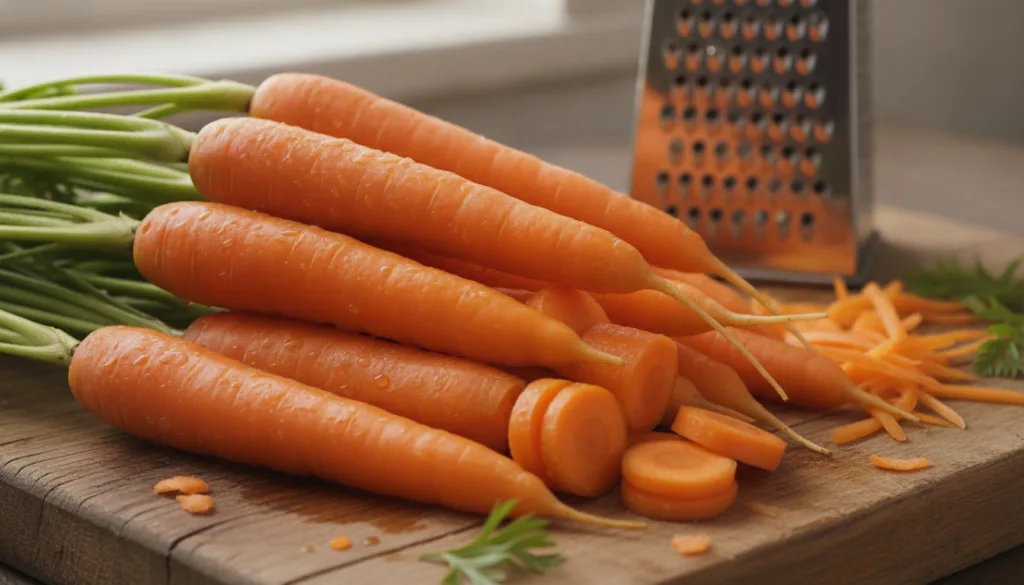
- Prepare the Carrots: Wash and peel your carrots. Finely grate them using a grater or a food processor. You should have about ½ to ¾ cup of grated carrots.
- Simmer the Mixture: In a small saucepan, combine the grated carrots and the distilled water. Bring the mixture to a gentle simmer over medium heat, then reduce the heat to low. Let it simmer for about 10-15 minutes, or until the carrots are soft and the water has absorbed some of their color and nutrients.
- Cool and Strain: Remove the saucepan from the heat and let the mixture cool completely. Once cool, strain the liquid through a fine-mesh sieve or a cheesecloth into a clean glass bottle or jar. Press down on the carrot pulp to extract as much liquid as possible. Discard the pulp.
- Add Optional Ingredients: If desired, stir in ½ teaspoon of vegetable glycerin and 2-3 drops of your chosen essential oil. Mix well.
- Store: Transfer the toner to an airtight, clean glass bottle. Store it in the refrigerator to maintain freshness.
How to Use It
- Cleanse: Begin with a freshly cleansed face.
- Apply Toner: Pour a small amount of the carrot toner onto a cotton pad. Gently sweep it across your face and neck, avoiding the eye area.
- Follow Up: Allow the toner to air dry for a moment, then follow with your favorite moisturizer or serum to lock in hydration.

How Often to Use It
For best results, you can use your DIY carrot toner once or twice daily, in the morning and evening, after cleansing and before moisturizing. Consistency is key for seeing potential benefits.
Why These Ingredients Are Used
Carrots
Carrots are widely recognized for being rich in beta-carotene, a powerful antioxidant that the body converts into Vitamin A. This vitamin is known to support skin health, helping to maintain a smooth-looking texture and a fresh glow. Antioxidants help protect the skin from environmental stressors that can contribute to the appearance of premature aging.
Distilled Water
Using distilled water ensures that your toner is free from impurities, minerals, and chemicals commonly found in tap water. This provides a clean, pure base for your skin remedy, reducing the chance of irritation from waterborne contaminants.
Vegetable Glycerin (Optional)
Vegetable glycerin is a natural humectant, meaning it attracts and retains moisture. Adding a small amount to your toner can help to hydrate the skin, leaving it feeling soft, supple, and looking plump.
What Results to Expect
With regular use, this DIY carrot toner may help your skin feel softer and appear more hydrated. Many users find it supports a brighter, more radiant-looking complexion and can help improve the appearance of uneven skin tone and fine lines over time. It offers a gentle, natural approach to maintaining skin that looks revitalized and refreshed.
Safety Notes
- Patch Test First: Always perform a patch test on a small, inconspicuous area of your skin (like behind the ear or on the inner arm) 24 hours before applying the toner to your entire face to check for any irritation or allergic reactions.
- Use Gently: Apply the toner with a light hand; avoid harsh rubbing.
- Avoid Irritated or Broken Skin: Do not use this toner on skin that is irritated, broken, or has open wounds.
- Stop Use if Discomfort Occurs: If you experience any redness, itching, burning, or discomfort, discontinue use immediately.
- Refrigeration: Due to the fresh ingredients, this toner must be stored in the refrigerator.
- Shelf Life: Homemade toners typically have a short shelf life. Aim to use this carrot toner within 1-2 weeks. If you notice any changes in smell, color, or consistency, discard it.
- Essential Oils: If using essential oils, ensure they are high-quality, skin-safe, and properly diluted. Avoid if you have sensitive skin or known allergies.
FAQ
How long does homemade carrot toner last?
When stored in an airtight container in the refrigerator, homemade carrot toner typically lasts for 1 to 2 weeks. Always check for any changes in scent or appearance before use.
Can I use this toner on sensitive skin?
While natural, it’s crucial to perform a patch test first, especially if you have sensitive skin. Introduce it gradually into your routine, and if any irritation occurs, discontinue use.
What are the specific benefits of carrots for skin?
Carrots are rich in beta-carotene, a precursor to Vitamin A, which supports skin cell turnover and a healthy complexion. They also contain antioxidants that help protect the skin from environmental damage, contributing to a youthful and radiant appearance.
Final Thoughts
Incorporating a DIY carrot toner into your beauty regimen is a wonderful way to embrace natural ingredients for skin support. This simple recipe offers a refreshing and gentle approach to encourage a more radiant and smoother-looking complexion. Why not give it a try and see the natural glow it may help bring to your skin?