Ever dreamt of having a continuous supply of fresh, zingy ginger right from your own garden or windowsill? Imagine the flavor of truly fresh ginger in your cooking, teas, and remedies. Growing ginger at home is not only achievable but also a deeply rewarding journey. It’s a simple, fascinating process that begins with a little patience and a few easy steps. Let’s dive into the wonderful world of nurturing new ginger life!
Step 1: Selecting Your Ginger Root
Your journey to homegrown ginger starts at the grocery store or a local nursery. Look for ginger roots (rhizomes, actually) that are firm, plump, and free of wrinkles or mold. The most important thing to look for are ‘eyes’ or ‘growth buds’ – small, often light-colored bumps on the ginger skin. These are where new shoots will emerge. If you can find organic ginger, even better, as non-organic ginger is sometimes treated with growth inhibitors.
Step 2: Sprouting Your Ginger (The Patience Phase!)
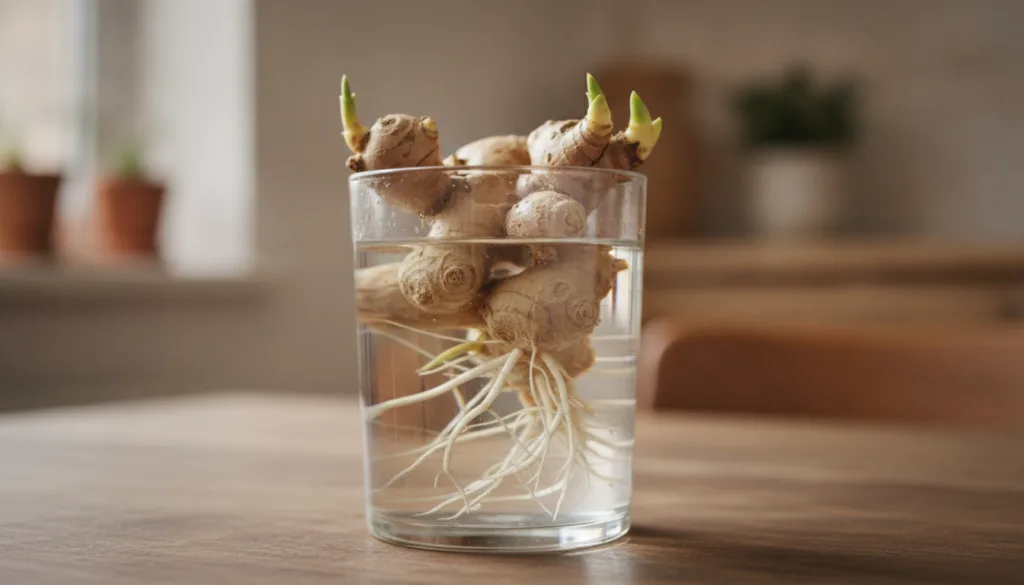
This is where the magic truly begins! Just like our little ginger pieces in a glass of water, you’ll want to encourage those eyes to sprout before planting. There are two popular methods:
Method 1: The Water Method
Place your chosen ginger root, or pieces cut with at least one eye, into a shallow dish or glass of water. Make sure only the bottom portion of the ginger is submerged. Change the water every day or two to prevent mold. Place it in a warm spot with indirect light. Within a week or two, you should start to see small roots forming and green shoots emerging from the eyes.
Method 2: The Soil Method
Alternatively, you can plant the ginger directly into a pot filled with loose, rich potting mix. Bury the ginger about 1-2 inches deep with the eyes facing upwards. Keep the soil consistently moist but not waterlogged. This method can take a bit longer for sprouts to appear, but it’s equally effective.
Step 3: Planting Your Sprouted Ginger
Once your ginger has developed noticeable roots and a few small shoots (about 1-2 inches long), it’s ready for its permanent home.
- Container Choice: Ginger loves space to grow its rhizomes. Choose a wide pot (at least 12-18 inches in diameter) and about 8-10 inches deep. Make sure it has good drainage holes.
- Soil: Use a rich, well-draining potting mix. A blend of compost, coco coir, or peat moss, and perlite works well. Ginger thrives in slightly acidic to neutral soil (pH 6.0-7.0).
- Planting: Place the sprouted ginger root with the shoots pointing up, about 1-2 inches below the soil surface. If you have multiple pieces, space them at least 6-8 inches apart.
Step 4: Care and Nurturing for Healthy Growth
Location and Light
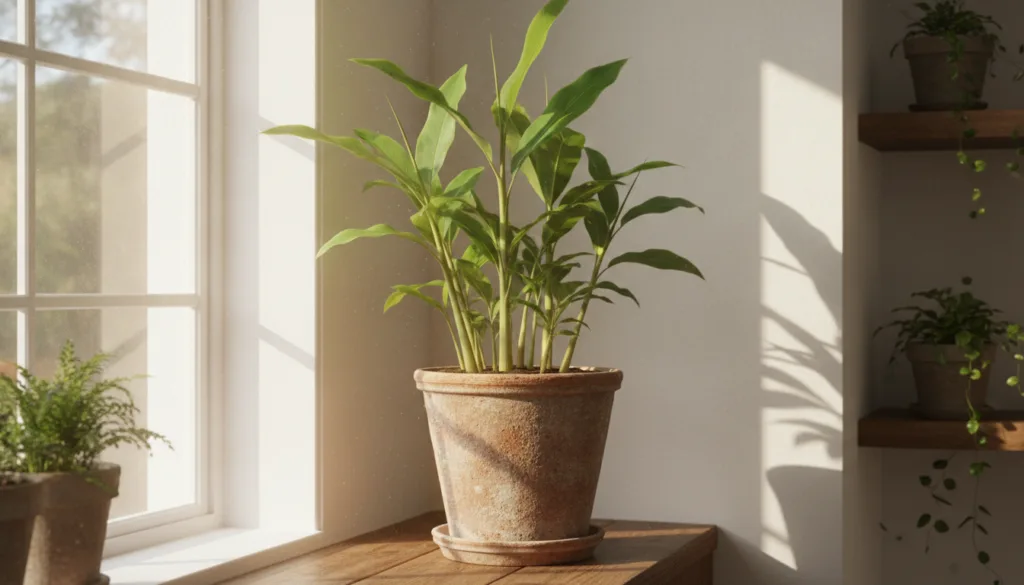
Ginger is a tropical plant, so it loves warmth and humidity. Place your pot in a spot that receives partial shade or indirect sunlight. Too much direct sun can scorch the leaves, especially in hot climates. A spot near a window that gets morning sun or dappled light throughout the day is ideal.
Watering
Keep the soil consistently moist, especially during the growing season. Don’t let it dry out completely, but also avoid overwatering, which can lead to rot. Reduce watering in cooler months when the plant’s growth slows.
Temperature and Humidity
Ginger thrives in temperatures between 70-85°F (21-29°C). If you live in a drier climate, consider misting the leaves occasionally or placing the pot on a pebble tray with water to increase humidity.
Fertilizing
Feed your ginger plant with a balanced liquid fertilizer every 2-4 weeks during the active growing season (spring and summer). Organic options like compost tea or a slow-release granular fertilizer can also be beneficial.
Pest Control
Ginger is relatively resistant to pests, but occasionally you might encounter aphids or spider mites. Inspect your plants regularly and treat any infestations with organic insecticidal soap or neem oil.
Step 5: Harvesting Your Homegrown Ginger
Patience is key here! Ginger takes a while to mature. You can start harvesting small pieces of ginger approximately 8-10 months after planting, but for a more robust harvest, wait about a year. You’ll know it’s ready when the leaves start to yellow and die back.
How to Harvest:
- Partial Harvest: Gently dig around the edges of the pot and snap off a piece of the rhizome you need, then cover the remaining root with soil to allow it to continue growing.
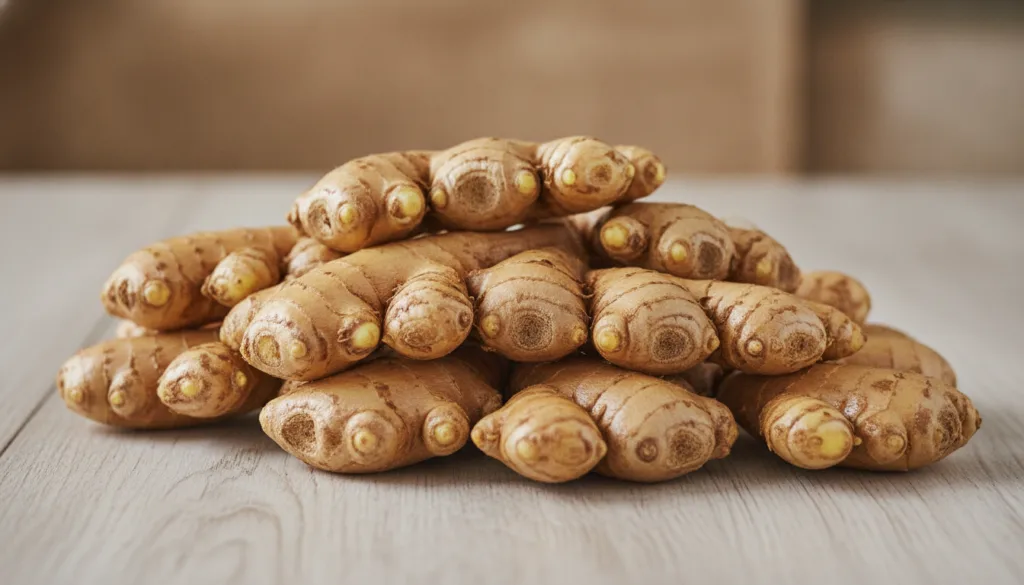
- Full Harvest: For a complete harvest, carefully tip the entire pot and remove the soil. You’ll find a beautiful network of ginger rhizomes! Save a few healthy pieces with eyes to start the process all over again.
Enjoy Your Homegrown Ginger!
From a humble root to a thriving plant, growing your own ginger is an incredibly satisfying experience. Not only will you have access to the freshest ginger for all your culinary and medicinal needs, but you’ll also gain a deeper connection to the plants you nurture. It’s a testament to the simple joys of DIY gardening and the bounty our green friends can provide.
Have you tried growing ginger before? Share your experience, challenges, or any special tips in the comments below! We love hearing from our Garden – L. Quyên community!