Dreaming of Clearer Pores Without Breaking the Bank?
Who doesn’t want radiant, smooth skin, especially around the nose, where pesky blackheads and enlarged pores often make their grand appearance? The good news is, you don’t need to spend a fortune on expensive treatments or fancy gadgets to achieve that coveted clarity. We’ve got an incredible, zero-cost DIY pore vacuum hack that uses just one humble, yet powerful, ingredient: an egg!
Yes, you read that right! This natural home remedy is super simple to prepare and can help you achieve a cleaner, smoother nose in as little as 5 minutes. It’s all about embracing natural solutions for beautiful, healthy skin right from your own kitchen. Let’s dive into this easy-peasy beauty secret!
Why Egg Whites Are Your Pores’ New Best Friend
Before we jump into the ‘how-to,’ let’s understand why egg whites are so fantastic for your skin:
- Pore Cleansing Power: Egg whites have astringent properties that can help tighten pores temporarily, making them appear smaller. As they dry, they can also gently pull out impurities, dirt, and blackheads from your pores.
- Skin Tightening: The proteins in egg whites can provide a temporary lifting and firming effect, making your skin feel smoother and look more toned.
- Oil Control: For those with oily skin, egg whites can help absorb excess oil, reducing shine and preventing future breakouts.
- Rich in Nutrients: They contain beneficial proteins and vitamins that are good for overall skin health.
The 5-Minute DIY Egg White Pore Vacuum Hack: Step-by-Step
Ready to try this amazing natural remedy? Here’s everything you need and how to do it!
What You’ll Need:
- 1 fresh egg (preferably organic)
- A small bowl
- A clean makeup brush or cotton ball
- Tissue paper or toilet paper (unscented)
Instructions:
- Prepare Your Skin: Start with a clean face. Wash your face with your regular gentle cleanser to remove any makeup, dirt, or oil. Pat dry.
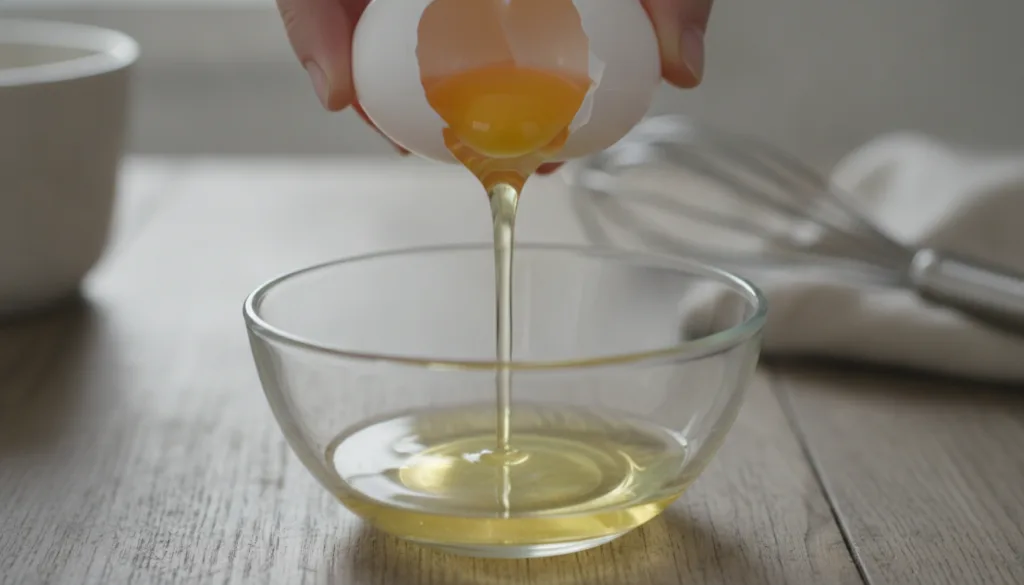
- Separate the Egg White: Carefully crack the egg and separate the egg white from the yolk. Place the egg white into a small bowl.
- Whisk (Optional): You can lightly whisk the egg white for a few seconds until it’s slightly frothy. This makes it a bit easier to apply.
- Apply the First Layer: Using your clean brush or cotton ball, apply a thin, even layer of egg white directly onto the areas you want to treat (usually your nose, forehead, and chin). Avoid the eye area.
- Apply Tissue Strips: Immediately after applying the first layer, take thin strips of tissue paper or toilet paper and gently lay them over the wet egg white. Press them down gently to ensure they adhere to your skin.
- Apply the Second Layer: Once the tissue strips are in place, apply another layer of egg white over the tissue, saturating it completely.
- Let it Dry: Allow the mask to dry completely, which usually takes about 5-10 minutes. You’ll feel your skin tightening as it dries. Make sure it’s completely dry and stiff before moving to the next step.
- Peel it Off: Once fully dry, gently peel off the tissue strips, starting from the edges and slowly working your way inward. You might be surprised by what you see on the tissue – that’s the