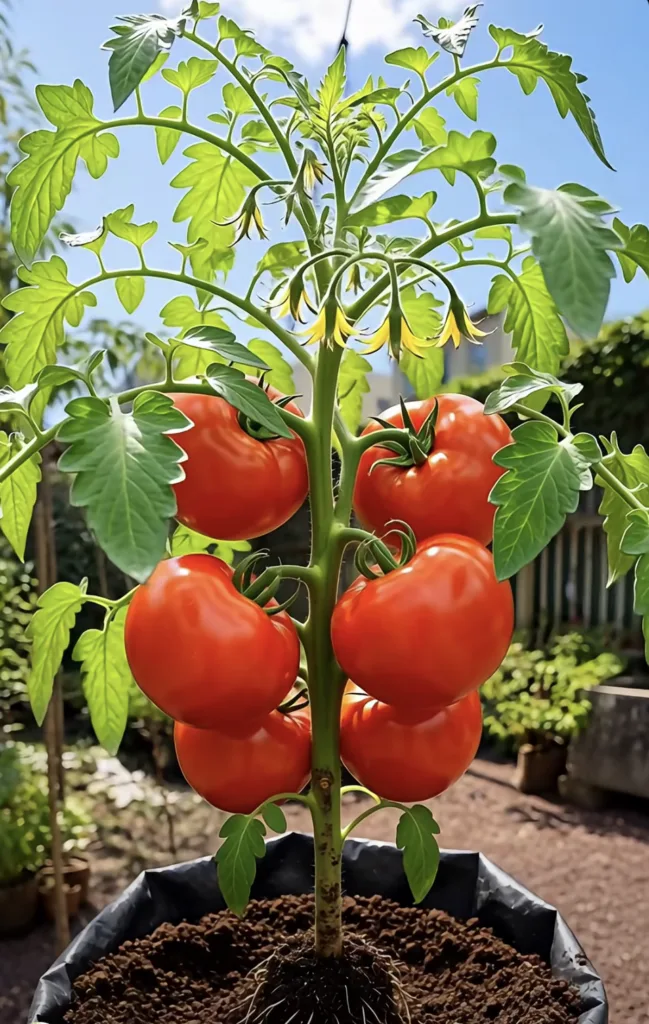
You don’t need a huge backyard to grow juicy homegrown tomatoes. A 30L grow bag can provide enough room for many compact or medium-sized tomato varieties, and it’s easy to set up on a patio, balcony, or small garden.
This viral-style method uses straw, kitchen scraps, charcoal, and rich soil to create a layered planting bag. Here’s how to do it—and a few tips to make the method more garden-friendly.
What You’ll Need
- 1 black 30L grow bag
- A small handful of dry straw
- A small amount of potato peels
- A handful of dry onion skins
- A few small pieces of clean natural charcoal or horticultural biochar
- High-quality potting mix
- Compost
- 1 healthy tomato seedling
- Water
- Tomato stake or cage
Step 1: Prepare the Grow Bag
Place the 30L grow bag in a sunny location before filling it.
Tomatoes generally perform best with plenty of direct sunlight, so choose the brightest area available.
Make sure the bag has good drainage holes.
Step 2: Add a Thin Layer of Straw
Place a small, loose handful of dry straw at the bottom of the bag.
Avoid creating a thick compact layer. Too much straw can shrink and decompose over time.
For container plants, drainage mainly comes from using a well-draining potting mix and having drainage holes rather than from building thick drainage layers.
Step 3: Add Potato Peels
Scatter a small amount of fresh potato peel over the straw.
Potato peels contain organic material that will gradually break down.
However, don’t add a large quantity of raw kitchen scraps to a container. They can smell, attract insects, or decompose unevenly.
For the safest option, compost the potato peels first and use finished compost instead.
Step 4: Add Onion Skins
Sprinkle a thin layer of dry onion skins over the potato peels.
Onion skins can eventually break down and become part of the organic matter in the soil.
Again, moderation is important. A tomato grow bag should contain mostly quality potting soil rather than kitchen scraps.
Step 5: Add Charcoal or Biochar
Add a few small pieces of clean, untreated charcoal or horticultural biochar.
Never use ash or charcoal made from:
- Painted wood
- Treated lumber
- Household waste
- Chemical fire starters
- Charcoal briquettes containing additives
Biochar is usually the better gardening option.
For even better results, mix biochar with compost before adding it so it can absorb nutrients before going into the grow bag.
Step 6: Fill With Potting Mix
Fill most of the grow bag with a rich, loose potting mixture.
A simple blend can include:
- 70–80% quality potting mix
- 20–30% finished compost
Leave several centimeters of space at the top to make watering easier.
Lightly press the soil, but don’t compact it heavily.
Step 7: Plant the Tomato Seedling
Make a hole in the center of the grow bag.
Remove the tomato seedling carefully from its nursery container and place it into the hole.
Tomatoes can be planted slightly deeper than many other vegetables because buried portions of the stem can produce additional roots.
Fill around the plant with soil and gently press it into place.
Step 8: Water Thoroughly
Water slowly until moisture begins draining from the bottom of the grow bag.
After planting, keep the soil consistently moist but not permanently soggy.
Grow bags can dry faster than traditional garden beds, especially during hot weather, so check the soil regularly.
Step 9: Give the Plant Support
Add a tomato cage, bamboo stake, or other support while the plant is still young.
As the plant grows, loosely tie the stems to the support.
This prevents heavy branches and tomato clusters from falling onto the ground.
Step 10: Feed as the Plant Grows
Once your tomato plant begins growing strongly, it will eventually need more nutrition than decomposing household scraps can provide.
Use compost or a balanced tomato fertilizer according to the product instructions.
When flowering and fruiting begin, adequate potassium and consistent watering become especially important.
When Will You Get Tomatoes?
Depending on the variety and growing conditions, tomatoes commonly need several weeks after transplanting before flowering and producing mature fruit.
First you’ll see:
🌱 New green growth
🌼 Yellow tomato flowers
🍅 Small green tomatoes
❤️ Finally, ripe red fruit
Harvest tomatoes when they reach their mature color and feel slightly soft when gently squeezed.
Important Garden Tip
The dramatic “straw → potato peels → onion skins → charcoal → soil” layering method looks great in short videos, but raw kitchen scraps are not necessary for successful container tomatoes.
For a more reliable setup, replace most raw scraps with finished compost and mix organic matter evenly through the potting soil.
Good soil, sunlight, consistent watering, and proper plant nutrition will have a much bigger impact on your tomato harvest.
Final Thoughts
Growing tomatoes in a 30L bag is one of the easiest ways to start a small vegetable garden.
Give your plant:
☀️ Plenty of sunlight
💧 Consistent moisture
🌱 Rich, well-draining soil
🍅 Regular nutrition
🪴 Enough root space
Take care of those basics, and you could soon be picking fresh tomatoes straight from your own garden.
Save this guide for planting season! 🍅🌱
#TomatoGrowing #GardenHacks #GrowYourOwn #GardeningTips #VegetableGarden