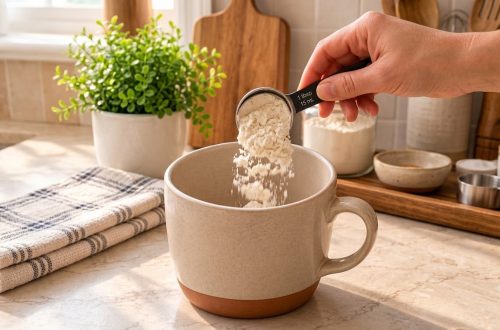
Ever found yourself in the middle of a baking project, only to realize you’ve run out of sweetened condensed milk? Don’t let an empty can derail your delicious plans! Making your own homemade sweetened condensed milk is surprisingly simple, requires just a few basic pantry staples, and tastes incredibly rich and creamy. It’s a game-changer for any home baker or dessert lover.
This resourceful kitchen hack not only saves you a trip to the store but also gives you complete control over the ingredients. Plus, there’s immense satisfaction in creating such a versatile ingredient from scratch. Once you master this fundamental recipe, a world of sweet possibilities opens up!
Quick Overview
- Main topic: Homemade Sweetened Condensed Milk & recipes using it
- Best for: Home bakers, dessert lovers, resourceful cooks
- Number of recipes: 8
- Prep style: Simple, mostly no-bake or minimal cooking
- Reader benefit: Learn to make a pantry staple from scratch and use it in delicious desserts and drinks.
Recipe 1: Homemade Sweetened Condensed Milk
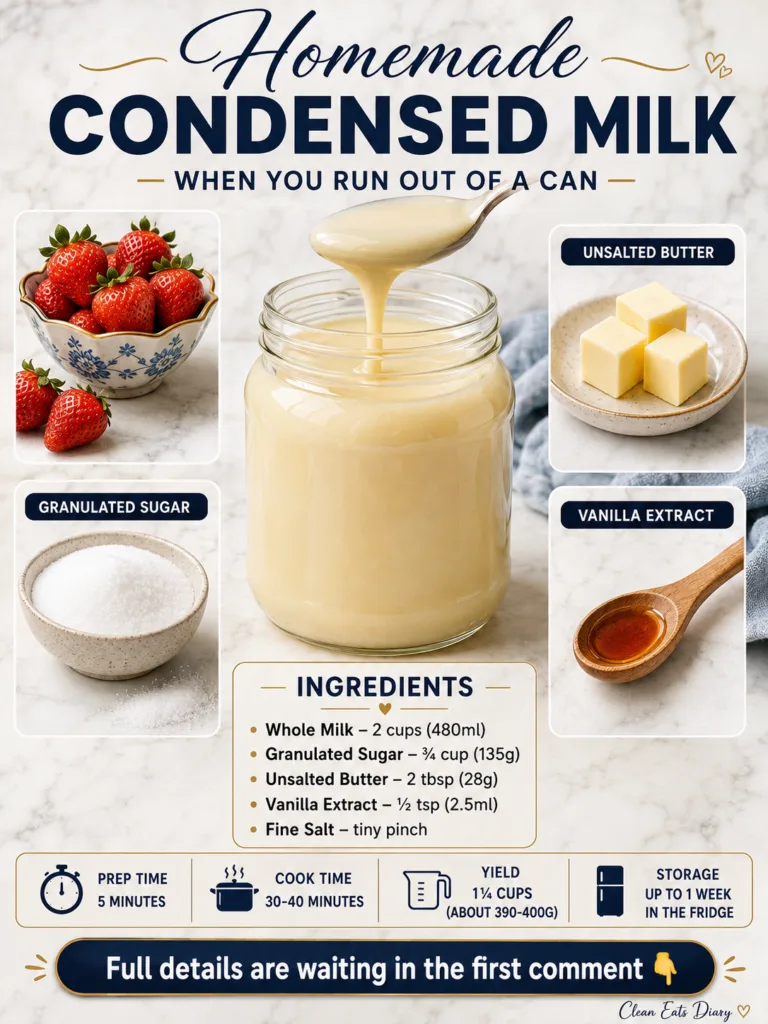
This is your go-to recipe for when you need sweetened condensed milk in a pinch. It’s incredibly easy to make with ingredients you likely already have.
Servings: 1¼ cups (about 390-400g)
Prep time: 5 minutes
Cook / chill / rest time: 30-40 minutes cook time, plus cooling
Ingredients:
- 4 cups Whole Milk
- 1.5 cups Granulated Sugar
- 2 tbsp Unsalted Butter
- 1 tsp Vanilla Extract
- A pinch of Fine Salt
Instructions:
- In a medium-sized heavy-bottomed saucepan, combine the whole milk, granulated sugar, unsalted butter, and fine salt.
- Bring the mixture to a gentle simmer over medium heat, stirring occasionally with a whisk or wooden spoon until the sugar completely dissolves. Do not let it boil vigorously.
- Once simmering, reduce the heat to low and continue to simmer gently. Stir frequently (every 5-10 minutes) to prevent scorching on the bottom and to ensure even reduction.
- Continue simmering for about 30-40 minutes, or until the mixture has significantly thickened and reduced by about half. It should coat the back of a spoon.
- Remove the saucepan from the heat and stir in the vanilla extract.
- Pour the condensed milk into a heatproof jar or container. Let it cool completely at room temperature before covering. It will continue to thicken as it cools.
Storage / Serving / Usage Note: Store homemade sweetened condensed milk in an airtight jar in the refrigerator for up to 1 week. Use it just as you would store-bought condensed milk.
Recipe 2: No-Bake Key Lime Pie
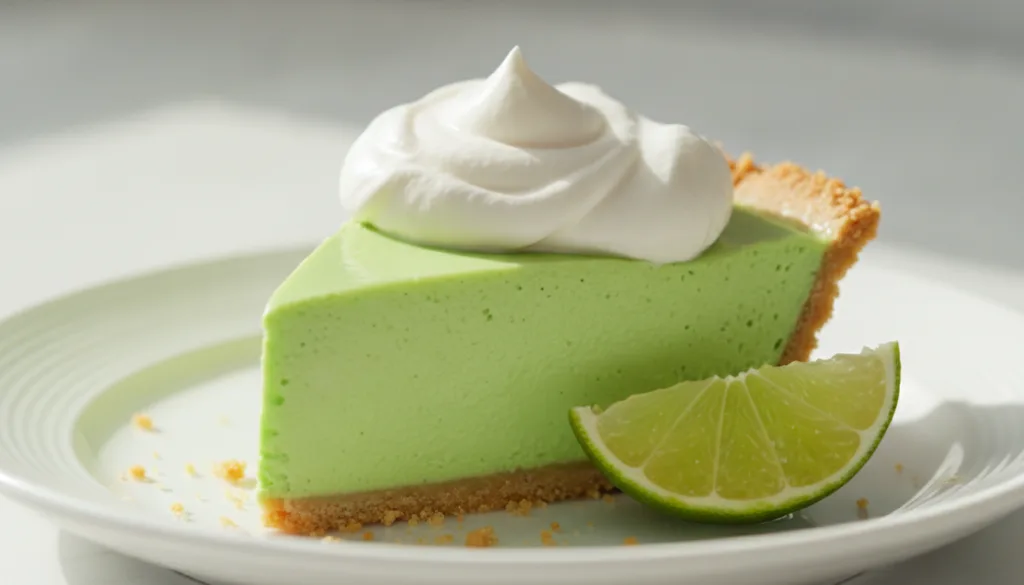
A classic dessert that highlights the creamy texture and sweetness of condensed milk, balanced with tart lime.
Servings: 8
Prep time: 15 minutes
Cook / chill / rest time: 4 hours chill time
Ingredients:
- 1 (9-inch) graham cracker pie crust
- 1 (14-ounce) can Homemade Sweetened Condensed Milk
- ½ cup Key Lime juice (or regular lime juice)
- 1 tsp Lime Zest
- Optional: Whipped cream and lime slices for garnish
Instructions:
- In a large bowl, whisk together the homemade sweetened condensed milk, key lime juice, and lime zest until smooth and well combined.
- Pour the mixture into the graham cracker pie crust.
- Refrigerate for at least 4 hours, or until the pie is set.
- Before serving, garnish with whipped cream and fresh lime slices, if desired.
Storage / Serving / Usage Note: Store leftover pie covered in the refrigerator for up to 3-4 days. Serve chilled.
Recipe 3: Easy Dulce de Leche
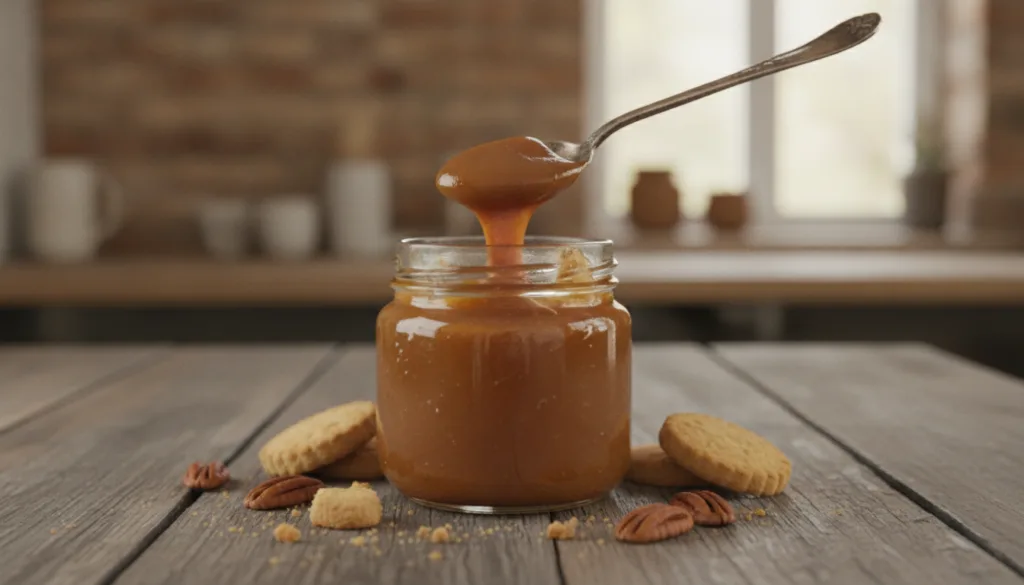
This simple method turns sweetened condensed milk into a luscious caramel sauce, perfect for desserts or toast.
Servings: 1¼ cups
Prep time: 2 minutes
Cook / chill / rest time: 2-3 hours simmer time
Ingredients:
- 1 (14-ounce) can Homemade Sweetened Condensed Milk (or 1¼ cups of your homemade batch)
Instructions:
- Carefully remove the label from the can of homemade sweetened condensed milk (if using a store-bought can, make sure it’s a can, not a carton).
- Place the unopened can horizontally in a large pot. Fill the pot with water, ensuring the can is completely submerged by at least an inch.
- Bring the water to a boil, then reduce heat to a simmer. Cover the pot and simmer for 2 to 3 hours, adding more water as needed to keep the can fully submerged. (Alternatively, you can pour your homemade condensed milk into an oven-safe glass jar with a lid, place it in a water bath in the oven at 350°F (175°C) for 2-3 hours).
- Carefully remove the can from the water using tongs and let it cool completely before opening.
- Once cool, open the can to reveal thick, caramel-colored dulce de leche.
Storage / Serving / Usage Note: Transfer to an airtight container and store in the refrigerator for up to 3 weeks. Enjoy over ice cream, as a dip for fruit, or spread on toast.
Recipe 4: 3-Ingredient Peanut Butter Fudge
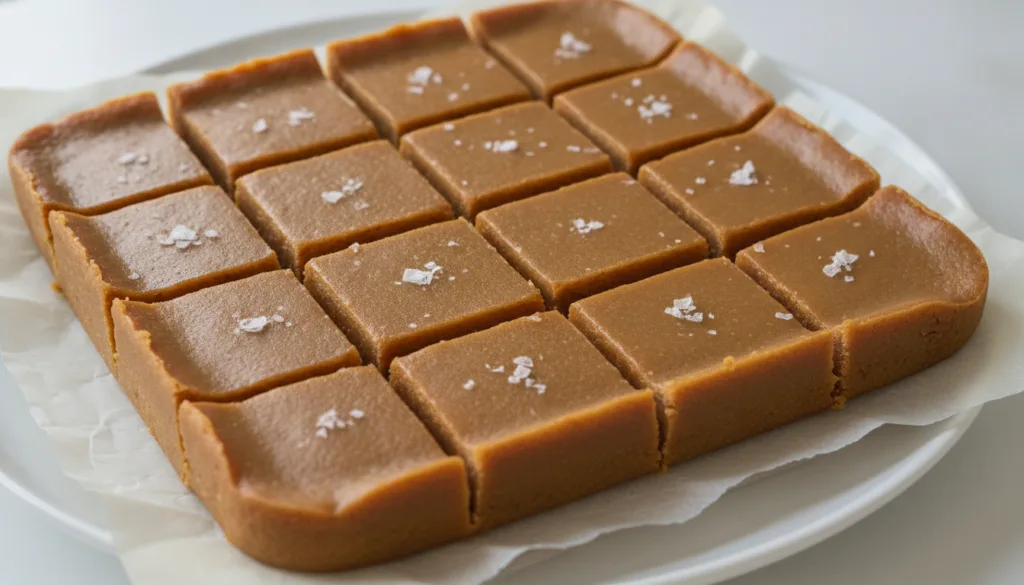
This super simple fudge recipe uses condensed milk to create a creamy, no-fail dessert that’s perfect for gifts or quick indulgence.
Servings: 16-20 pieces
Prep time: 10 minutes
Cook / chill / rest time: 2 hours chill time
Ingredients:
- 1 (14-ounce) can Homemade Sweetened Condensed Milk
- 1 cup Peanut Butter (creamy or crunchy)
- 1 cup Semi-Sweet Chocolate Chips (optional, for swirl)
Instructions:
- Line an 8×8 inch baking pan with parchment paper, leaving an overhang on the sides.
- In a microwave-safe bowl, combine the sweetened condensed milk and peanut butter.
- Microwave on high for 1 minute, then stir until smooth. If not fully melted, microwave for another 30 seconds and stir again. Alternatively, heat in a saucepan over low heat, stirring constantly, until smooth.
- Pour the mixture into the prepared pan and spread evenly.
- If adding chocolate swirl: Melt chocolate chips in a separate bowl. Drizzle over the peanut butter fudge and swirl gently with a knife.
- Refrigerate for at least 2 hours, or until firm.
- Once firm, use the parchment paper overhang to lift the fudge out of the pan. Cut into squares.
Storage / Serving / Usage Note: Store fudge in an airtight container at room temperature for up to 1 week or in the refrigerator for longer.
Recipe 5: Creamy Vietnamese Iced Coffee (Cà Phê Sữa Đá)

A beloved classic, this rich and sweet iced coffee is made even better with your homemade condensed milk.
Servings: 1
Prep time: 2 minutes
Cook / chill / rest time: 5-7 minutes brew time
Ingredients:
- 2 tbsp Dark Roast Coffee, coarsely ground (preferably Vietnamese coffee)
- ¼ cup Hot Water
- 2-3 tbsp Homemade Sweetened Condensed Milk (adjust to taste)
- ½ cup Ice Cubes
Instructions:
- Place the sweetened condensed milk at the bottom of a heatproof glass.
- If using a Vietnamese phin filter: Place the filter over the glass. Add the ground coffee to the filter. Gently press down the tamper. Pour about 1 tbsp of hot water over the coffee and let it bloom for 20 seconds. Then fill the filter with the remaining hot water. Let it drip through completely (about 5-7 minutes).
- If not using a phin filter: Brew a very strong, small batch of coffee using your preferred method (French press, AeroPress, espresso machine) using the listed coffee and water quantities.
- Stir the hot coffee into the condensed milk until well combined.
- Fill the glass with ice cubes. Stir again and enjoy.
Storage / Serving / Usage Note: Best served immediately for optimal flavor and chill.
Recipe 6: Coconut Macaroons

These naturally gluten-free cookies use sweetened condensed milk as a binder and sweetener, resulting in perfectly chewy macaroons.
Servings: 24
Prep time: 10 minutes
Cook / chill / rest time: 20-25 minutes bake time
Ingredients:
- 1 (14-ounce) can Homemade Sweetened Condensed Milk
- 1 tsp Vanilla Extract
- 1 large Egg White
- ½ tsp Salt
- 7 ounces Sweetened Shredded Coconut (about 2½ cups)
Instructions:
- Preheat oven to 325°F (160°C). Line a baking sheet with parchment paper.
- In a large bowl, combine the sweetened condensed milk, vanilla extract, egg white, and salt. Stir well until thoroughly mixed.
- Add the shredded coconut and stir until all the coconut is coated.
- Using a small cookie scoop or two spoons, drop rounded mounds of the coconut mixture onto the prepared baking sheet, about 1 inch apart.
- Bake for 20-25 minutes, or until the macaroons are golden brown around the edges and lightly toasted on top.
- Remove from oven and let cool completely on the baking sheet before transferring to an airtight container.
Storage / Serving / Usage Note: Store in an airtight container at room temperature for up to 5 days.
Recipe 7: Magic Cookie Bars
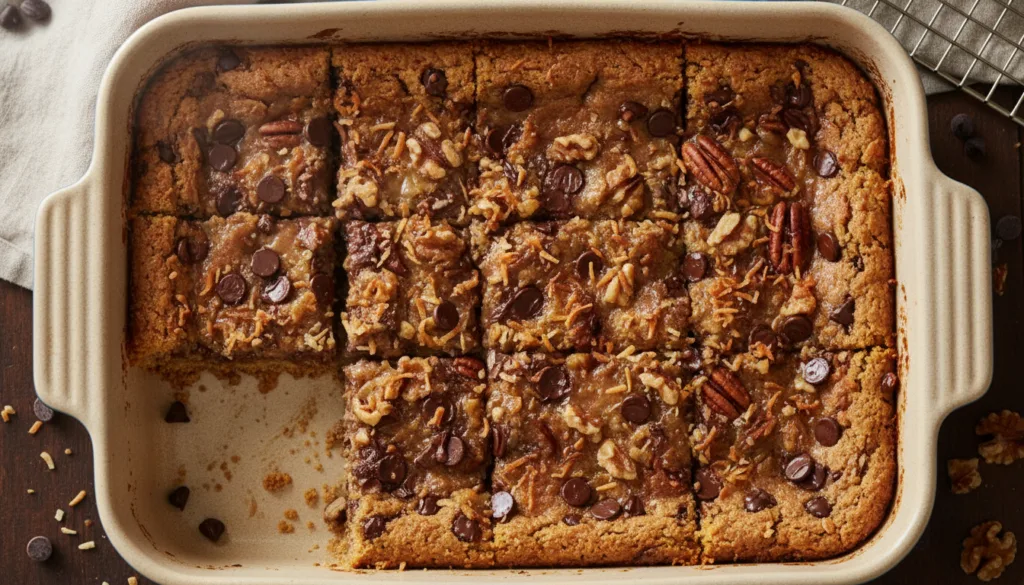
These classic bars live up to their name with an irresistible combination of textures and flavors, all held together by a generous pour of sweetened condensed milk.
Servings: 16-24
Prep time: 10 minutes
Cook / chill / rest time: 25-30 minutes bake time
Ingredients:
- ½ cup Unsalted Butter, melted
- 1½ cups Graham Cracker Crumbs
- 1 (14-ounce) can Homemade Sweetened Condensed Milk
- 1 cup Semi-Sweet Chocolate Chips
- 1 cup Butterscotch Chips
- 1 cup Shredded Coconut
- 1 cup Chopped Pecans or Walnuts
Instructions:
- Preheat oven to 350°F (175°C). Line a 9×13 inch baking pan with parchment paper or aluminum foil, leaving an overhang on the sides.
- In a medium bowl, combine the melted butter and graham cracker crumbs. Press evenly into the bottom of the prepared pan to form the crust.
- Pour the sweetened condensed milk evenly over the crust.
- Layer the chocolate chips, butterscotch chips, shredded coconut, and chopped nuts evenly over the condensed milk. Do not stir.
- Bake for 25-30 minutes, or until the edges are golden brown and the coconut is lightly toasted.
- Remove from oven and let cool completely in the pan on a wire rack before cutting into bars.
Storage / Serving / Usage Note: Store magic bars in an airtight container at room temperature for up to 4-5 days.
Recipe 8: Creamy Chocolate Caramel Sauce
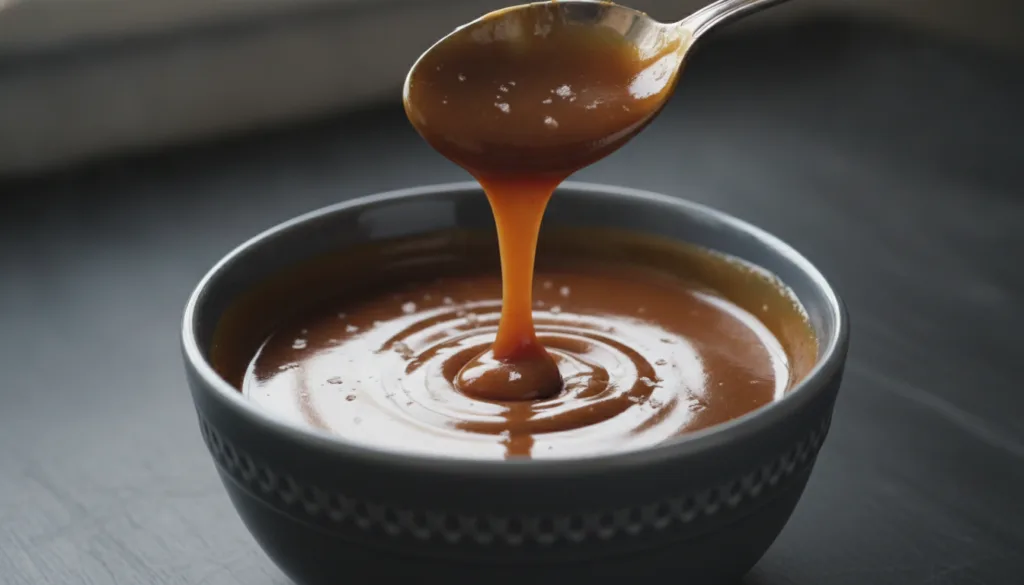
This luxurious sauce combines the richness of chocolate with the sweet depth of caramel, made easy with condensed milk.
Servings: 1½ cups
Prep time: 5 minutes
Cook / chill / rest time: 10 minutes cook time
Ingredients:
- 1 (14-ounce) can Homemade Sweetened Condensed Milk
- ½ cup Water
- ½ cup Granulated Sugar
- ¼ cup Unsweetened Cocoa Powder
- 2 tbsp Unsalted Butter
- 1 tsp Vanilla Extract
- Pinch of Salt
Instructions:
- In a medium saucepan, whisk together the sweetened condensed milk, water, sugar, cocoa powder, and salt until smooth.
- Bring the mixture to a gentle simmer over medium-low heat, stirring constantly, until the sugar dissolves and the sauce thickens slightly (about 5-7 minutes).
- Remove from heat and stir in the unsalted butter and vanilla extract until melted and fully incorporated.
- Pour the sauce into a heatproof jar or container.
Storage / Serving / Usage Note: Store in an airtight jar in the refrigerator for up to 2 weeks. Reheat gently in the microwave or a saucepan for a pourable consistency. Excellent over ice cream, pancakes, or fruit.
Simple Tips for Best Results
- Use Quality Ingredients: For the homemade condensed milk, using good quality whole milk and butter will yield the best flavor and creamy texture.
- Stir Frequently: Especially when making the condensed milk, frequent stirring prevents scorching and ensures even reduction. Don’t walk away!
- Cool Completely: Always allow homemade condensed milk and any no-bake desserts using it to cool or chill completely. This is crucial for achieving the correct thickened consistency.
- Adjust Sweetness: For recipes like Vietnamese iced coffee, feel free to adjust the amount of condensed milk to suit your personal sweetness preference.
- Experiment with Flavors: Don’t be afraid to add a pinch of cinnamon or cardamom to your homemade condensed milk for a unique twist, or experiment with different extracts in your desserts.
FAQ
Can I use low-fat milk for homemade condensed milk?
While you can, whole milk is highly recommended as its higher fat content is crucial for achieving the rich, creamy texture and proper thickening that condensed milk is known for.
How do I know when the homemade condensed milk is ready?
It should have reduced by about half and will coat the back of a spoon. Remember, it will thicken significantly more as it cools.
Can I double the homemade condensed milk recipe?
Yes, you can double the recipe. Just be aware that the cooking time will increase due to the larger volume, so watch for the thickening and reduction to determine readiness.
What are some other common uses for sweetened condensed milk?
Beyond the recipes above, it’s a staple in many no-bake cheesecakes, ice creams, custards, puddings, and various international desserts like tres leches cake and Filipino polvoron.
Final Thoughts
Making your own homemade sweetened condensed milk is a simple act of kitchen resourcefulness that opens up a world of delicious possibilities. From creamy pies to decadent fudges and refreshing coffees, this versatile ingredient is a true dessert hero. Next time you’re out of a can, remember that a few simple ingredients and a little patience are all you need to whip up this golden liquid gold. Enjoy the satisfaction of creating something wonderful from scratch!
MEDICAL DISCLAIMER: The information in this article is for general knowledge and informational purposes only, and does not constitute medical advice. Always consult with a qualified healthcare professional before making any decisions about your health or diet.