Unlock Youthful Skin: The DIY Collagen Cream Hack for a Radiant Glow
Dreaming of radiant, youthful skin without breaking the bank? ✨ Get ready to unlock the secret to a naturally glowing complexion with our simple DIY collagen cream recipe! You don’t need expensive serums or lotions to achieve that coveted youthful look. With just a few everyday ingredients, you can whip up your own rejuvenating potion right at home.
Imagine a noticeably smoother, more glowing complexion that feels amazing and is totally natural. This homemade beauty hack is designed to help you combat fine lines, improve skin elasticity, and bring out your skin’s natural radiance, all while using ingredients you trust.
Why Make Your Own Collagen Cream?
Store-bought collagen creams can be incredibly pricey, and often contain a long list of ingredients that you might not even recognize. By making your own, you gain several fantastic benefits:
- Cost-Effective: Save money on expensive beauty products.
- Natural Ingredients: You control what goes into your cream, ensuring it’s free from harsh chemicals and artificial fragrances.
- Freshness: Enjoy the potency of freshly made ingredients.
- Personalized: Adjust ingredients to suit your specific skin needs.
- Empowering: There’s a wonderful sense of satisfaction in creating your own beauty solutions!
The Power of Collagen for Your Skin
Collagen is the most abundant protein in our bodies, responsible for giving skin its structure, elasticity, and firmness. As we age, our natural collagen production declines, leading to wrinkles, fine lines, and sagging skin. While topical collagen might not penetrate as deeply as ingested collagen, it still offers fantastic benefits for the skin’s surface, helping to hydrate, plump, and create a protective barrier.
Gather Your Ingredients: What You’ll Need
Our DIY collagen cream uses simple, powerful ingredients:
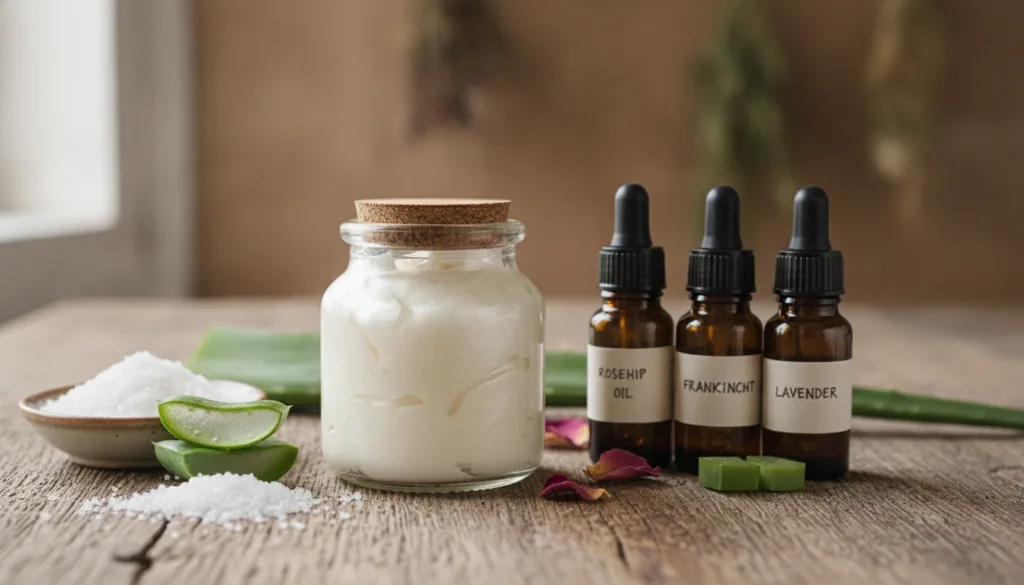
- Unflavored Gelatin Powder (or Hydrolyzed Collagen Powder): This is your collagen source! Gelatin, when mixed with water, forms a gel-like consistency perfect for a cream, and its amino acids are beneficial for skin.
- Aloe Vera Gel: A natural moisturizer, anti-inflammatory, and healer. It’s soothing and helps to hydrate the skin deeply.
- Vitamin E Oil: A powerful antioxidant that helps protect skin from damage, moisturizes, and can help reduce the appearance of scars and dark spots.
- Sweet Almond Oil (or Jojoba Oil): A nourishing carrier oil that is rich in vitamins and fatty acids, helping to moisturize without clogging pores.
- Lavender Essential Oil (Optional): Known for its calming scent and skin-soothing properties. You can also use frankincense or rosehip for added anti-aging benefits.
- Distilled Water: Important for mixing and ensuring the cream remains fresh without impurities.
Step-by-Step DIY Collagen Cream Recipe
Ingredients:
- 1 tablespoon unflavored gelatin powder (or hydrolyzed collagen powder)
- 1/4 cup hot distilled water (not boiling)
- 2 tablespoons pure aloe vera gel
- 1 teaspoon vitamin E oil (from 1-2 capsules)
- 1 tablespoon sweet almond oil (or jojoba oil)
- 5-10 drops lavender essential oil (optional, for scent and added benefits)
Instructions:
- Dissolve Gelatin: In a heat-safe bowl, sprinkle the gelatin powder over the hot distilled water. Whisk continuously until the gelatin is completely dissolved and no lumps remain. Let it cool for a few minutes.
- Combine Oils & Aloe: Once the gelatin mixture has cooled slightly (it should still be warm but not hot), add the aloe vera gel, vitamin E oil, and sweet almond oil. Mix thoroughly until all ingredients are well combined.
- Add Essential Oil: If using, add 5-10 drops of your chosen essential oil and stir well.
- Whip (Optional, for lighter texture): For a lighter, fluffier cream, you can use a hand mixer or a whisk to whip the mixture for a minute or two until it has a creamy consistency. If you prefer a more gel-like texture, simply skip this step.
- Transfer & Store: Carefully transfer your homemade collagen cream into a clean, airtight glass jar.
How to Use Your DIY Collagen Cream
- Cleanse: Always start with a clean face.
- Tone (Optional): Apply your favorite natural toner if you use one.
- Apply: Take a small amount of the cream (a pea-sized amount is usually enough) and gently massage it onto your face, neck, and décolletage using upward strokes.
- Frequency: Use this cream daily, both morning and night, for best results.
Storage and Shelf Life
Since this cream contains natural ingredients and no harsh preservatives, it’s crucial to store it properly:
- Refrigerate: Always store your DIY collagen cream in the refrigerator. This keeps it fresh and extends its shelf life.
- Shelf Life: It should last for about 2-3 weeks when stored correctly. If you notice any change in color, smell, or texture, it’s best to discard it and make a fresh batch.
Tips for Best Results
- Consistency is Key: Use the cream regularly to see noticeable improvements in your skin’s texture and appearance.
- Patch Test: Before applying to your entire face, do a patch test on a small area of your skin to ensure you don’t have any sensitivities to the ingredients.
- Stay Hydrated: Remember that beautiful skin also comes from within! Drink plenty of water throughout the day.
- Healthy Diet: Incorporate collagen-boosting foods into your diet, like bone broth, leafy greens, berries, and foods rich in Vitamin C.
Ready to Glow?
This DIY collagen cream hack is your ticket to achieving youthful, radiant skin without the hefty price tag. It’s a simple, natural way to care for your skin and indulge in a little self-care ritual.
Are you excited to try this homemade beauty hack and experience the magic for yourself? Tell us in the comments below! We love hearing about your skincare journeys and successes. 👇