Are you searching for a natural, affordable way to help your skin look more youthful and radiant? Many of us dream of a complexion that feels fresh and appears smoother, and the good news is, you might not need to spend a fortune on fancy creams to achieve it! Today, we’re diving into the secret world of DIY beauty with a recipe for a homemade collagen-boosting cream.
This special blend combines nourishing natural oils, the protective power of petroleum jelly, and beneficial additions to create a cream designed to help your skin feel hydrated and appear revitalized. It’s a simple, empowering way to take control of your skincare routine, right from your own kitchen.
Why DIY Your Skincare?
The beauty of making your own skincare products lies in knowing exactly what goes into them. You can choose high-quality ingredients, avoid harsh chemicals, and customize recipes to suit your skin’s unique needs. Plus, it’s incredibly satisfying to create something wonderful for yourself!
Homemade creams, especially those focusing on hydration and nourishment, can be a fantastic addition to your routine. They allow you to harness the power of nature’s best offerings to support your skin’s natural glow.
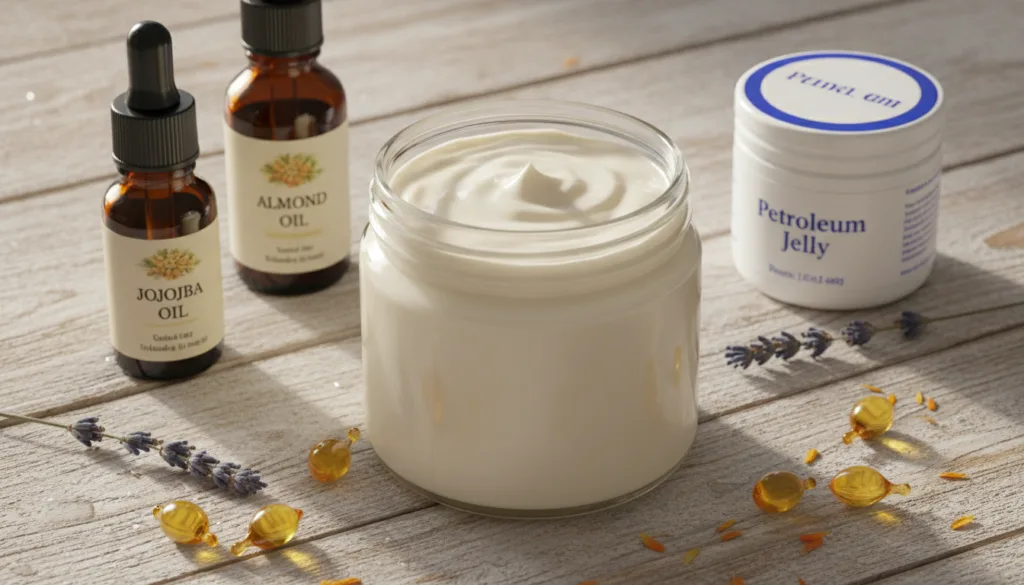
Understanding Your Key Ingredients
Before we mix, let’s talk about the stars of our DIY collagen cream and why they’re so beneficial for your skin:
Natural Oils: Your Skin’s Best Friends
- Jojoba Oil: Known for mimicking the skin’s natural sebum, making it excellent for all skin types, including oily and sensitive. It’s deeply moisturizing without feeling greasy.
- Sweet Almond Oil: Rich in Vitamin E, this gentle oil is fantastic for soothing and softening the skin, promoting a smoother-looking complexion.
- Argan Oil: Often called “liquid gold,” argan oil is packed with antioxidants and fatty acids, which can help nourish and protect the skin.
These oils are chosen for their moisturizing, nourishing, and skin-supporting properties, helping your skin feel supple and cared for.
Petroleum Jelly: The Moisture Lock
Petroleum jelly might seem like a simple ingredient, but it’s a powerhouse when it comes to locking in moisture. It creates a protective barrier on the skin, preventing water loss and helping to keep the beneficial oils and other ingredients sealed in. This can be especially helpful for dry or mature skin, allowing other ingredients to work more effectively.
Beneficial Additions: A Boost for Your Skin
- Vitamin E Oil: A renowned antioxidant, Vitamin E is often used in skincare for its ability to help protect skin cells from environmental stressors. It also contributes to the cream’s shelf life by acting as a natural preservative.
- Hydrolyzed Collagen Peptides (Optional): While topical collagen isn’t absorbed in the same way as ingestible collagen, many people find that adding hydrolyzed collagen peptides to topical preparations helps improve the appearance of skin texture and hydration. If you choose to add this, ensure it’s a high-quality, cosmetic-grade powder and perform a patch test.
The DIY Collagen Cream Recipe
Ready to create your own skin-loving elixir? Here’s how!
Ingredients You’ll Need:
- 2 tablespoons (about 30g) Petroleum Jelly
- 1 tablespoon Jojoba Oil
- 1 tablespoon Sweet Almond Oil
- 1/2 tablespoon Argan Oil
- 1 teaspoon Vitamin E Oil (from capsules or liquid)
- Optional: 1/2 teaspoon Hydrolyzed Collagen Peptides (cosmetic grade)
- Small, clean, airtight container (glass jar recommended)
Step-by-Step Instructions:
- Melt the Base: In a double boiler or a heat-safe bowl placed over a pot of simmering water, gently melt the petroleum jelly. Stir occasionally until it’s completely liquid and smooth. Be careful not to overheat.
- Combine Oils: Once the petroleum jelly is melted, remove it from the heat. Carefully stir in the jojoba oil, sweet almond oil, and argan oil. Mix well until all oils are thoroughly incorporated.
- Add the Boosters: Let the mixture cool for a minute or two. Then, add the Vitamin E oil. If you’re using collagen peptides, add them now and stir vigorously to ensure they dissolve and don’t clump.
- Pour and Cool: Pour the warm mixture into your clean, airtight container.
- Set: Allow the cream to cool completely and solidify at room temperature. This may take a few hours. You can also place it in the refrigerator for faster setting.
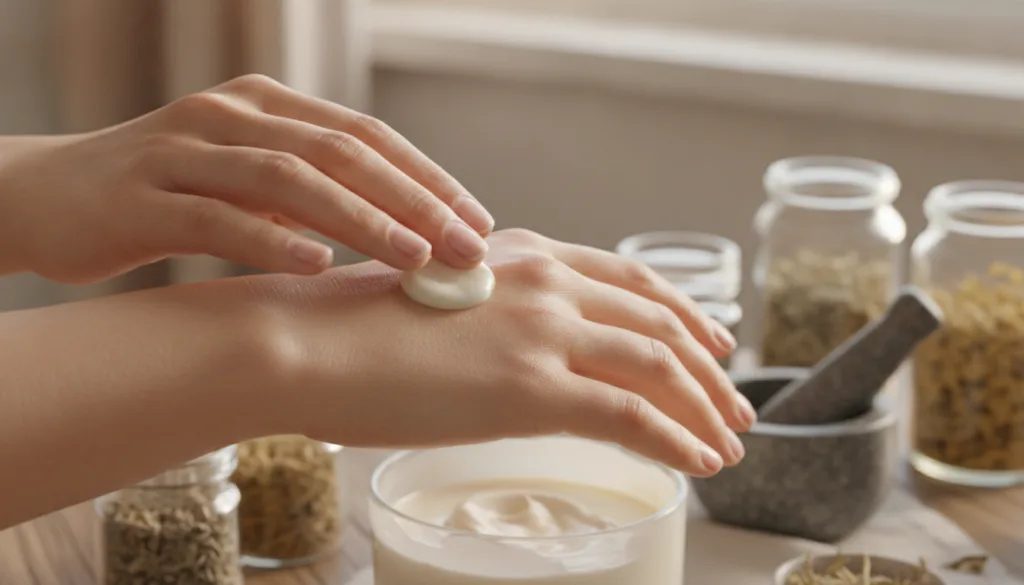
How to Use Your DIY Cream
Once your cream has set, it’s ready to nourish your skin! Here’s how to incorporate it into your routine:
- Cleanse First: Always apply to freshly cleansed and toned skin.
- Small Amount: A little goes a long way! Take a pea-sized amount and warm it between your fingertips.
- Gentle Application: Gently pat and massage the cream onto your face, neck, and décolletage in upward motions.
- Nightly Use: This cream is quite rich, making it ideal for nighttime use to allow its ingredients to work their magic while you sleep. For daytime, you might prefer a lighter moisturizer, or use a very thin layer if your skin is particularly dry.
Important Considerations Before You Try
- Patch Test: Always perform a patch test on a small, inconspicuous area of your skin (like behind your ear or on your inner arm) at least 24 hours before applying the cream to your face, especially if you’re prone to sensitivities or using collagen peptides.
- Shelf Life: Since this cream contains no artificial preservatives, its shelf life is shorter than commercial products. Store it in a cool, dark place, and aim to use it within 1-2 months. If you notice any change in smell, color, or texture, discard it.
- Hygiene: Always use clean hands or a small spatula to scoop out the cream to prevent contamination.
- Not a Cure: While this cream can help support healthy-looking skin and improve hydration, it’s not a medical treatment and won’t miraculously erase wrinkles or reverse aging. It’s designed to promote a healthier, more radiant complexion.
Crafting your own beauty products is a wonderful journey into natural skincare. This DIY collagen cream offers a luxurious feel and a blend of ingredients known to nourish and hydrate your skin, helping you achieve that radiant, fresher complexion you’re looking for. Give it a try and enjoy the glow!