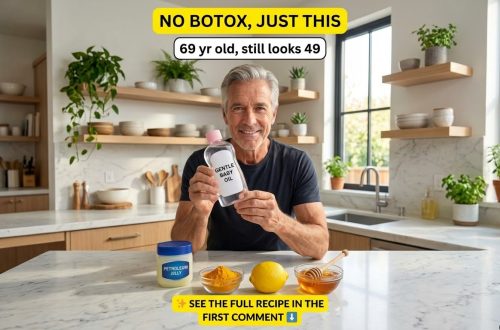
Hey beauty besties! ✨
Ever wondered if you could whip up your very own ‘turn back time’ cream right at home? We stumbled upon a viral DIY collagen cream hack that promises to give you that fresh, youthful glow using super simple ingredients you might already have in your cabinet! It’s all about nurturing your skin the easy, affordable way. Who’s ready for some serious rejuvenation?
Why DIY Your Skincare?
In a world full of expensive creams and serums, turning to DIY remedies can be a breath of fresh air. Here’s why we love it:
- Cost-Effective: Save your pennies! Many DIY ingredients are kitchen staples or affordable pharmacy finds.
- Know Your Ingredients: You have full control over what goes onto your skin, avoiding harsh chemicals or irritants.
- Fresh & Potent: Make small batches to ensure freshness and maximize the potency of natural ingredients.
- Empowering: There’s something truly satisfying about creating your own beauty solutions!
Understanding the ‘Collagen Effect’ in DIY Skincare
When we talk about ‘collagen cream’ in a DIY context, it’s important to understand what we’re aiming for. Real collagen molecules are generally too large to penetrate the skin directly when applied topically. However, what we *can* achieve with DIY creams is a powerful surge of hydration and moisture. This deep moisturization:
- Plumps up the skin: Reduces the appearance of fine lines and wrinkles.
- Improves elasticity: Makes skin feel firmer and look smoother.
- Enhances barrier function: Locks in natural moisture, protecting your skin from environmental stressors.
- Boosts natural radiance: Well-hydrated skin naturally looks more vibrant and youthful.
So, while it might not be adding collagen directly, it’s certainly helping your skin act and look more youthful!
Star Ingredients for Your DIY Youthful Glow Cream
This viral hack uses some amazing occlusive and nourishing ingredients:
Baby Oil (Mineral Oil)
- Hydration Booster: Excellent at trapping moisture in the skin, keeping it soft and supple.
- Gentle: Known for being non-comedogenic (won’t clog pores for most people) and hypoallergenic.
- Smooths Skin: Helps to create a smooth surface, reducing the appearance of dry patches.
Vaseline (Petroleum Jelly)
- Powerful Occlusive: Creates a protective barrier on the skin, preventing moisture loss more effectively than almost anything else.
- Healing Properties: Great for repairing compromised skin barriers and soothing dry, chapped skin.
- Adds Luminosity: Leaves a subtle sheen that makes skin look incredibly healthy.
Natural Touches (Choose one or a combination)
- Aloe Vera Gel: Soothes, hydrates, and offers anti-inflammatory benefits.
- Vitamin E Oil: A powerful antioxidant that helps protect skin from damage and aids in healing.
- Rosehip Oil: Rich in vitamins and essential fatty acids, known for its regenerative properties.
- Green Tea Extract (or strong brewed, cooled green tea): Packed with antioxidants to combat free radicals.
Your Simple DIY Youthful Glow Cream Recipe
Ready to mix up your magic potion? Here’s a basic recipe to get you started:
What You’ll Need:
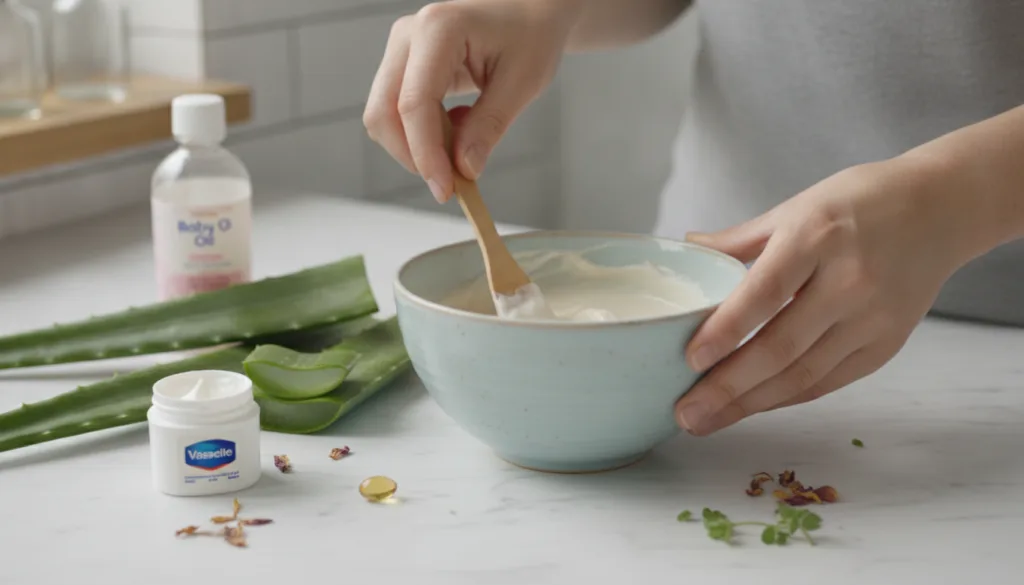
- 2 tablespoons Vaseline (petroleum jelly)
- 1 tablespoon Baby Oil (mineral oil)
- 1 teaspoon Pure Aloe Vera Gel (make sure it’s 100% pure, no added alcohol or fragrance)
- 5-10 drops Vitamin E Oil (from a capsule or bottle)
- (Optional) 2-3 drops of a skin-safe essential oil like lavender or frankincense (ensure proper dilution and do a patch test!)
- Small, clean, airtight container
- Small mixing spoon or spatula
Instructions:
- Melt Vaseline: Gently melt the Vaseline in a microwave-safe bowl for about 10-15 seconds, or over a double boiler, until it’s slightly softened but not fully liquid. This makes it easier to mix.
- Combine Ingredients: Add the baby oil, aloe vera gel, and vitamin E oil to the softened Vaseline.
- Mix Well: Stir all ingredients thoroughly until you get a smooth, consistent cream. If adding essential oils, add them now and mix again.
- Transfer & Store: Transfer your freshly made cream into your clean, airtight container.
- Cool: Allow the cream to cool and solidify slightly at room temperature or in the fridge for a few minutes.
How to Use Your DIY Cream for Maximum Glow
For best results, incorporate this cream into your evening skincare routine:
- Cleanse: Start with a clean, makeup-free face.
- Tone & Serum (Optional): Apply your favorite toner and any serums you use.
- Apply Cream: Take a pea-sized amount of your DIY cream and gently warm it between your fingertips.
- Massage: Lightly massage the cream onto your face and neck using upward strokes. Focus on areas where you want extra hydration or to soften fine lines.
- Enjoy the Glow: Let the cream absorb overnight. You’ll wake up to incredibly soft, plump, and glowing skin!
You can also use a tiny amount as a spot treatment for extra dry areas during the day or as a lip balm.
Important Considerations & Patch Test
- Patch Test is Key: Always, always perform a patch test on a small, inconspicuous area of your skin (like behind your ear or inner arm) 24 hours before applying it to your entire face to check for any sensitivities or reactions.
- Hygiene: Ensure all your tools and containers are clean to prevent bacterial growth.
- Storage: Store your DIY cream in a cool, dark place. Due to the natural ingredients, it’s best to use it within 1-2 weeks. If you notice any changes in smell or texture, discard it.
- Consistency: This cream will be richer than store-bought lotions. Adjust the quantity you use based on your skin type and needs. A little goes a long way!
Ready to Glow?
This DIY youthful glow cream hack is a fantastic way to give your skin some extra love without breaking the bank. It’s simple, effective, and uses ingredients that many people already trust for deep hydration. Give it a try and tell us how your skin feels! We can’t wait to hear about your radiant results.
Happy mixing, beauty besties!