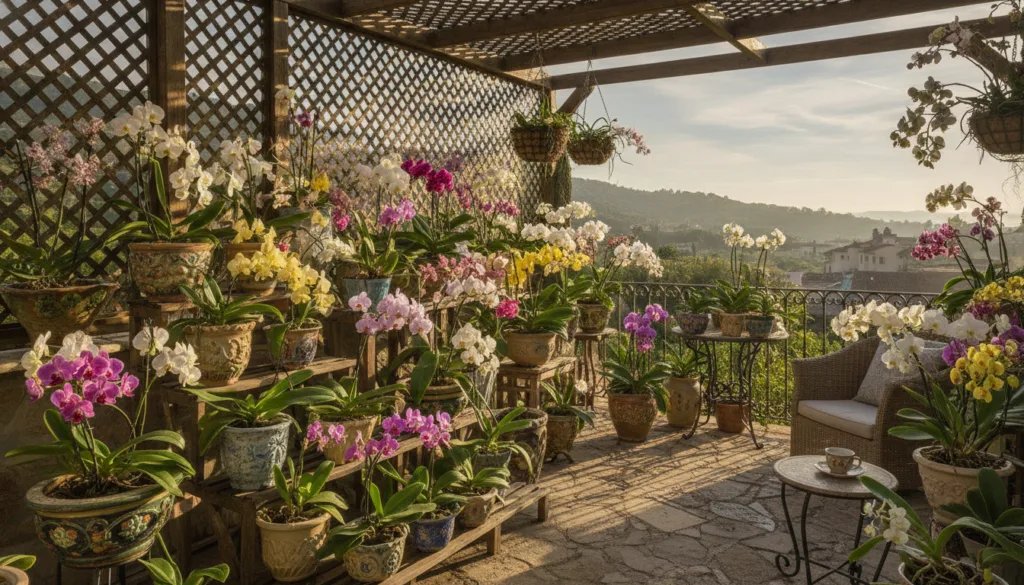
Imagine stepping onto your balcony and being greeted by a symphony of vibrant orchids, their delicate petals unfurling in a display of natural beauty. This dream is entirely achievable, and a little secret lies in nurturing them with the right nutrients. While many gardeners rely on commercial fertilizers, crafting your own DIY solutions can be a rewarding and effective way to ensure your balcony orchids flourish. Welcome to the world of Balcony Orchid Serenity, where we’ll explore how simple household items can transform your orchids into magnificent bloomers!
Why Go DIY for Your Orchid Fertilizer?
Opting for homemade orchid fertilizers offers a host of benefits that resonate with the values of many gardeners, especially those focused on organic and sustainable practices:
- Cost-Effective: You’ll be using items you likely already have at home, saving money on specialized commercial products.
- Natural & Chemical-Free: You have complete control over the ingredients, ensuring no harsh chemicals or synthetic additives come into contact with your precious plants.
- Environmentally Friendly: By repurposing organic waste, you contribute to reducing household waste and promote a greener lifestyle.
- Customizable: You can tailor the nutrient mix to your orchid’s specific needs, which might vary depending on its species and growth stage.
Understanding What Orchids Need
Before diving into recipes, it’s crucial to understand the basic nutritional requirements of orchids. Like all plants, they need a balance of macronutrients (Nitrogen, Phosphorus, Potassium – NPK) and micronutrients (Calcium, Magnesium, Iron, etc.).
- Nitrogen (N): Promotes healthy leaf and stem growth.
- Phosphorus (P): Essential for root development and flower production.
- Potassium (K): Supports overall plant health, disease resistance, and robust blooming.
- Calcium & Magnesium: Important micronutrients for strong cell structure and photosynthesis.
Simple DIY Ingredients for Orchid Fertilizers
Many everyday items can be repurposed to provide essential nutrients for your orchids. Here are a few popular choices:
1. Banana Peels: The Potassium Powerhouse
Banana peels are rich in potassium, a vital nutrient for robust flowering and overall plant vigor. They also contain small amounts of phosphorus and calcium.
How to use:
- Chop banana peels into small pieces and soak them in water for a few days to create a nutrient-rich liquid.
- Alternatively, dry and grind the peels into a powder to sprinkle sparingly around the base of the plant (be cautious not to overdo it, as decomposing matter can attract pests if not managed properly).
2. Eggshells: Calcium for Stronger Plants
Eggshells are an excellent source of calcium, which helps build strong cell walls and prevents various plant diseases. They also provide some magnesium and phosphorus.
How to use:
- Wash and dry eggshells thoroughly.
- Crush them into a fine powder.
- Mix a small amount into your orchid’s potting mix or sprinkle lightly on the surface. For a liquid feed, you can steep crushed eggshells in water for a few days.
3. Coffee Grounds: A Nitrogen Boost
Used coffee grounds can provide a gentle dose of nitrogen, which encourages lush, green foliage. They also slightly acidify the soil, which some orchids appreciate. Ensure they are dried completely to avoid mold.
How to use:
- Spread a very thin layer of dried, used coffee grounds around the base of the orchid.
- Or, brew a very weak coffee solution (diluted 1:4 with water) and use it as a light watering every few weeks.
4. Epsom Salt: Magnesium for Greenery
Epsom salt (magnesium sulfate) provides magnesium, which is crucial for chlorophyll production (giving leaves their green color) and nutrient absorption. It also offers sulfur.
How to use:
- Dissolve 1 teaspoon of Epsom salt in 1 gallon of water.
- Use this solution to water your orchids once a month.
Putting It All Together: Application Tips
- Dilution is Key: When using liquid DIY fertilizers, always dilute them significantly. Orchids are sensitive to over-fertilization.
- Frequency: Most orchids benefit from fertilization every 2-4 weeks during their active growth period. Reduce frequency during dormancy.
- Water First: Always water your orchid thoroughly before applying any fertilizer to prevent root burn.
- Observe Your Plant: Pay close attention to how your orchid responds. If you notice any yellowing leaves or unusual growth, adjust your feeding schedule or dilution.
Beyond Fertilizers: Holistic Balcony Orchid Care
Remember, fertilizer is just one piece of the puzzle. For truly serene and thriving balcony orchids, ensure you’re also providing:
- Appropriate Light: Bright, indirect light is ideal for most orchids.
- Proper Watering: Water when the potting medium is nearly dry, and ensure good drainage.
- Humidity: Orchids love humidity, which can be achieved through misting or pebble trays.
- Good Air Circulation: Essential to prevent fungal diseases.
- Well-Draining Potting Mix: A mix specifically designed for orchids is crucial.
Ready to Grow?
Transforming your balcony into an orchid paradise doesn’t require complex solutions. With a little creativity and a few kitchen staples, you can provide your orchids with the nourishment they need to produce breathtaking blooms. Embrace the joy of DIY gardening and watch your balcony come alive with the serene beauty of healthy, happy orchids!
Do you have a favorite DIY orchid fertilizer recipe or a tip for balcony orchid care? Share your wisdom in the comments below!