Craving that perfect crunch? Get ready to satisfy your snack desires with these incredibly delicious homemade Crispy Ridged Potato Chips! Forget store-bought bags; making your own chips is surprisingly simple and incredibly rewarding. This step-by-step guide will reveal how to easily make delicious, crispy ridged potato chips right in your own kitchen. But why stop there? We’ll also share a collection of other easy, crunchy snack recipes that are perfect for any occasion. Get ready for your new go-to homemade snacks!
Quick Overview
- Main topic: Homemade crispy snacks
- Best for: Snack enthusiasts, home cooks, anyone craving a satisfying crunch
- Number of recipes: 7
- Prep style: Frying and baking
- Reader benefit: Learn to make delicious homemade snacks, healthier alternatives
Recipe 1: Homemade Crispy Ridged Potato Chips
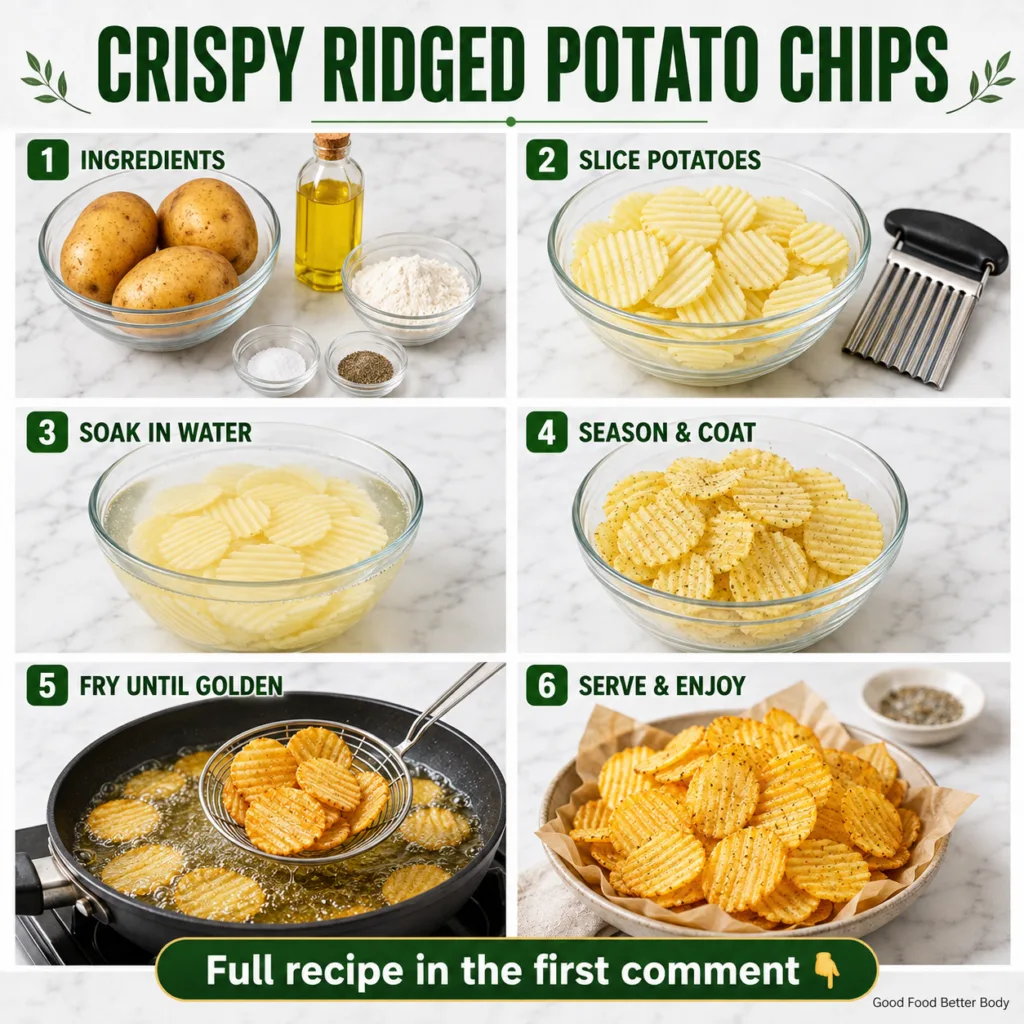
There’s nothing quite like the irresistible crunch of homemade potato chips. Using a crinkle cutter gives them that classic ridged texture, perfect for holding onto seasoning. This recipe brings that beloved snack straight to your kitchen.
Servings: 4-6
Prep time: 20 minutes (plus 30-60 minutes soaking)
Cook / chill / rest time: 15-20 minutes
Ingredients:
- 3 large potatoes (Russet or Yukon Gold work best)
- 2 tbsp all-purpose flour
- 1 tsp salt, plus more for seasoning
- ½ tsp black pepper
- Oil, for deep frying (vegetable, canola, or peanut oil recommended)
- Water, for soaking
Instructions:
- Wash and peel the potatoes thoroughly. Using a crinkle cutter or mandoline with a crinkle blade, slice the potatoes into thin, uniform ridged chips (about 1/16-inch thick).
- Place the sliced potatoes in a large bowl of cold water. Let them soak for at least 30-60 minutes to remove excess starch, which helps them crisp up. Change the water once or twice if it becomes cloudy.
- Drain the potatoes well and spread them out on a clean kitchen towel or paper towels. Pat them completely dry. This step is crucial for crispy chips.
- In a large bowl, toss the dry potato slices with the 2 tablespoons of all-purpose flour, salt, and black pepper until evenly coated.
- Heat about 3-4 inches of oil in a large heavy-bottomed pot or deep fryer to 350-375°F (175-190°C).
- Fry the potato chips in batches, being careful not to overcrowd the pot. Fry for 3-5 minutes per batch, stirring occasionally, until golden brown and crispy.
- Using a slotted spoon, transfer the fried chips to a plate lined with paper towels to drain excess oil.
- Immediately season with additional salt to taste while still warm.
Storage / Serving / Usage Note:
Serve immediately for the best crispness. Store cooled chips in an airtight container at room temperature for up to 2-3 days, though they are best enjoyed fresh.
Recipe 2: Crispy Baked Sweet Potato Fries
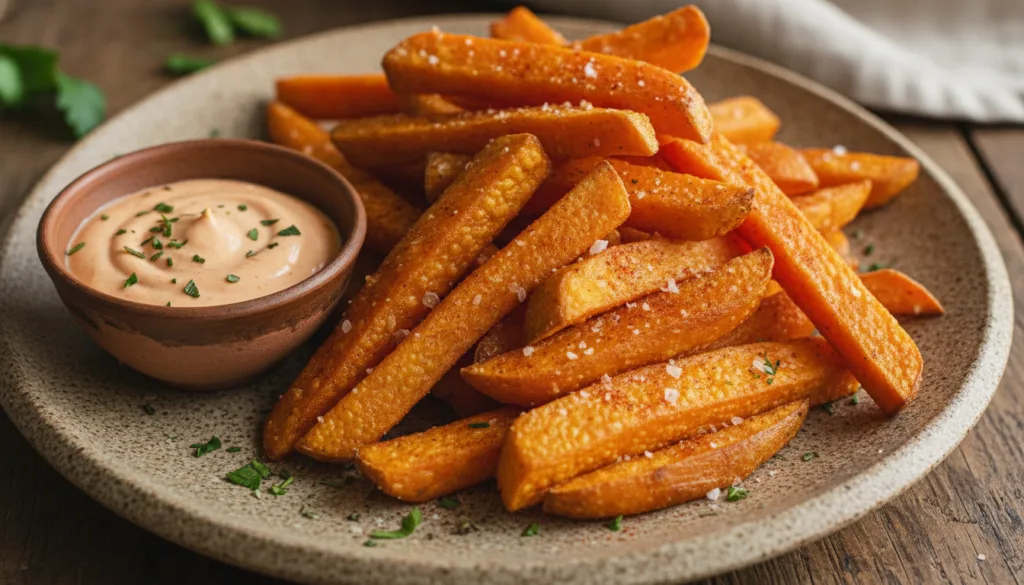
These baked sweet potato fries offer a slightly healthier twist on a crispy snack, full of natural sweetness and vibrant color. They are perfect as a side or a standalone treat.
Servings: 4
Prep time: 15 minutes
Cook / chill / rest time: 25-30 minutes
Ingredients:
- 2 large sweet potatoes
- 2 tbsp olive oil
- 1 tsp cornstarch (optional, for extra crispness)
- ½ tsp salt
- ¼ tsp black pepper
- ½ tsp paprika (smoked paprika adds a nice flavor)
- ¼ tsp garlic powder
Instructions:
- Preheat your oven to 400°F (200°C). Line a large baking sheet with parchment paper.
- Wash and peel the sweet potatoes (or leave skin on for extra fiber). Cut them into uniform fry-shaped sticks, about ¼-inch thick.
- In a large bowl, toss the sweet potato sticks with olive oil, cornstarch (if using), salt, pepper, paprika, and garlic powder until evenly coated.
- Spread the fries in a single layer on the prepared baking sheet, ensuring they are not overcrowded. Use two baking sheets if necessary for better crisping.
- Bake for 25-30 minutes, flipping them halfway through, until golden brown and crispy.
Storage / Serving / Usage Note:
Serve immediately with your favorite dipping sauce, like aioli or a spicy mayo. Leftovers can be reheated in a toaster oven or air fryer for a few minutes to regain crispness.
Recipe 3: Spiced Roasted Chickpeas
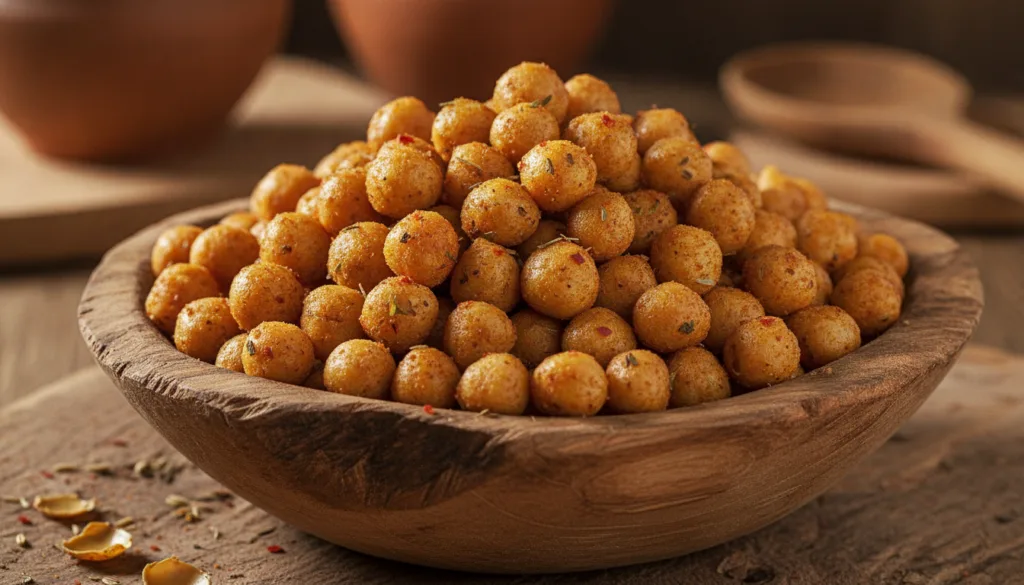
Roasted chickpeas are a fantastic crunchy snack that’s also packed with protein and fiber. They’re incredibly versatile; you can customize the spices to your liking!
Servings: 2-3
Prep time: 5 minutes
Cook / chill / rest time: 20-30 minutes
Ingredients:
- 1 (15-ounce) can chickpeas, rinsed and thoroughly dried
- 1 tbsp olive oil
- ½ tsp salt
- ¼ tsp black pepper
- 1 tsp cumin powder
- ½ tsp chili powder (or paprika)
- ¼ tsp cayenne pepper (optional, for heat)
Instructions:
- Preheat your oven to 400°F (200°C). Line a baking sheet with parchment paper.
- Drain and rinse the canned chickpeas. Lay them on a clean kitchen towel and pat them very dry. Removing the skins is optional but can make them even crispier.
- In a medium bowl, toss the dried chickpeas with olive oil, salt, pepper, cumin, chili powder, and cayenne pepper (if using) until well coated.
- Spread the seasoned chickpeas in a single layer on the prepared baking sheet.
- Roast for 20-30 minutes, stirring halfway through, until crispy and golden. Keep an eye on them to prevent burning.
Storage / Serving / Usage Note:
Allow to cool completely before storing in an airtight container at room temperature for up to 5 days. They may lose a bit of crispness over time, but a quick reheat in the oven can revive them.
Recipe 4: Crispy Air Fryer Apple Chips
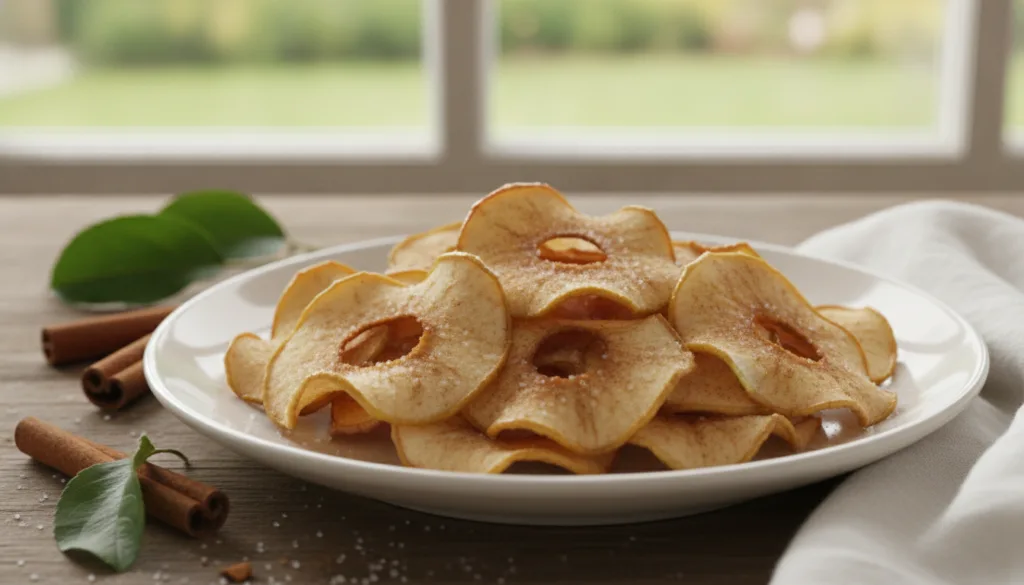
For a sweet and wholesome crunch, these air fryer apple chips are a fantastic choice. They require minimal ingredients and are surprisingly easy to make!
Servings: 2-3
Prep time: 10 minutes
Cook / chill / rest time: 15-20 minutes
Ingredients:
- 2 medium apples (Honeycrisp, Fuji, or Gala work well)
- ½ tsp ground cinnamon (optional)
- 1 tbsp granulated sugar (optional, adjust to taste)
Instructions:
- Wash the apples thoroughly. Using a mandoline or a very sharp knife, slice the apples as thinly as possible (about 1/16 to 1/8-inch thick). Remove any seeds.
- In a shallow dish, combine cinnamon and sugar (if using). Lightly dredge each apple slice in the mixture, or simply leave them plain.
- Preheat your air fryer to 300°F (150°C).
- Arrange the apple slices in a single layer in the air fryer basket, ensuring they don’t overlap. You will likely need to work in batches.
- Air fry for 15-20 minutes, flipping the slices halfway through, until they are dried out, crisp, and slightly curled at the edges. Cooking time may vary based on apple thickness and air fryer model.
- Remove from the air fryer and let them cool completely on a wire rack. They will crisp up further as they cool.
Storage / Serving / Usage Note:
Store cooled apple chips in an airtight container at room temperature for up to 1 week. They are a delightful healthy snack or a topping for yogurt and oatmeal.
Recipe 5: Simple Seasoned Popcorn

Nothing beats the simplicity and satisfaction of perfectly popped popcorn. It’s a whole grain snack that’s naturally gluten-free and easily customizable.
Servings: 4
Prep time: 2 minutes
Cook / chill / rest time: 5-7 minutes
Ingredients:
- ½ cup unpopped popcorn kernels
- 2 tbsp coconut oil or vegetable oil
- ½ tsp fine sea salt, or to taste
- 2 tbsp melted butter (optional)
Instructions:
- Heat the oil in a large, heavy-bottomed pot with a lid over medium-high heat. Add 2-3 popcorn kernels to the pot and cover.
- Once these test kernels pop, remove them, add the rest of the popcorn kernels, and cover the pot. Shake the pot gently to distribute the kernels evenly.
- Cook, shaking the pot occasionally, until the popping slows down significantly (about 2-3 seconds between pops). Remove from heat.
- Carefully transfer the popcorn to a large bowl. Drizzle with melted butter (if using) and sprinkle with salt. Toss gently to combine.
Storage / Serving / Usage Note:
Serve immediately. Store any leftover popcorn in a loosely covered container at room temperature for up to 1 day, though it’s best fresh.
Recipe 6: Crispy Baked Kale Chips
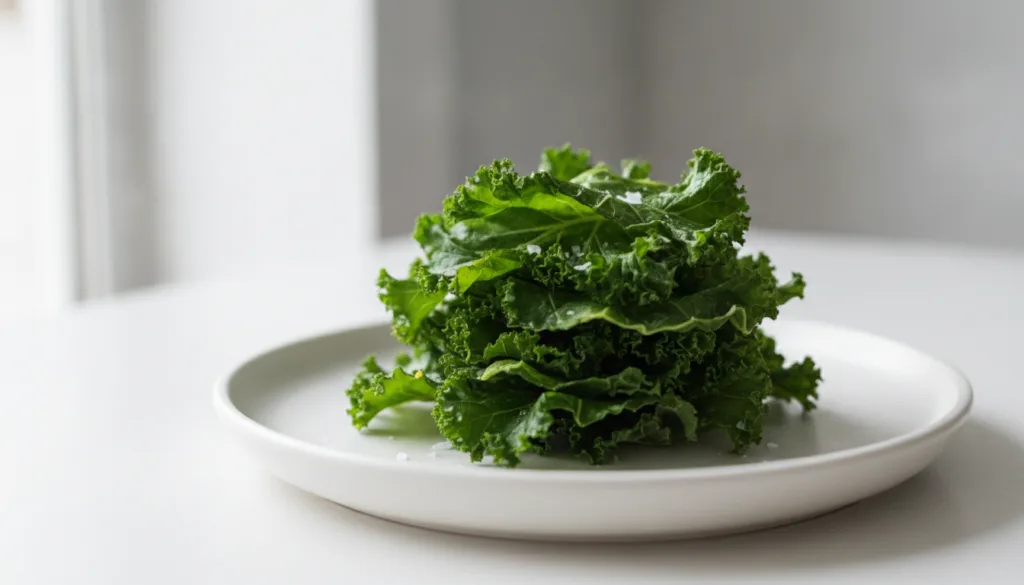
Kale chips are a fantastic way to enjoy a nutrient-packed vegetable in a delightfully crispy form. They’re surprisingly easy to make and disappear fast!
Servings: 2-3
Prep time: 10 minutes
Cook / chill / rest time: 15-20 minutes
Ingredients:
- 1 large bunch kale (curly or Lacinato)
- 1 tbsp olive oil
- ¼ tsp salt
- Pinch of garlic powder (optional)
- Pinch of nutritional yeast (optional, for cheesy flavor)
Instructions:
- Preheat your oven to 300°F (150°C). Line a large baking sheet with parchment paper.
- Wash the kale thoroughly and pat it very dry. Remove the thick stems and tear the kale leaves into bite-sized pieces.
- In a large bowl, drizzle the kale with olive oil, then sprinkle with salt, garlic powder, and nutritional yeast (if using). Massage the oil and seasonings into the kale with your hands until every piece is lightly coated.
- Spread the kale in a single layer on the prepared baking sheet, ensuring pieces don’t overlap too much. Use two sheets if necessary.
- Bake for 15-20 minutes, or until the kale is crispy but not browned. Keep a close eye on it as it can burn quickly.
- Let cool completely on the baking sheet; they will crisp up further as they cool.
Storage / Serving / Usage Note:
Serve immediately. Store cooled kale chips in an airtight container at room temperature for up to 2-3 days, though they are best enjoyed fresh as their crispness can fade.
Recipe 7: Quick Baked Zucchini Crisps
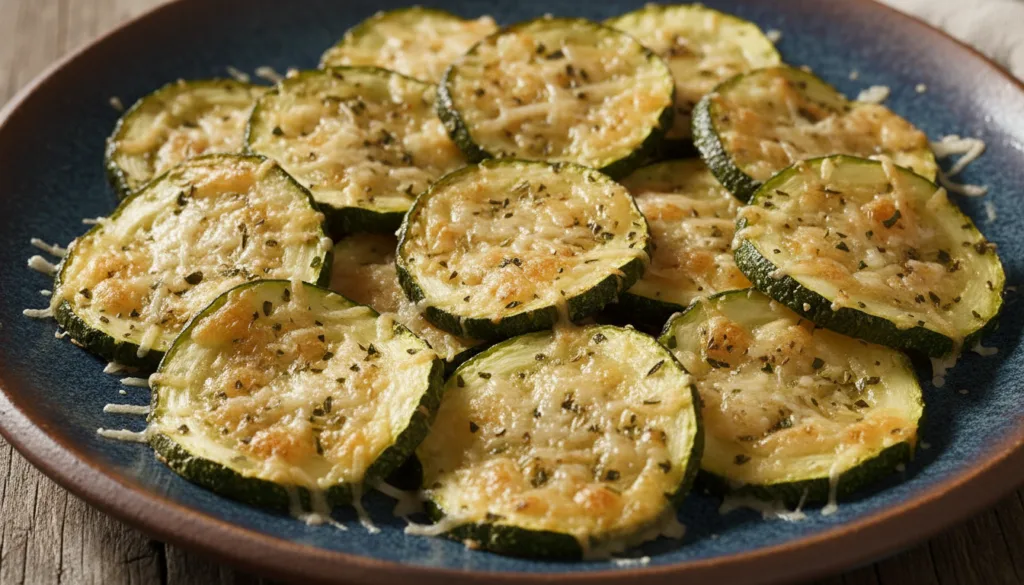
Transform fresh zucchini into a delightful crispy snack! These baked zucchini crisps are a light, savory option that’s perfect for using up garden abundance or simply enjoying a healthier treat.
Servings: 3-4
Prep time: 15 minutes
Cook / chill / rest time: 25-30 minutes
Ingredients:
- 2 medium zucchinis
- 1 tbsp olive oil
- ¼ cup grated Parmesan cheese (optional)
- ½ tsp salt
- ¼ tsp black pepper
- ¼ tsp dried oregano or Italian seasoning (optional)
Instructions:
- Preheat your oven to 225°F (105°C). Line a large baking sheet with parchment paper.
- Wash the zucchinis and slice them very thinly, about 1/8-inch thick, using a mandoline or a sharp knife.
- Lay the zucchini slices on paper towels and gently press to remove as much moisture as possible. This step is key for crispiness.
- In a medium bowl, toss the dried zucchini slices with olive oil, Parmesan cheese (if using), salt, pepper, and oregano (if using) until evenly coated.
- Arrange the zucchini slices in a single layer on the prepared baking sheet, ensuring no overlapping.
- Bake for 25-30 minutes, or until the crisps are golden brown and dry. Flip them halfway through for even cooking. They will become crispier as they cool.
Storage / Serving / Usage Note:
Serve immediately as a light snack or alongside a sandwich. Store cooled crisps in an airtight container at room temperature for up to 2 days, but they are best fresh.
Simple Tips for Best Results
- Dryness is Key: For fried or baked chips/crisps, ensure your vegetables are as dry as possible after washing and slicing. Excess moisture leads to soggy results.
- Uniform Slices: Use a mandoline or a very sharp knife to get consistent thin slices. This ensures even cooking and crispness across all pieces.
- Don’t Overcrowd: Whether frying or baking, give your snacks space. Overcrowding lowers oil temperature or creates steam, preventing proper crisping. Work in batches if needed.
- Season While Warm: Salt and other powdered seasonings adhere best to chips and crisps when they are still warm and fresh out of the oil or oven.
- Cool Completely: Many baked crisps or chips will continue to crisp up as they cool on a wire rack. Don’t judge their final texture until they’ve cooled down.
FAQ
How can I make my homemade potato chips extra crispy?
The key to extra crispy chips is removing as much starch and moisture as possible. Soak slices in cold water for 30-60 minutes, then pat them completely dry before frying or baking. Frying at the correct oil temperature (350-375°F) is also crucial.
Can I make these snacks in an air fryer?
Many of these recipes, especially the baked ones like sweet potato fries, kale chips, and apple chips, can be adapted for an air fryer. Reduce the cooking time and temperature slightly, and cook in batches, shaking the basket frequently, until crispy.
What’s the best oil for frying homemade chips?
Neutral-flavored oils with a high smoke point are best for frying, such as vegetable oil, canola oil, peanut oil, or sunflower oil. These won’t impart unwanted flavors and can withstand the high heat required for crisping.
Final Thoughts
Ditching store-bought snacks for homemade options like these Crispy Ridged Potato Chips and other creative recipes is a fantastic way to enjoy delicious, satisfying treats tailored to your taste. With a little effort, you can create incredibly flavorful and satisfying snacks that are perfect for any craving, whether savory or sweet. Enjoy the crunch and the simple pleasure of homemade goodness!