Are you searching for natural ways to enhance your skin’s radiance and promote a smoother-looking complexion? Many beauty enthusiasts are turning to homemade solutions, and one ingredient gaining significant buzz is okra! This humble vegetable, often found in our kitchens, is now becoming a star in DIY skincare routines, with people exploring its potential for a youthful glow.
We’ve noticed a growing interest in homemade okra face gel as a simple nightly ritual. Users often report experiencing noticeably smoother-looking skin with consistent use, and it’s definitely a popular beauty routine worth learning about!
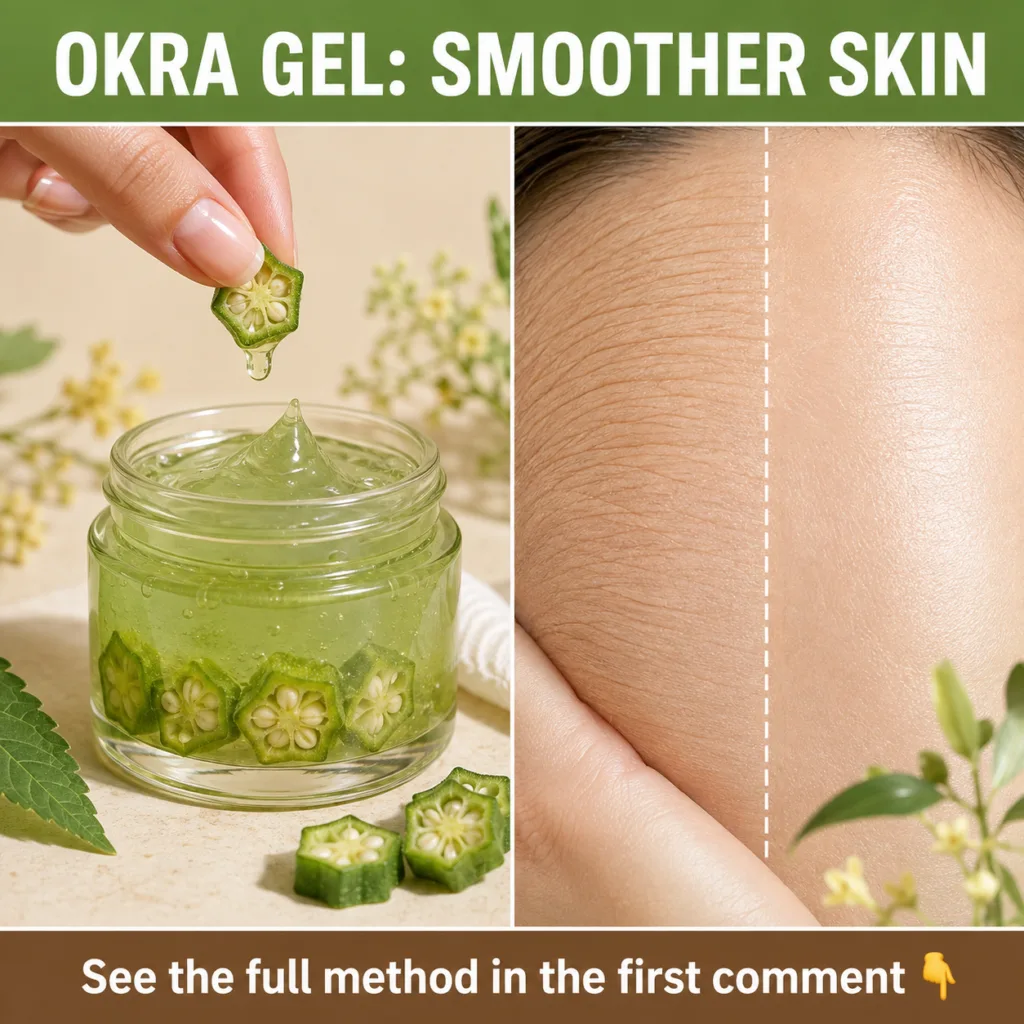
Why Okra for Your Skin? The Natural Goodness
Okra, often known for its culinary uses, is packed with nutrients that can also benefit your skin. It contains vitamins A, C, and K, as well as antioxidants and fiber. What makes it particularly interesting for skincare is its mucilage – that slightly gooey substance you notice when you cut it. This mucilage is rich in polysaccharides, which are known for their hydrating and soothing properties.
- Hydration: The mucilage in okra can act as a natural humectant, helping to draw moisture into the skin and keep it feeling plump and hydrated.
- Antioxidant Support: The vitamins and antioxidants in okra may help protect the skin from environmental stressors.
- Soothing Effects: Its gentle nature can be calming for the skin, making it a good option for those seeking a mild, natural approach to skincare.
How to Make Your Own Homemade Okra Face Gel
Creating your own okra face gel is surprisingly simple and requires just a few ingredients. Here’s a step-by-step guide to prepare this popular DIY beauty solution:
Ingredients You’ll Need:
- 5-6 fresh okra pods
- 1 cup filtered water
- Optional: A few drops of your favorite skin-safe essential oil (like lavender or tea tree for their soothing properties, but always dilute properly)
- Clean glass jar or container for storage
Step-by-Step Instructions:
- Wash the Okra: Thoroughly wash the okra pods under cool running water to remove any dirt or residue.
- Slice the Okra: Trim both ends of the okra pods and slice them into small, thin rounds. The smaller the pieces, the more easily the mucilage will be extracted.
- Simmer: Place the sliced okra in a small saucepan with 1 cup of filtered water. Bring the mixture to a gentle simmer over medium-low heat.
- Cook Until Gel-Like: Continue to simmer for about 10-15 minutes, stirring occasionally. You’ll notice the water becoming thicker and developing a gel-like consistency. This is the mucilage being released.
- Cool: Remove the saucepan from the heat and let the mixture cool completely.
- Strain the Gel: Once cooled, strain the okra gel using a fine-mesh sieve or a piece of cheesecloth into a clean bowl. Press down on the okra pieces to extract as much gel as possible. Discard the solid okra pieces.
- Add Essential Oil (Optional): If desired, add 1-2 drops of your chosen essential oil to the strained gel and stir well. Remember to do a patch test for essential oils first.
- Store: Transfer your homemade okra face gel into a clean, airtight glass jar or container.
How to Use Your Okra Face Gel for Smoother-Looking Skin
Once your okra gel is ready, incorporating it into your routine is easy:
- Cleanse: Start with a freshly cleansed face.
- Apply: Take a small amount of the okra gel and gently apply it evenly across your face and neck. Avoid getting it into your eyes.
- Massage: Lightly massage the gel into your skin using upward circular motions until absorbed.
- Nightly Ritual: Many people use this gel as a nightly treatment. Allow it to sit on your skin overnight and rinse it off in the morning.
- Frequency: For best results, consistency is key. Try to use it regularly, perhaps every night, to observe how your skin responds over time.
Storage Tips:
- Homemade okra gel is natural and doesn’t contain preservatives, so it’s best to store it in the refrigerator.
- It typically lasts for about 5-7 days. If you notice any changes in smell or consistency, it’s best to discard it and make a fresh batch.
Important Considerations Before You Try This
As with any new DIY beauty product, it’s always wise to exercise caution:
- Patch Test: Before applying the okra gel to your entire face, perform a patch test on a small, inconspicuous area of your skin (like behind your ear or on your inner arm) to check for any sensitivities or allergic reactions.
- Consistency is Key: Natural remedies often require consistent use over time to see noticeable effects. Don’t expect immediate dramatic results, but rather a gradual improvement in skin feel and appearance.
- Individual Results May Vary: Everyone’s skin is unique. What works wonderfully for one person might not have the same effect on another. Listen to your skin and adjust as needed.
Embracing natural ingredients like okra for your skincare routine can be a rewarding journey. While it’s not a miracle cure, this homemade face gel is a popular way people are trying to achieve smoother-looking, more hydrated skin. Give it a try safely, and enjoy exploring the world of natural beauty!