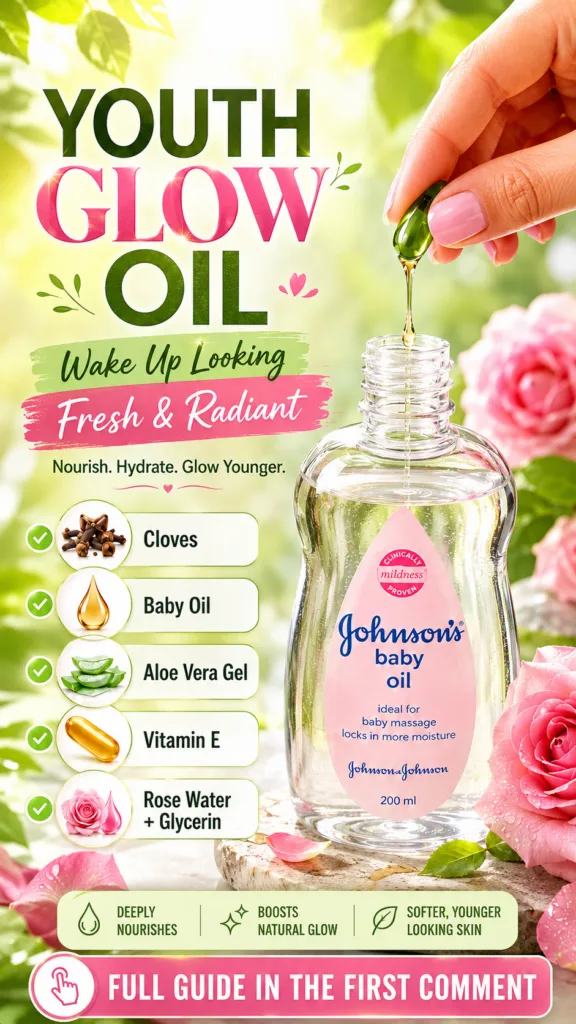
Who doesn’t dream of waking up with that fresh, radiant glow? ✨ Many of us spend a fortune on products promising youthful skin, but what if the secret to natural luminosity was right in your kitchen? Today, we’re diving into the world of DIY beauty to create your very own ‘Youth Glow Oil’ – a simple, yet powerful blend designed to deeply hydrate your skin and reveal its natural radiance.
This special oil harnesses the power of natural ingredients like rose water, vitamin E, and aloe vera, all known for their skin-loving properties. Get ready to embrace a refreshed, smoother-looking complexion with this easy-to-make elixir!
What is Youth Glow Oil?
Our Youth Glow Oil is a beautifully balanced, bi-phase blend that combines both oil and water-soluble ingredients to deliver comprehensive nourishment to your skin. It’s designed to be a lightweight, yet effective, addition to your skincare routine, focusing on hydration, antioxidant protection, and enhancing your natural glow. The beauty of making your own is knowing exactly what goes into it!
The Star Ingredients and Their Benefits
Let’s take a closer look at the wonderful ingredients we’ll be using and what they can do for your skin:
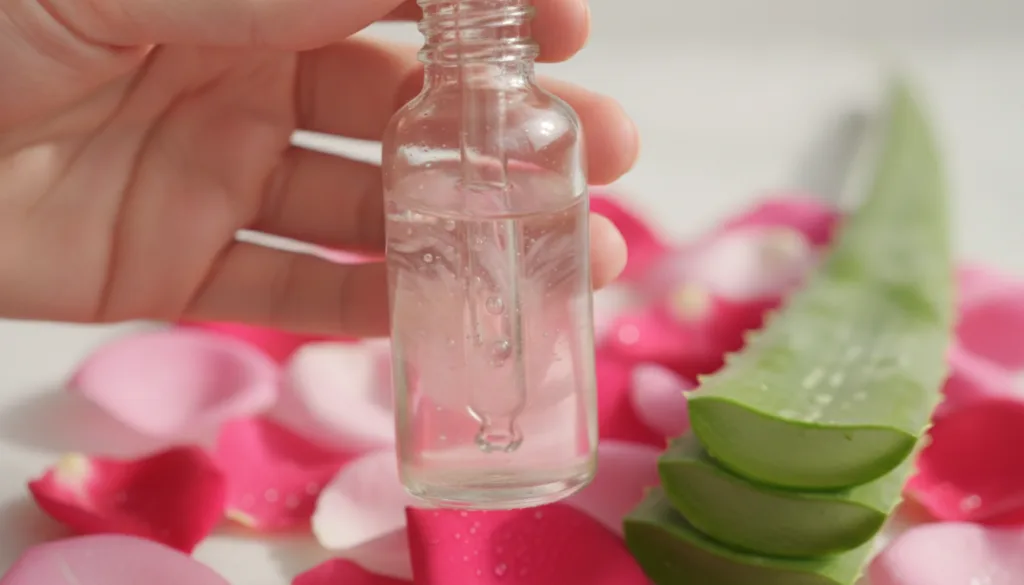
- Rose Water: Not just a delightful scent! Rose water is known for its mild astringent properties, helping to tone and balance the skin. It’s also incredibly hydrating and soothing, reducing the appearance of redness and providing a refreshing feel.
- Vitamin E: A powerful antioxidant, Vitamin E is essential for skin health. It helps protect the skin from environmental stressors and supports skin repair. It’s also a fantastic moisturizer, contributing to smoother-looking skin and a healthy glow.
- Aloe Vera Gel: Renowned for its soothing and healing properties, aloe vera gel is a hydration powerhouse. It calms irritated skin, provides a burst of moisture without feeling greasy, and can help to promote a supple, soft texture.
- Natural Carrier Oil (e.g., Jojoba, Sweet Almond, Grapeseed Oil): These oils are excellent bases for our Youth Glow Oil. They are non-comedogenic (meaning they’re less likely to clog pores) and provide deep moisturization, helping to carry the other beneficial ingredients into the skin.
DIY Youth Glow Oil Recipe
Ready to create your own? This recipe is simple and uses ingredients you might already have!
What You’ll Need:
- 2 tablespoons of a natural carrier oil (like Jojoba, Sweet Almond, or Grapeseed Oil)
- The oil from 2-3 Vitamin E capsules (or 1/2 teaspoon of liquid Vitamin E oil)
- 1 tablespoon of pure Rose Water (make sure it’s 100% pure and alcohol-free)
- 1 teaspoon of pure Aloe Vera Gel (ensure it’s clear, inner-leaf gel without added colors or fragrances)
- A small, clean, dark glass bottle with a dropper
- A small funnel (optional, but helpful!)
Step-by-Step Instructions:
- Prepare Your Bottle: Ensure your glass bottle is thoroughly clean and dry.
- Combine Oils: Using your funnel if needed, pour the carrier oil into the bottle. Puncture your Vitamin E capsules and squeeze their oil into the bottle, or add your liquid Vitamin E.
- Add Water-Based Ingredients: Carefully add the rose water and aloe vera gel to the bottle.
- Shake It Up: Secure the dropper cap tightly. Shake the bottle vigorously for about 30-60 seconds to combine all the ingredients. You’ll notice the oil and water phases will mix, though they will separate over time – this is normal for a bi-phase product!
- Label Your Creation: Don’t forget to label your bottle with the name ‘Youth Glow Oil’ and the date you made it.
How to Use Your Youth Glow Oil
For best results, incorporate your Youth Glow Oil into your daily or nightly skincare routine:
- Cleanse: Start with a clean face.
- Tone (Optional): If you use a toner, apply it before the oil.
- Shake & Apply: Give your Youth Glow Oil bottle a good shake to mix the layers. Dispense 3-5 drops onto your fingertips.
- Gently Massage: Gently press and massage the oil onto your damp face and neck. The dampness helps the oil spread easily and absorb better.
- Allow Absorption: Give it a few minutes to soak into your skin before applying any other products or makeup.
Tips for Best Results
- Patch Test: Always perform a patch test on a small area of your skin before applying any new DIY product to your entire face, especially if you have sensitive skin.
- Shake Well: Since this is a bi-phase oil, remember to shake the bottle vigorously before each use to ensure you’re getting an even distribution of all ingredients.
- Consistency is Key: Use your Youth Glow Oil regularly to see the best results.
- Storage: Store your oil in a cool, dark place away from direct sunlight to maintain its potency. Due to the presence of rose water and aloe vera, homemade products have a shorter shelf life. Aim to use it within 2-3 weeks. If you notice any changes in color, scent, or consistency, it’s best to discard it.
- Adjust to Your Skin: If your skin feels too oily, use fewer drops. If it feels like it needs more hydration, you can adjust the amount slightly.
Why DIY Your Skincare?
Making your own Youth Glow Oil offers several fantastic benefits:
- Control Over Ingredients: You know exactly what’s going into your product, avoiding harsh chemicals, artificial fragrances, and unnecessary fillers.
- Cost-Effective: Natural ingredients are often more affordable than high-end beauty products, saving you money in the long run.
- Freshness: Your homemade oil is made fresh, ensuring maximum potency of the natural ingredients.
- Empowerment: There’s a wonderful sense of satisfaction in creating something beneficial for yourself!
Embrace the journey to radiant skin with your homemade Youth Glow Oil. It’s a simple step towards a more natural and personalized beauty routine that can help you achieve that coveted refreshed and glowing look. Give it a try and let your natural luminosity shine!