There’s nothing quite like the warmth and comfort of a freshly made doughnut, especially when it’s as irresistibly soft and sweet as homemade milky doughnuts. Forget the store-bought versions – this guide will help you unlock the secret to fluffy perfection right in your own kitchen. Whether you’re a seasoned baker or just starting out, these easy-to-follow recipes will have you whipping up a batch of delectable doughnuts that taste like pure bliss.
We’ll start with the classic milky doughnut recipe that promises a tender crumb and delightful sweetness, then explore several delicious variations to keep your sweet tooth satisfied. Get ready to fill your home with the wonderful aroma of freshly fried treats and enjoy every single bite!
Quick Overview
- Main topic: Homemade Milky Doughnuts and Variations
- Best for: Sweet cravings, weekend baking, sharing with loved ones, special treats
- Number of recipes: 7
- Prep style: Frying and Baking
- Reader benefit: Easy-to-follow recipes for soft, sweet, homemade doughnuts and related treats.
Recipe 1: Classic Milky Doughnuts
Experience the timeless joy of a perfectly soft and sweet milky doughnut, just like grandma used to make. This recipe is your foundation for fluffy perfection.
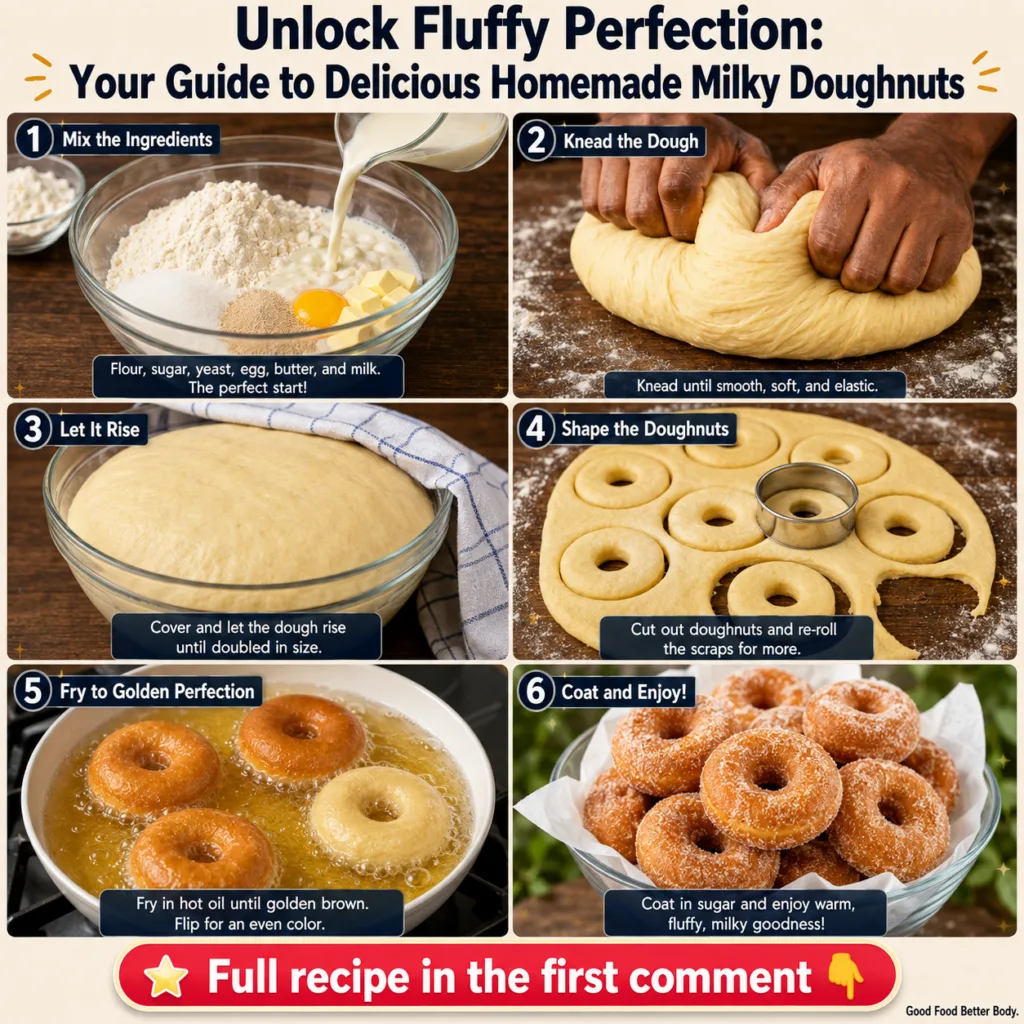
Servings: 12-15 doughnuts
Prep time: 25 minutes + 1.5-2 hours rising
Cook / chill / rest time: 15-20 minutes frying
Ingredients:
- 1 cup warm milk (105-115°F / 40-46°C)
- 1 packet (2 ¼ tsp) active dry yeast
- ¼ cup granulated sugar, plus 1 tsp
- 1 large egg, room temperature
- ¼ cup unsalted butter, melted
- 1 tsp vanilla extract
- ½ tsp salt
- 3 ½ – 4 cups all-purpose flour, plus more for dusting
- 4-6 cups vegetable oil, for frying
- ½ cup powdered sugar, for dusting (optional)
Instructions:
- In a large bowl, combine warm milk and 1 tsp granulated sugar. Sprinkle yeast over the top and let sit for 5-10 minutes until foamy.
- Add the remaining ¼ cup granulated sugar, egg, melted butter, vanilla extract, and salt to the yeast mixture. Whisk well to combine.
- Gradually add 3 cups of flour, mixing with a wooden spoon or stand mixer until a shaggy dough forms.
- Turn the dough out onto a lightly floured surface and knead for 5-7 minutes, adding more flour a tablespoon at a time if the dough is too sticky, until smooth and elastic.
- Place the dough in a lightly oiled bowl, turning once to coat. Cover with plastic wrap and let rise in a warm place for 1-1.5 hours, or until doubled in size.
- Once risen, gently punch down the dough. Roll it out on a lightly floured surface to ½ inch thickness.
- Using a 3-inch doughnut cutter (or two round cutters, one larger for the doughnut and one smaller for the hole), cut out doughnuts. Reroll scraps and cut more until all dough is used.
- Place the cut doughnuts and holes on parchment-lined baking sheets. Cover lightly with a clean kitchen towel and let rise for another 30-45 minutes, or until visibly puffy.
- Heat 4-6 cups of vegetable oil in a large heavy-bottomed pot or Dutch oven over medium heat to 350°F (175°C).
- Carefully lower 2-3 doughnuts into the hot oil, ensuring not to overcrowd the pot. Fry for 1-2 minutes per side, until golden brown.
- Remove doughnuts with a slotted spoon or spider and place them on a wire rack lined with paper towels to drain excess oil.
- While still warm, dust generously with powdered sugar if desired.
Storage / Serving / Usage Note:
Best enjoyed fresh and warm. Store leftover doughnuts in an airtight container at room temperature for up to 2 days. Reheat briefly in the microwave for a softer texture.
Recipe 2: Glazed Milky Doughnuts
Elevate your classic milky doughnuts with a simple, sweet glaze that adds an irresistible shine and extra burst of flavor.
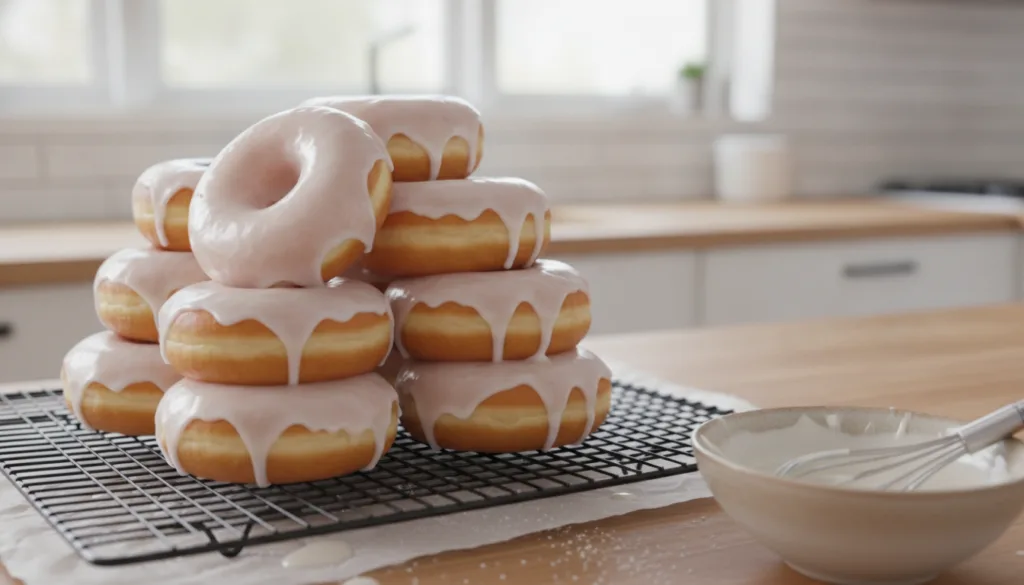
Servings: 12-15 doughnuts
Prep time: 5 minutes
Cook / chill / rest time: N/A
Ingredients:
- 12-15 Classic Milky Doughnuts (from Recipe 1)
- 2 cups powdered sugar
- ¼ cup milk
- ½ tsp vanilla extract
Instructions:
- In a medium bowl, whisk together powdered sugar, milk, and vanilla extract until smooth and free of lumps. Adjust milk quantity slightly if needed to achieve a pourable but not too thin consistency.
- Once the Classic Milky Doughnuts are slightly cooled but still warm, dip each doughnut (one side or both) into the glaze.
- Allow excess glaze to drip off before placing them back on a wire rack to set.
- Serve once the glaze has hardened slightly, usually within 10-15 minutes.
Storage / Serving / Usage Note:
Glazed doughnuts are best eaten the same day for optimal freshness. Store in an airtight container at room temperature for up to 1 day.
Recipe 3: Chocolate Glazed Doughnuts
For the chocolate lovers, these decadent doughnuts feature a rich, glossy chocolate glaze that’s simply irresistible.
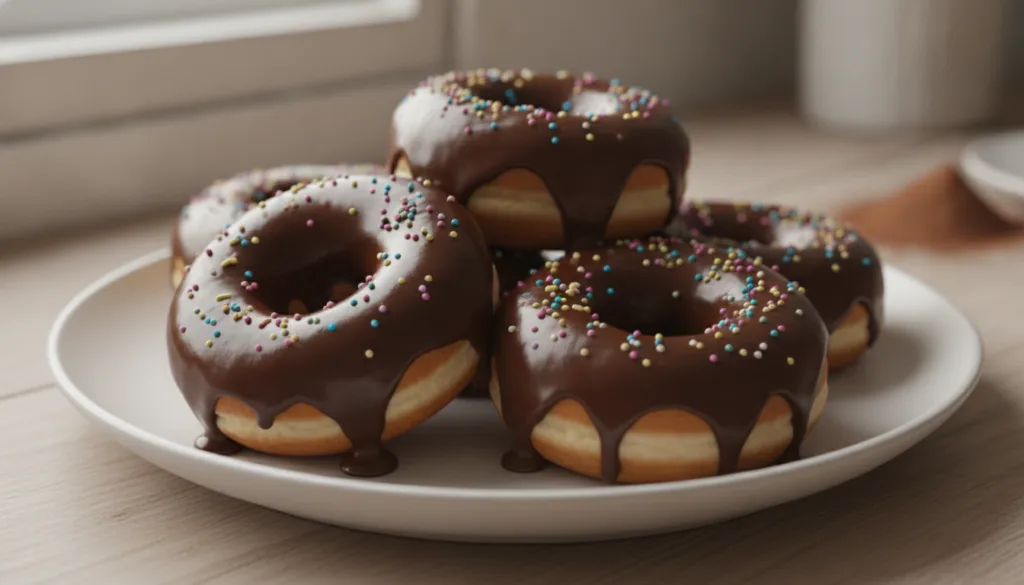
Servings: 12-15 doughnuts
Prep time: 10 minutes
Cook / chill / rest time: N/A
Ingredients:
- 12-15 Classic Milky Doughnuts (from Recipe 1)
- 1 cup powdered sugar
- ¼ cup unsweetened cocoa powder
- 3-4 tbsp milk
- ½ tsp vanilla extract
- Pinch of salt
- Optional: Sprinkles for topping
Instructions:
- In a medium bowl, whisk together powdered sugar and cocoa powder until well combined.
- Gradually add 3 tablespoons of milk, vanilla extract, and salt. Whisk until a smooth, glossy chocolate glaze forms. Add the remaining milk if the glaze is too thick.
- Dip slightly cooled Classic Milky Doughnuts into the chocolate glaze, allowing excess to drip off.
- Optionally, add sprinkles immediately after glazing while the chocolate is still wet.
- Place on a wire rack to set.
Storage / Serving / Usage Note:
Best served fresh. Store in an airtight container for up to 1 day. The glaze may soften over time.
Recipe 4: Cinnamon Sugar Doughnut Holes
These bite-sized treats are coated in a delightful cinnamon-sugar mixture, perfect for sharing or a quick snack.
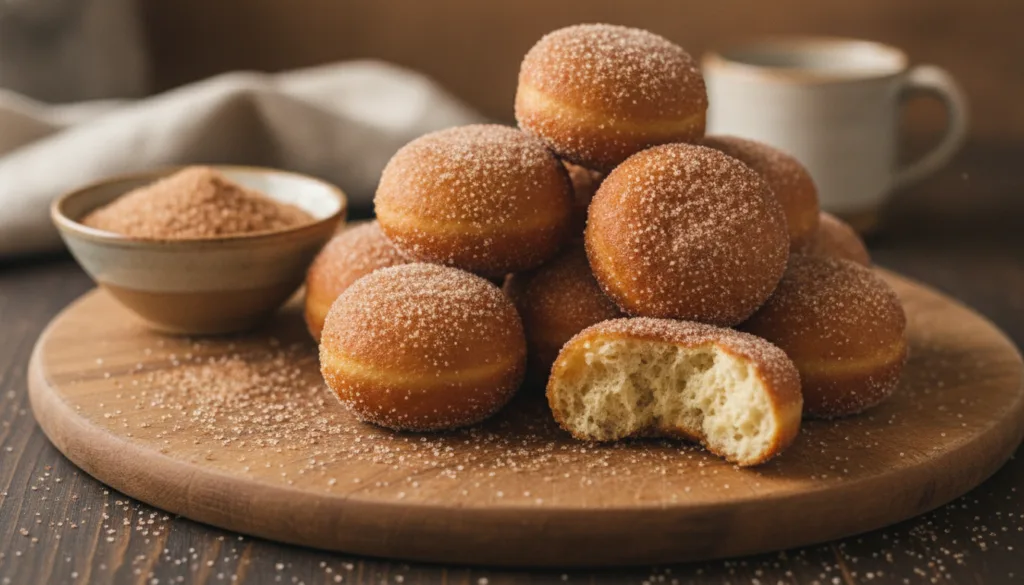
Servings: ~20-25 doughnut holes
Prep time: 10 minutes
Cook / chill / rest time: 5-7 minutes frying
Ingredients:
- Doughnut holes cut from Recipe 1 (or make smaller balls of dough)
- ½ cup granulated sugar
- 1 tbsp ground cinnamon
- 2 tbsp unsalted butter, melted
Instructions:
- After frying the doughnut holes from Recipe 1, let them cool slightly on a paper towel-lined wire rack while still warm.
- In a shallow bowl, combine granulated sugar and ground cinnamon. Mix well.
- Melt the butter in a separate small bowl.
- Dip each warm doughnut hole quickly into the melted butter, then immediately roll it in the cinnamon-sugar mixture until fully coated.
- Serve immediately for the best taste.
Storage / Serving / Usage Note:
Enjoy these best when fresh and warm. They can be stored in an airtight container at room temperature for up to 1 day, though the coating may soften.
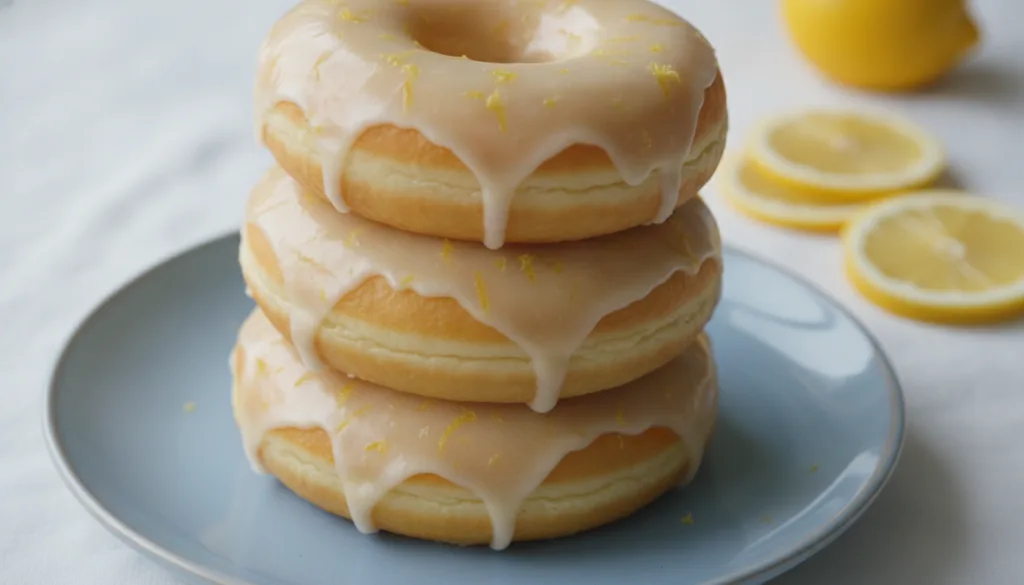
Recipe 5: Lemon Zest Milky Doughnuts
Brighten up your doughnuts with the refreshing zest of lemon, adding a fragrant and slightly tangy twist to the sweet classic.
Servings: 12-15 doughnuts
Prep time: 25 minutes + rising
Cook / chill / rest time: 15-20 minutes frying
Ingredients:
- 1 batch Classic Milky Doughnut dough (from Recipe 1)
- Zest of 2 large lemons (finely grated)
- For the Lemon Glaze:
- 1 ½ cups powdered sugar
- 3-4 tbsp fresh lemon juice
Instructions:
- Prepare the Classic Milky Doughnut dough as per Recipe 1, but add the lemon zest along with the wet ingredients in step 2.
- Proceed with rising, shaping, and frying the doughnuts as described in Recipe 1.
- While the doughnuts are frying, prepare the lemon glaze: In a medium bowl, whisk together powdered sugar and lemon juice until smooth. Adjust juice as needed for desired consistency.
- Once the doughnuts are slightly cooled but still warm, dip each into the lemon glaze.
- Place on a wire rack to set before serving.
Storage / Serving / Usage Note:
The lemon flavor is most vibrant when fresh. Store in an airtight container at room temperature for up to 1 day.
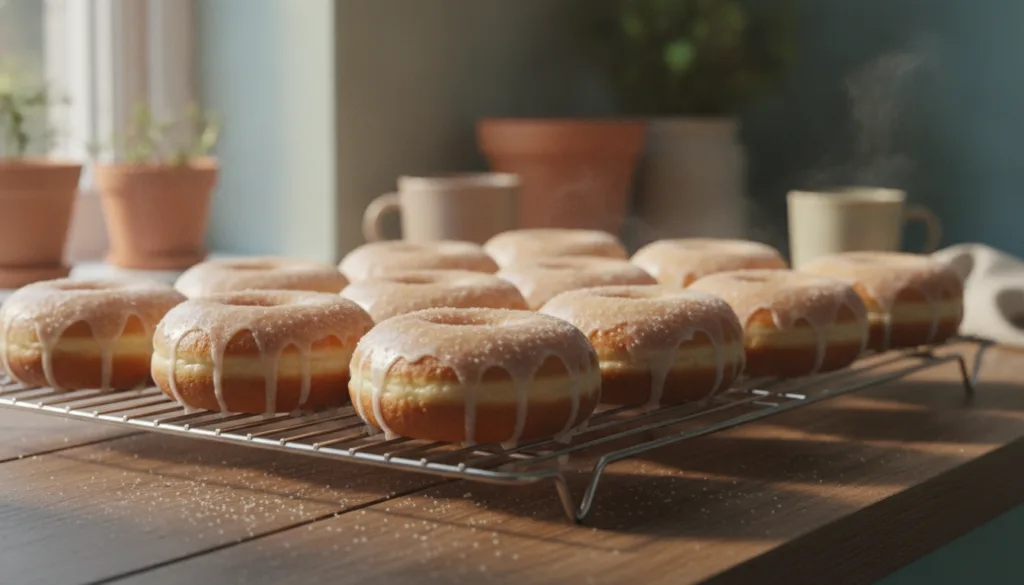
Recipe 6: Baked Milky Doughnuts
For a lighter alternative that still delivers on flavor and fluffiness, try these baked versions of milky doughnuts. Perfect for best healthy breakfast ideas.
Servings: 12 doughnuts
Prep time: 20 minutes + 1 hour rising
Cook / chill / rest time: 10-12 minutes baking
Ingredients:
- 1 cup warm milk (105-115°F / 40-46°C)
- 1 packet (2 ¼ tsp) active dry yeast
- ¼ cup granulated sugar, plus 1 tsp
- 1 large egg, room temperature
- ¼ cup unsalted butter, melted
- 1 tsp vanilla extract
- ½ tsp salt
- 3 ½ – 4 cups all-purpose flour
- For the glaze (optional):
- 1 cup powdered sugar
- 2-3 tbsp milk
Instructions:
- In a large bowl, combine warm milk and 1 tsp granulated sugar. Sprinkle yeast over the top and let sit for 5-10 minutes until foamy.
- Add the remaining ¼ cup granulated sugar, egg, melted butter, vanilla extract, and salt to the yeast mixture. Whisk well.
- Gradually add flour, mixing until a soft dough forms. Knead for 5-7 minutes until smooth and elastic.
- Place the dough in a lightly oiled bowl, cover, and let rise in a warm place for 1 hour, or until doubled.
- Gently punch down the dough and roll it out on a lightly floured surface to ½ inch thickness.
- Cut out doughnuts using a doughnut cutter. Place them on a parchment-lined baking sheet. Cover and let rise for another 30 minutes.
- Preheat oven to 375°F (190°C).
- Bake for 10-12 minutes, or until golden brown.
- While still warm, dip or brush with a simple glaze made by whisking powdered sugar and milk together.
Storage / Serving / Usage Note:
These baked doughnuts are best enjoyed on the day they are made. Store in an airtight container for up to 2 days, though they may lose some softness.
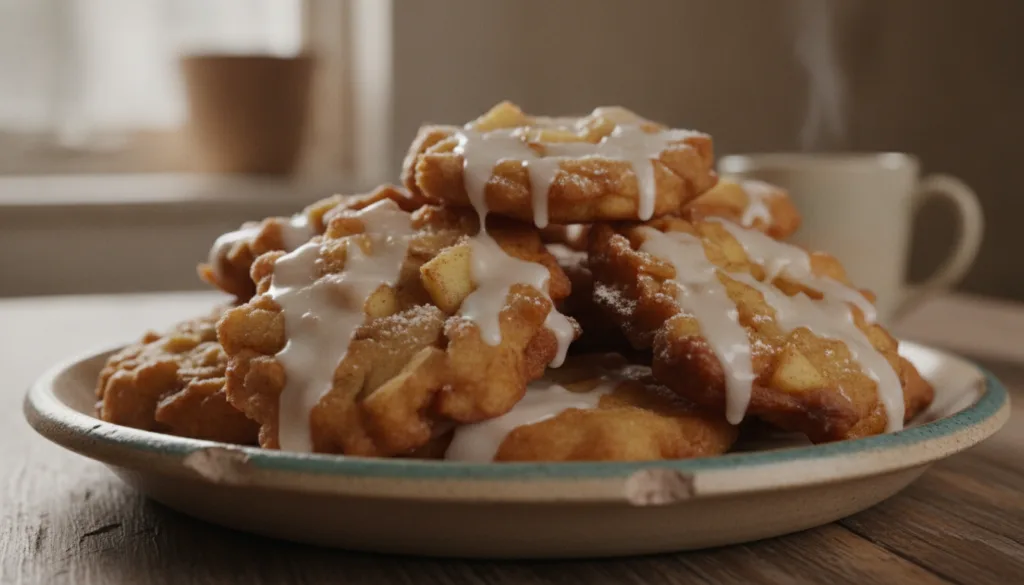
Recipe 7: Apple Fritters
While not strictly doughnuts, these apple fritters offer a similar fried, sweet, and comforting experience, packed with juicy apple pieces and a sweet glaze.
Servings: 8-10 fritters
Prep time: 20 minutes + 45 minutes rising
Cook / chill / rest time: 10-15 minutes frying
Ingredients:
- 1 ½ cups all-purpose flour
- ½ cup warm milk (105-115°F / 40-46°C)
- 1 packet (2 ¼ tsp) active dry yeast
- ¼ cup granulated sugar
- 1 large egg
- 2 tbsp unsalted butter, melted
- ½ tsp salt
- 1 tsp vanilla extract
- 1 ½ cups peeled, cored, and diced apples (e.g., Gala, Honeycrisp)
- 4-6 cups vegetable oil, for frying
- For the glaze:
- 1 cup powdered sugar
- 2-3 tbsp milk
Instructions:
- In a large bowl, combine warm milk and yeast. Let sit for 5 minutes until foamy.
- Stir in granulated sugar, egg, melted butter, salt, and vanilla extract.
- Gradually add flour and mix until a sticky dough forms. Fold in the diced apples.
- Cover the bowl and let rise in a warm place for 45 minutes to 1 hour, or until puffy.
- Heat 4-6 cups of vegetable oil in a large heavy-bottomed pot over medium heat to 350°F (175°C).
- Drop large spoonfuls (about ¼ cup each) of the dough mixture into the hot oil, frying 2-3 at a time.
- Fry for 2-3 minutes per side, until golden brown and cooked through.
- Remove fritters with a slotted spoon and place on a paper towel-lined wire rack to drain.
- Whisk together powdered sugar and milk for the glaze. Drizzle over the warm fritters before serving.
Storage / Serving / Usage Note:
Apple fritters are best consumed fresh and warm. They can be stored in an airtight container at room temperature for up to 1 day; rewarm gently for best texture.
Simple Tips for Best Results
- Don’t Over-Flour: While kneading, resist the urge to add too much flour. A slightly sticky dough often results in a softer doughnut.
- Monitor Oil Temperature: Use a kitchen thermometer to maintain a consistent oil temperature (350°F / 175°C). Too cool, and doughnuts absorb too much oil; too hot, and they burn outside before cooking inside.
- Perfect Proofing: Ensure your dough has doubled in size during the first rise and is visibly puffy for the second. This is crucial for light, airy doughnuts.
- Fresh Yeast Matters: Always check the expiration date on your yeast. Old yeast won’t activate properly, leading to dense doughnuts.
- Drain Properly: After frying, immediately transfer doughnuts to a wire rack lined with paper towels to absorb excess oil.
- Glaze While Warm: For best adhesion and a smooth finish, glaze your doughnuts while they are still warm but not hot.
FAQ
How do I know if my yeast is active?
When mixed with warm liquid and a pinch of sugar, active yeast will become foamy and bubbly within 5-10 minutes. If it doesn’t, your yeast might be old or the liquid wasn’t the right temperature.
Can I make doughnut dough ahead of time?
Yes, you can prepare the dough, let it rise once, then punch it down and refrigerate it overnight. Allow it to come to room temperature and rise again before shaping and frying.
What’s the best oil for frying doughnuts?
Vegetable oil, canola oil, or sunflower oil are excellent choices as they have a high smoke point and a neutral flavor that won’t overpower the doughnuts.
Final Thoughts
Homemade milky doughnuts are a truly special treat that bring joy to any occasion. With these recipes and tips, you can confidently unlock fluffy perfection and create delicious, soft, and sweet doughnuts that rival any bakery. Experiment with glazes and toppings to make them your own, and enjoy the delicious rewards of your baking efforts. Happy baking!