DIY Botox Gel for a Smoother Looking Youthful Complexion
Ready to try a homemade beauty solution often praised for its skin-smoothing benefits? This DIY gel blend, using accessible kitchen ingredients, aims to support a more hydrated, youthful-looking complexion. While it’s not a replacement for professional treatments, it can be a lovely addition to your natural beauty routine.
Quick Recipe
Prep time: 15 minutes (plus cooling time)
Best for: Supporting smoother, hydrated, and youthful-looking skin
Use type: Face gel
Main ingredients:
- Flaxseeds
- Water
- Aloe Vera Gel
Ingredients
- 2 tablespoons whole flaxseeds
- 1 cup filtered water
- 2 tablespoons pure aloe vera gel (from a leaf or store-bought, preferably organic)
- Optional: 1-2 drops of a gentle carrier oil like sweet almond oil or jojoba oil
How to Make It
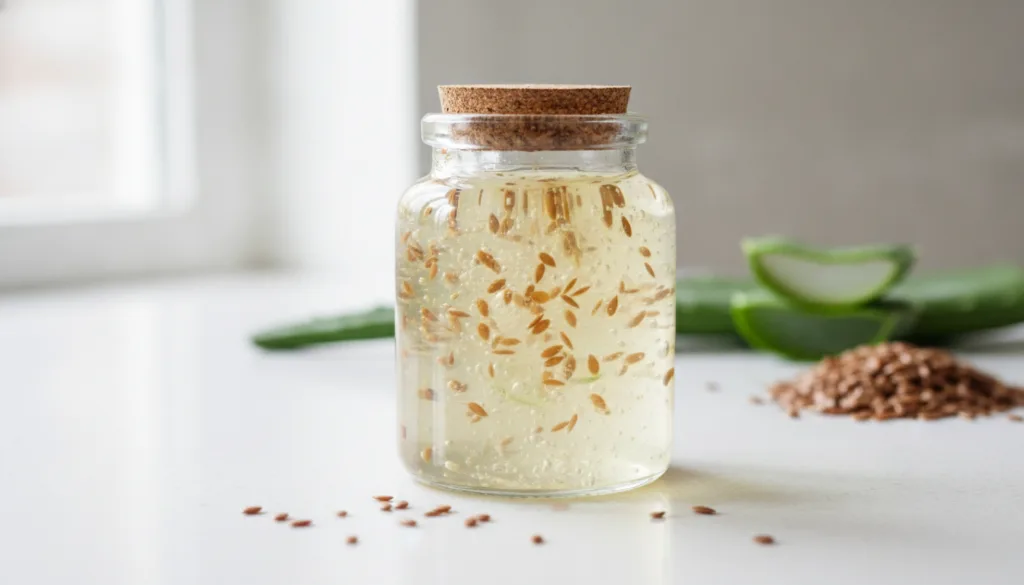
- Prepare Flaxseed Gel: In a small saucepan, combine the flaxseeds and water. Bring to a boil over medium heat, then reduce heat to low and simmer for 7-10 minutes, stirring occasionally. The mixture should thicken and form a gel-like consistency.
- Strain the Gel: Remove the saucepan from the heat. Immediately strain the mixture through a fine-mesh sieve or a cheesecloth into a clean bowl. Press down on the flaxseeds to extract as much gel as possible. Discard the leftover flaxseeds. Let the flaxseed gel cool completely to room temperature.
- Mix with Aloe Vera: Once the flaxseed gel is cool, add the 2 tablespoons of aloe vera gel to it. If using, add 1-2 drops of your chosen carrier oil.
- Combine Thoroughly: Stir all ingredients together well until you have a smooth, uniform gel.
- Store: Transfer your DIY gel into a clean, airtight container (a small glass jar is ideal). Store it in the refrigerator.
How to Use It
- Cleanse Your Face: Start with a clean, dry face. Gently wash away any makeup or impurities.
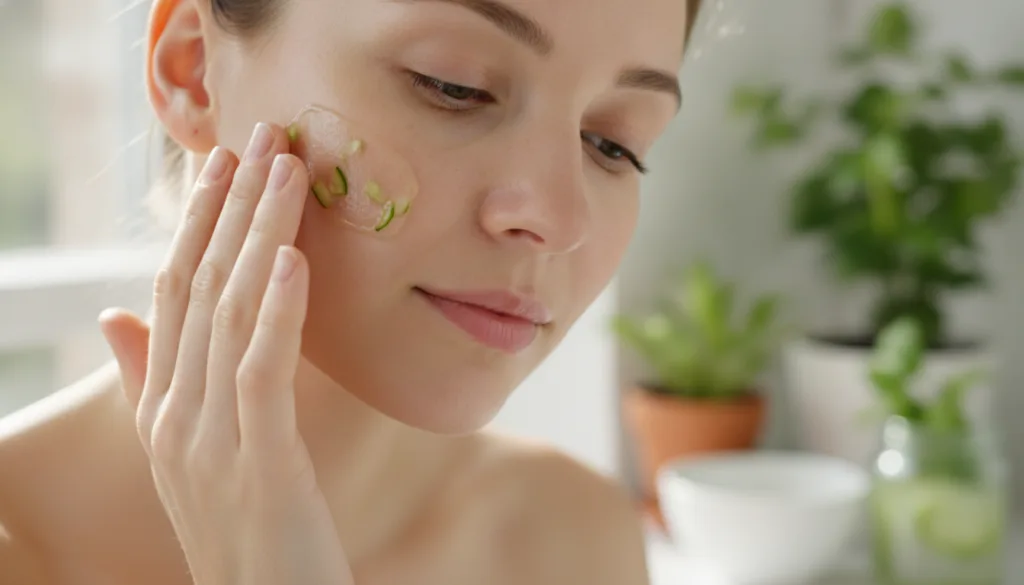
- Apply the Gel: Using clean fingertips, apply a thin, even layer of the DIY gel to your face and neck. Avoid getting it too close to your eyes.
- Relax and Absorb: Leave the gel on for 15-20 minutes. You may feel a slight tightening sensation as it dries.
- Rinse or Leave On: You can either rinse off the gel with lukewarm water and pat your skin dry, or if you prefer, you can gently massage any remaining product into your skin until absorbed, especially if it’s a very thin layer. Follow with your usual moisturizer if desired.
How Often to Use It
For best results, use this DIY gel 2-3 times per week as part of your evening skincare routine. Consistent use is often key for observing any potential benefits.
Why These Ingredients Are Used
Flaxseeds
Flaxseeds are known for their mucilage content, which creates a gel when boiled in water. This gel is rich in omega-3 fatty acids and antioxidants, which can help soothe and hydrate the skin, potentially contributing to a plumper, smoother appearance. The natural tightening effect as it dries is what many users find appealing for a ‘smoothing’ sensation.
Aloe Vera Gel
A popular ingredient in many beauty products, aloe vera is celebrated for its hydrating, soothing, and anti-inflammatory properties. It contains vitamins, enzymes, and amino acids that can help calm irritated skin, promote healing, and add moisture, contributing to a healthy-looking glow.
Carrier Oils (Optional)
Adding a few drops of a gentle carrier oil like sweet almond oil or jojoba oil can provide extra nourishment and emollience, helping to lock in moisture and further support skin softness. These oils are generally well-tolerated and beneficial for various skin types.
What Results to Expect
Regular use of this DIY gel may help your skin feel more hydrated, firmer, and smoother to the touch. It can support a brighter, more even-toned complexion and improve the appearance of dryness or dullness, contributing to a fresher, more youthful look. While results can vary, many users enjoy the feeling of natural firmness and softness this gel provides.
Safety Notes
- Patch Test First: Always apply a small amount of the gel to an inconspicuous area of your skin (like behind your ear or on your inner arm) and wait 24 hours to check for any redness, irritation, or allergic reaction before applying it to your face.
- Use Gently: Apply and remove the gel with gentle motions. Avoid vigorous rubbing, especially on sensitive facial skin.
- Avoid Irritated or Broken Skin: Do not apply this gel to skin that is cut, scraped, sunburned, or otherwise irritated.
- Stop if Discomfort Occurs: If you experience any burning, itching, excessive redness, or discomfort, discontinue use immediately and rinse your face thoroughly with cool water.
- Storage: Homemade gels do not contain preservatives and are prone to bacterial growth. Store your gel in the refrigerator and use it within 7-10 days. Discard if you notice any changes in smell, color, or consistency.
- Eyes: Avoid direct contact with eyes. If contact occurs, rinse thoroughly with water.
FAQ
How long does homemade flaxseed gel last?
Because it contains no preservatives, homemade flaxseed gel, especially when mixed with aloe vera, should be stored in the refrigerator and used within 7 to 10 days. Always check for freshness before each use.
Can I add essential oils to this gel?
It’s generally recommended to be cautious with essential oils on facial skin, especially in DIY recipes, as they can be potent and cause irritation. If you choose to add them, use only 1 very diluted drop of a skin-safe essential oil (like lavender or frankincense) per batch, mixed thoroughly with a carrier oil first, and always perform a patch test.
Will this gel truly give me ‘Botox-like’ results?
No, this homemade gel is a natural remedy designed to support skin hydration and a smoother-looking appearance. It does not contain the active ingredients found in professional Botox treatments and cannot replicate their effects on muscle relaxation or deep wrinkle reduction. The term ‘DIY Botox Gel’ is a popular expression for its perceived tightening and smoothing benefits.
Final Thoughts
Embracing natural beauty solutions like this DIY gel can be a rewarding experience, offering a simple way to care for your skin with ingredients you trust. We hope you enjoy making and using this recipe to support a radiant, smoother-looking complexion. Share your experiences in the comments below!