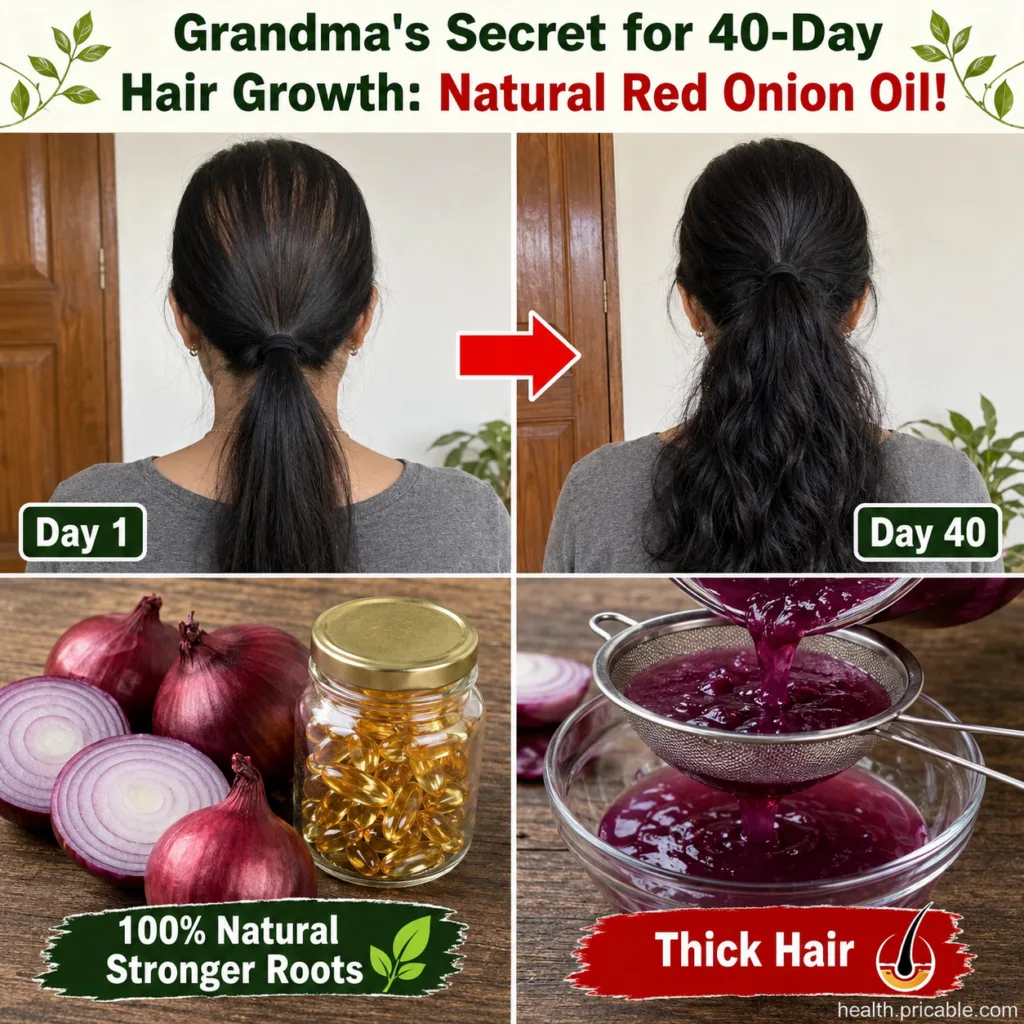
Looking for a natural way to support the appearance of thicker, fuller hair? This traditional red onion oil recipe, often praised in home beauty routines, offers a simple DIY solution using readily available ingredients. Many find it a valuable addition to their hair care for its potential to nourish the scalp and hair strands.
Quick Recipe
Prep time: 15 minutes
Best for: Supporting hair thickness and fullness, scalp nourishment
Use type: Oil
Main ingredients:
- Red onions
- Coconut oil
Ingredients
- 2 medium-sized red onions
- 1 cup virgin coconut oil (or olive oil, almond oil)
- Optional: A few drops of rosemary essential oil for added hair benefits and scent
How to Make It
- Prepare the Onions: Peel the red onions and finely chop them or grate them. You can also blend them into a coarse paste. The goal is to maximize the surface area for infusion.
- Gently Heat the Oil: In a small saucepan or a heat-safe bowl set over a double boiler, add the coconut oil. Heat it gently over low heat. Avoid high heat as it can destroy the beneficial compounds.
- Infuse the Onions: Add the chopped or grated red onions to the warm oil. Continue to heat on very low heat for about 10-15 minutes, stirring occasionally. You’ll notice the onions becoming translucent and the oil absorbing their essence. Do not let the onions burn or turn dark brown.
- Cool and Strain: Remove the pan from the heat and let the oil cool completely. Once cool, strain the oil using a fine-mesh sieve or a cheesecloth to separate all the onion pieces. Squeeze out as much oil as possible.
- Add Essential Oil (Optional): If using, add a few drops of rosemary essential oil to the strained onion oil and mix well.
- Store Your Oil: Pour the homemade red onion oil into a clean, airtight glass bottle. Store it in a cool, dark place.

How to Use It
- Patch Test: Always start with a patch test on a small area of your skin (like behind the ear or on your inner arm) to check for any allergic reaction or irritation.
- Apply to Scalp: Section your dry hair and apply the red onion oil directly to your scalp using your fingertips or a dropper.
- Massage Gently: Gently massage the oil into your scalp for 5-10 minutes. This helps stimulate blood circulation and ensures even distribution.
- Distribute to Hair (Optional): If desired, you can also apply a small amount of oil to the lengths of your hair.
- Leave On: Leave the oil on for at least 30 minutes, or for more intensive treatment, you can leave it overnight. For overnight use, consider covering your pillow with a towel to protect it.
- Rinse and Shampoo: Wash your hair thoroughly with a mild shampoo and conditioner. You might need to shampoo twice to completely remove the oil and any lingering onion scent.
How Often to Use It
For best results, use this red onion oil 2-3 times a week. Consistent use is key when incorporating natural remedies into your beauty routine.

Why These Ingredients Are Used
Red Onions
Red onions are a traditional ingredient in many hair care remedies. They are known for containing sulfur compounds, which are believed to support collagen production. Collagen is vital for healthy skin cells and hair growth. These compounds may help nourish hair follicles and support a stronger, thicker-looking hair appearance.
Coconut Oil
Coconut oil is a beloved carrier oil in hair care due to its ability to penetrate the hair shaft and help reduce protein loss. It’s rich in fatty acids that can moisturize the scalp and hair, helping to leave strands feeling softer and looking shinier. It also provides a good base for infusing the onion’s properties.
What Results to Expect
With consistent and regular use, this red onion oil may help support your hair’s overall health and contribute to the appearance of thicker, fuller, and more lustrous strands. Individual results can vary, and it’s important to be patient and consistent to see potential benefits over time.
Safety Notes
- Patch Test First: Always perform a patch test before applying the oil to your entire scalp to check for any irritation or allergic reactions.
- Use Gently: Apply and massage the oil gently.
- Avoid Eye Contact: Ensure the oil does not get into your eyes. If it does, rinse thoroughly with water.
- Sensitive Skin: If you have a sensitive scalp or existing skin conditions, consult with a dermatologist before using.
- Strong Scent: Onion oil has a distinct smell. Be prepared for it and ensure proper rinsing.
- Stop Use if Discomfort Occurs: Discontinue use immediately if you experience any burning, itching, redness, or discomfort.
FAQ
Can I use this oil every day?
It’s generally recommended to use this oil 2-3 times a week. Daily use might be too intensive for some scalps and could lead to overwashing or potential irritation if not rinsed thoroughly.
How long does the red onion oil last?
When stored in a cool, dark, airtight container, homemade red onion oil can typically last for 2-3 weeks. If you notice any change in smell or appearance, it’s best to discard it.
Will this oil make my hair smell like onions?
The oil will have an onion scent. While thorough shampooing usually removes most of it, a faint smell might linger for some. Adding essential oils like rosemary or peppermint can help mask the scent.
Final Thoughts
Incorporating natural remedies like Grandma’s Red Onion Oil into your hair care routine can be a wonderful way to nourish your scalp and hair. Remember that consistency and patience are key for seeing potential benefits. Give this DIY method a try and share your experiences in the comments below!