Who doesn’t dream of that coveted ‘glass skin’ look – skin so smooth, luminous, and refined it practically glows? While many high-end products promise this youthful radiance, there’s a popular DIY secret making waves in the beauty world that uses surprisingly simple ingredients you might already have at home: Johnson’s Baby Oil and Vaseline!
This popular beauty routine is being embraced by many for its potential to deliver intense hydration and a visibly smoother, more radiant complexion. Let’s dive into how you can create your own ‘glass skin’ moisturizer right in your kitchen.
What Exactly is ‘Glass Skin’?
‘Glass skin’ is a K-beauty inspired trend that refers to skin that appears exceptionally smooth, poreless, translucent, and intensely hydrated, much like a pane of glass. It’s not about being oily, but about a dewy, plump, and healthy glow achieved through a meticulous skincare routine focused on deep hydration and a refined skin texture.
The Viral Secret: Your DIY Glass Skin Moisturizer
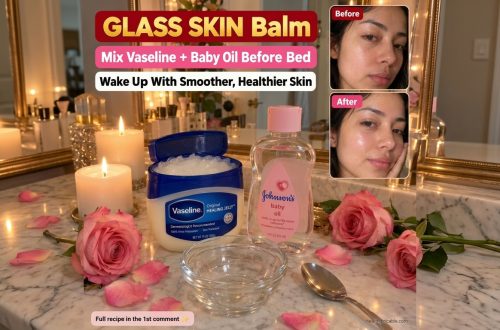
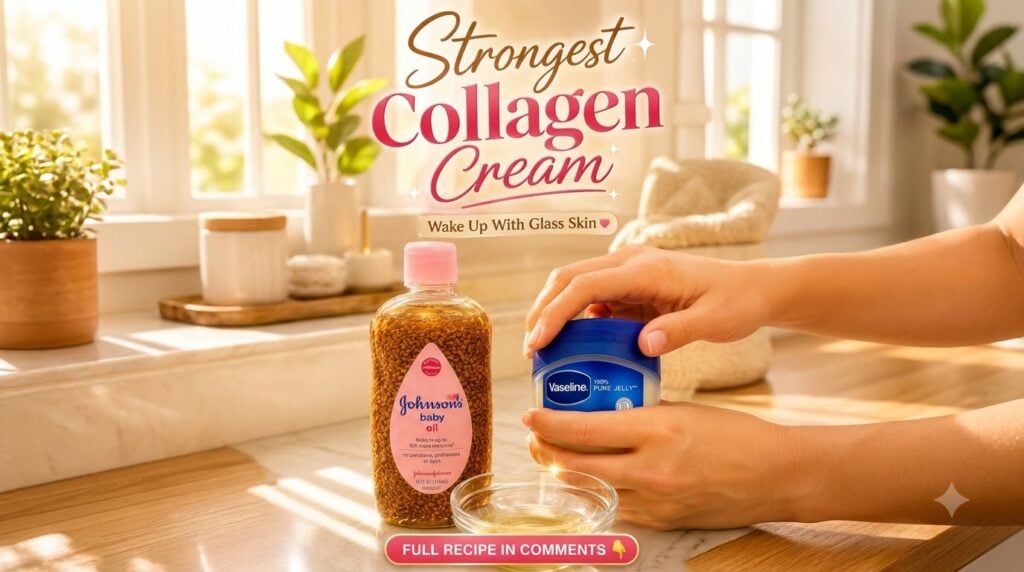
People are trying this simple, homemade moisturizer, combining the hydrating power of Johnson’s Baby Oil with the occlusive benefits of Vaseline (100% Pure Petroleum Jelly). The idea is to lock in moisture, create a protective barrier, and encourage a dewy, radiant finish.
Why These Ingredients Are Popular for DIY Beauty
- Johnson’s Baby Oil: Often lauded for its ability to soften skin and lock in moisture. While primarily mineral oil, which is a fantastic emollient and occlusive agent, it helps to create a smooth surface and prevent water loss from the skin.
- Vaseline (100% Pure Petroleum Jelly): This well-known skin protectant creates an effective occlusive barrier on the skin’s surface. This barrier helps to seal in moisture, preventing transepidermal water loss and leaving your skin feeling incredibly soft, supple, and looking dewy.
How to Prepare Your DIY Glass Skin Moisturizer
This recipe is incredibly simple, making it accessible for anyone looking to try a new moisturizing routine. Remember, it’s about consistency!
Ingredients You’ll Need:
- 2 tablespoons of Johnson’s Baby Oil
- 1 tablespoon of 100% Pure Vaseline Jelly
- A small, clean, airtight container (like a small jar or travel pot)
- A small spoon or spatula for mixing
Step-by-Step Instructions:
- Clean Your Container: Ensure your small container is thoroughly cleaned and dry to maintain the freshness of your mixture.
- Measure Ingredients: Scoop 1 tablespoon of Vaseline into your clean container.
- Add Baby Oil: Add 2 tablespoons of Johnson’s Baby Oil to the same container.
- Mix Thoroughly: Using your spoon or spatula, mix the two ingredients together until they are fully combined and form a smooth, uniform cream. This might take a couple of minutes to ensure the Vaseline is fully emulsified with the oil.
- Optional Boost: Some people like to add a capsule of Vitamin E oil (pierce and squeeze in) for extra antioxidant benefits, or a tiny drop of aloe vera gel for soothing properties. Always do a patch test if adding new ingredients.
How to Incorporate into Your Routine for Best Results
For the best ‘glass skin’ effect, this DIY moisturizer is typically applied as the last step in your evening skincare routine to lock in all the goodness overnight.
- Cleanse Your Face: Start with a clean face. Wash away makeup, dirt, and impurities.
- Apply Serums/Toners (Optional): If you use serums, toners, or other treatments, apply them as usual before this moisturizer.
- Apply the DIY Moisturizer: Take a small amount of your homemade cream (a pea-sized amount is often enough) and warm it slightly between your fingertips.
- Gently Massage: Gently massage the cream all over your face and neck, using upward strokes. Focus on even coverage to create that dewy, sealed-in feeling.
- Overnight Magic: Let the cream work its magic overnight. You’ll likely wake up to skin that feels incredibly soft, hydrated, and looks visibly smoother and more radiant.
Important Tips Before You Try This
- Patch Test is Key: Always perform a patch test on a small, inconspicuous area of your skin (like behind your ear or on your inner arm) 24 hours before applying it to your entire face to check for any sensitivities or reactions.
- Less is More: These ingredients are highly occlusive. Start with a very small amount to avoid feeling greasy or clogging pores.
- Consider Your Skin Type: While generally well-tolerated, individuals with very oily or acne-prone skin might find this combination too heavy. Pay attention to how your skin reacts.
- Clean Skin is Essential: Always apply to thoroughly cleansed skin to prevent trapping impurities beneath the occlusive layer.
- Manage Expectations: While many people find this routine creates a beautiful, dewy finish and intense hydration, it’s a moisturizing technique, not a permanent ‘fix’ for skin texture or conditions. Results can vary.
Trying this popular DIY glass skin moisturizer can be a simple and affordable way to boost your skin’s hydration and achieve that coveted radiant, smooth look. Give it a try and see if this viral beauty hack works wonders for your complexion!