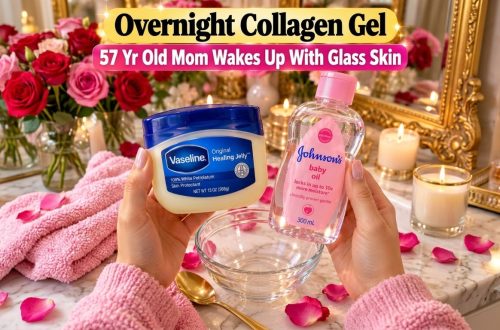
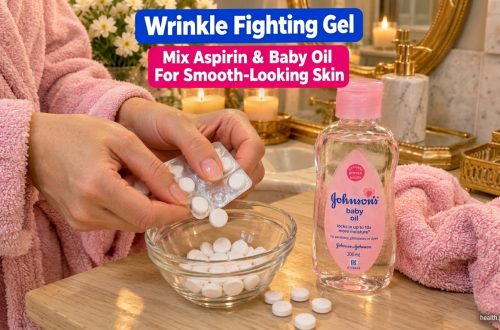
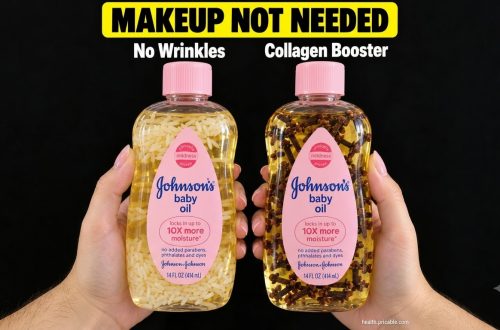
Are you looking for a natural way to support your skin’s youthful appearance without breaking the bank? We’ve got a fantastic DIY recipe for you today! This homemade anti-wrinkle oil combines the goodness of soothing aloe vera, nourishing oils, and potent turmeric to help visibly smooth and brighten your skin. It’s a simple, gentle approach to skincare that many people are trying for a natural, radiant glow.
Creating your own skincare allows you to know exactly what goes onto your skin, often using ingredients you might already have in your pantry or can easily find. Let’s dive into how you can make this popular beauty routine a part of your self-care!
Why These Ingredients? The Natural Powerhouses
Each ingredient in this DIY anti-wrinkle oil plays a special role in nurturing your skin. Let’s take a closer look at their benefits:
Aloe Vera: The Soothing Skin Healer
- Hydration: Aloe vera is packed with water, helping to deeply hydrate the skin without making it feel greasy.
- Soothing Properties: It’s known for its calming effect on irritated skin, which can be beneficial for maintaining an even skin tone.
- Rich in Vitamins: Contains vitamins A, C, and E, which are popular in many skincare formulations for their skin-supporting qualities.
Turmeric: The Golden Spice for Glow
- Brightening: Turmeric is widely recognized for its ability to promote a brighter, more radiant complexion, which can help with the appearance of dull skin.
- Antioxidant Support: It contains compounds that help protect the skin from environmental stressors.
- Traditional Use: For centuries, turmeric has been a staple in traditional beauty practices for its beneficial properties.
Vitamin E: The Skin’s Best Friend
- Nourishment: Vitamin E is a powerful nutrient that helps to moisturize and nourish the skin, supporting its natural barrier.
- Antioxidant Boost: It’s commonly used in skincare to help protect the skin from free radical damage.
Johnson’s Baby Oil & Vaseline: Gentle Moisture Lock
- Moisture Barrier: These ingredients are excellent for creating a protective barrier on the skin, helping to lock in moisture and keep skin feeling soft and supple.
- Gentle for Skin: Often chosen for their mildness, they can provide a smooth base for your homemade oil.
Your Simple DIY Anti-Wrinkle Oil Recipe
Ready to make your own? Here’s how to combine these wonderful ingredients into your very own anti-wrinkle oil.
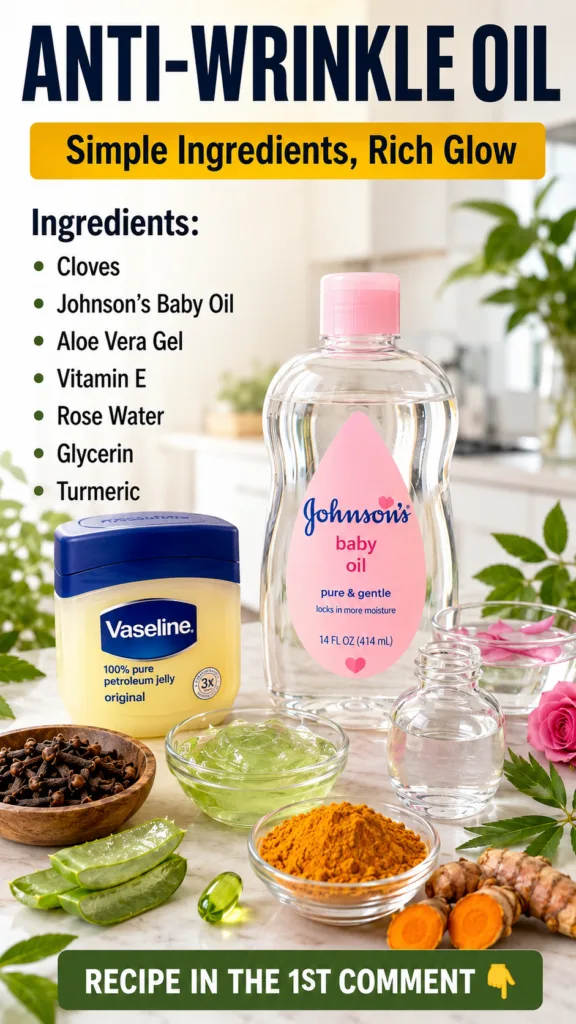
What You’ll Need:
- Fresh Aloe Vera Leaves (or pure aloe vera gel)
- Turmeric Powder (or fresh turmeric root)
- A few Cloves
- Vitamin E Capsule (optional, but recommended)
- Johnson’s Baby Oil
- Vaseline (petroleum jelly)
- Rose petals (for infusion, optional)
- A small, clean, airtight container or bottle for storage
- A small saucepan or heat-safe bowl
- A strainer or cheesecloth
Step-by-Step Instructions:
- Prepare the Aloe Vera: If using fresh leaves, cut open a section of an aloe vera leaf and carefully scoop out the gel. If using store-bought gel, measure out about 2 tablespoons.
- Infuse the Oil (Optional): In a small saucepan, gently heat a small amount of Johnson’s Baby Oil on low heat. Add a pinch of turmeric powder (or a slice of fresh turmeric root) and a few cloves. You can also add a few fresh rose petals for a lovely scent and added benefits. Let it infuse gently for about 10-15 minutes, ensuring it doesn’t boil. This step extracts the beneficial compounds into the oil.
- Strain the Infusion: Carefully strain the infused oil to remove the turmeric, cloves, and rose petals. Allow the oil to cool completely.
- Combine Ingredients: In your clean container, add the strained, cooled infused oil. Mix in the aloe vera gel.
- Add Vitamin E: Pierce a vitamin E capsule and squeeze the oil into the mixture. Stir gently.
- Incorporate Vaseline: If you desire a slightly thicker consistency, melt a small amount of Vaseline (about a teaspoon) over a double boiler or in the microwave for a few seconds until liquid. Add it to your mixture and stir until well combined.
- Mix Thoroughly: Ensure all ingredients are well blended. You may need to stir for a few minutes to achieve a consistent texture.
- Store: Transfer your DIY anti-wrinkle oil into a clean, airtight container.
How to Use Your Homemade Anti-Wrinkle Oil
This oil is best applied to clean skin, ideally in the evening as part of your nightly routine. After cleansing and toning, take a small amount of the oil and gently massage it onto your face, neck, and any other areas you wish to target. Use upward, circular motions until it’s absorbed. A little goes a long way!
Important Considerations:
- Patch Test: Always perform a patch test on a small area of your skin (like behind your ear or on your inner arm) before applying any new DIY product to your entire face. Wait 24 hours to ensure no irritation occurs.
- Storage: Store your homemade oil in a cool, dark place. Due to the fresh ingredients, it’s best to make small batches and use them within 1-2 weeks. If you notice any change in smell or texture, it’s time to make a fresh batch.
- Consistency: Natural products may not have the same long shelf life as commercially produced items with preservatives.
- Disclaimer: While natural ingredients offer wonderful benefits, DIY recipes are not a substitute for professional medical advice or treatments. We cannot guarantee specific results, as everyone’s skin is unique. This recipe is for cosmetic purposes to help promote smoother-looking, radiant skin.
Embrace Your Natural Radiance
Embracing natural beauty solutions can be a rewarding journey. This DIY anti-wrinkle oil offers a gentle, nourishing way to support your skin’s health and glow. With simple ingredients and a little bit of care, you can create a product that makes you feel good about what you’re putting on your skin.
Give it a try and discover the secret to a naturally vibrant complexion!