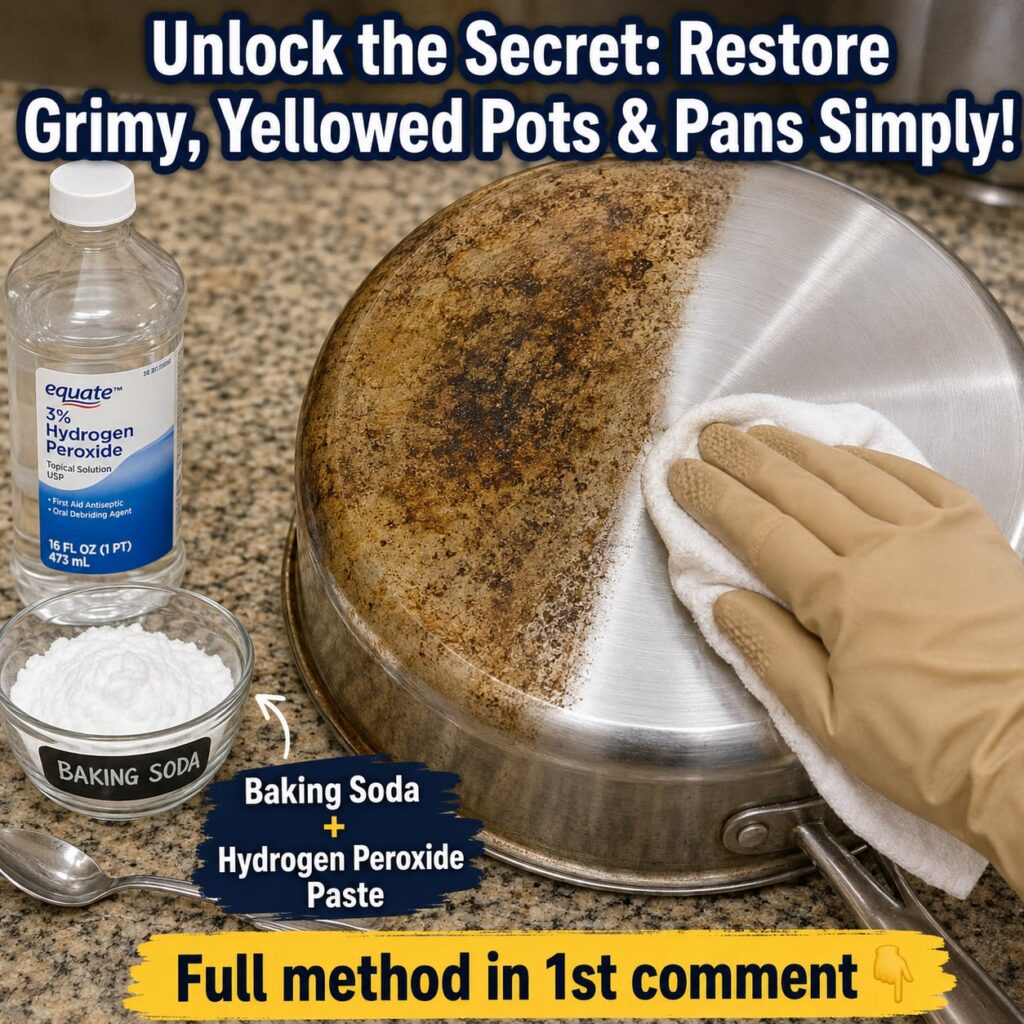
Unlock the Secret: Restore Grimy, Yellowed Pots & Pans Simply!
Are your favorite pots and pans looking a little dull, grimy, or even yellowed from years of cooking? Stubborn stains and baked-on residue can make even the best cookware lose its luster. Instead of reaching for harsh chemical cleaners, there’s a surprisingly simple DIY solution using common household ingredients that can bring them back to life. This method is gentle yet effective, making your cookware shine again without a lot of scrubbing or expense.
What You’ll Need
This DIY uses just two ingredients and a couple of basic tools you likely already have on hand.
Ingredients
- 2-3 tablespoons Baking Soda (sodium bicarbonate)
- Enough Hydrogen Peroxide (3% solution) to form a paste
Tools
- Small mixing bowl or cup
- Spoon or stirring stick
- Non-abrasive sponge or soft cloth
Why This DIY Can Be Useful
Both baking soda and hydrogen peroxide are powerful cleaning agents on their own, but when combined, they create a gentle yet effective cleaning paste. Baking soda acts as a mild abrasive that helps scrub away grime without scratching, while also neutralizing odors. Hydrogen peroxide is a mild bleaching agent that can help break down stubborn stains and discoloration, especially yellowing, making your cookware look brighter and cleaner.
How to Make It
Creating your cleaning paste is quick and easy:
- Pour 2 to 3 tablespoons of baking soda into your small mixing bowl or cup.
- Slowly add hydrogen peroxide, a small splash at a time, to the baking soda.
- Stir the mixture with a spoon until a thick, spreadable paste forms. You want it to be thick enough to cling to the surface of your pot or pan without dripping too much.
How to Use It
Once your paste is ready, it’s time to tackle those stains:
- Ensure your pot or pan is dry before applying the paste.
- Using your spoon or fingers, apply a generous layer of the paste directly onto the stained or discolored areas of your cookware. Make sure the entire affected area is covered.
- Allow the paste to sit and work its magic for at least 15-30 minutes. For tougher, more set-in stains, you can leave it on for an hour or even longer.
- After the waiting period, take your non-abrasive sponge or soft cloth and gently scrub the paste into the stained areas in a circular motion. You should see the grime and discoloration starting to lift.
- Rinse the pot or pan thoroughly under warm running water, making sure to remove all traces of the paste.
- Dry with a clean towel, and admire your newly revived cookware!
What to Expect
You can expect a noticeable improvement in the appearance of your pots and pans. Stubborn stains should be significantly reduced or completely gone, and any yellowing or dullness will likely be replaced with a brighter, cleaner shine. While this method is very effective, extremely deep scratches or very old, deeply embedded stains might not disappear entirely, but your cookware will certainly look much better.
Helpful Tips
- For Extra Tough Stains: If stains persist after the first application, you can repeat the process or leave the paste on for an extended period, even overnight.
- Gloves Recommended: While hydrogen peroxide is mild, wearing gloves can protect your skin, especially if you have sensitive hands.
- Patch Test: If you have uniquely finished or delicate cookware, always test the paste on an inconspicuous area first to ensure it doesn’t affect the finish.
- Use Fresh Paste: Prepare a fresh batch of paste each time you clean, as the fizzing action of the hydrogen peroxide is most effective when freshly mixed.
Important Notes / Safety
- Ventilation: While this mixture is relatively mild, ensure good ventilation in your kitchen when working with cleaning solutions.
- Avoid Eye Contact: Keep the paste away from your eyes. If contact occurs, rinse thoroughly with water.
- Not for All Surfaces: While generally safe for stainless steel and many metals, avoid using this paste on anodized aluminum, cast iron (unless specifically instructed for rust removal in a different context), or certain non-stick coatings unless you’ve confirmed it’s safe for abrasive-free cleaning. Always check manufacturer instructions for your specific cookware.
- Rinse Thoroughly: Always rinse your cookware completely after cleaning to remove all residue before using it for cooking.