Are you gazing at your hair in the mirror, wishing for more fullness, more life, and less hair fall? We understand that feeling! Many of us dream of luscious, vibrant locks, but sometimes the path to achieving them feels complicated or expensive. What if we told you a simple, natural secret, right from your kitchen, could help support the look of gorgeous, healthy-looking hair?
Today, we’re diving into a popular beauty routine that’s been gaining attention for its potential to help transform the appearance of thin, lifeless hair into something that feels and looks thicker and more vibrant. We’re talking about a DIY hair oil made with just two humble ingredients: rice and cloves!
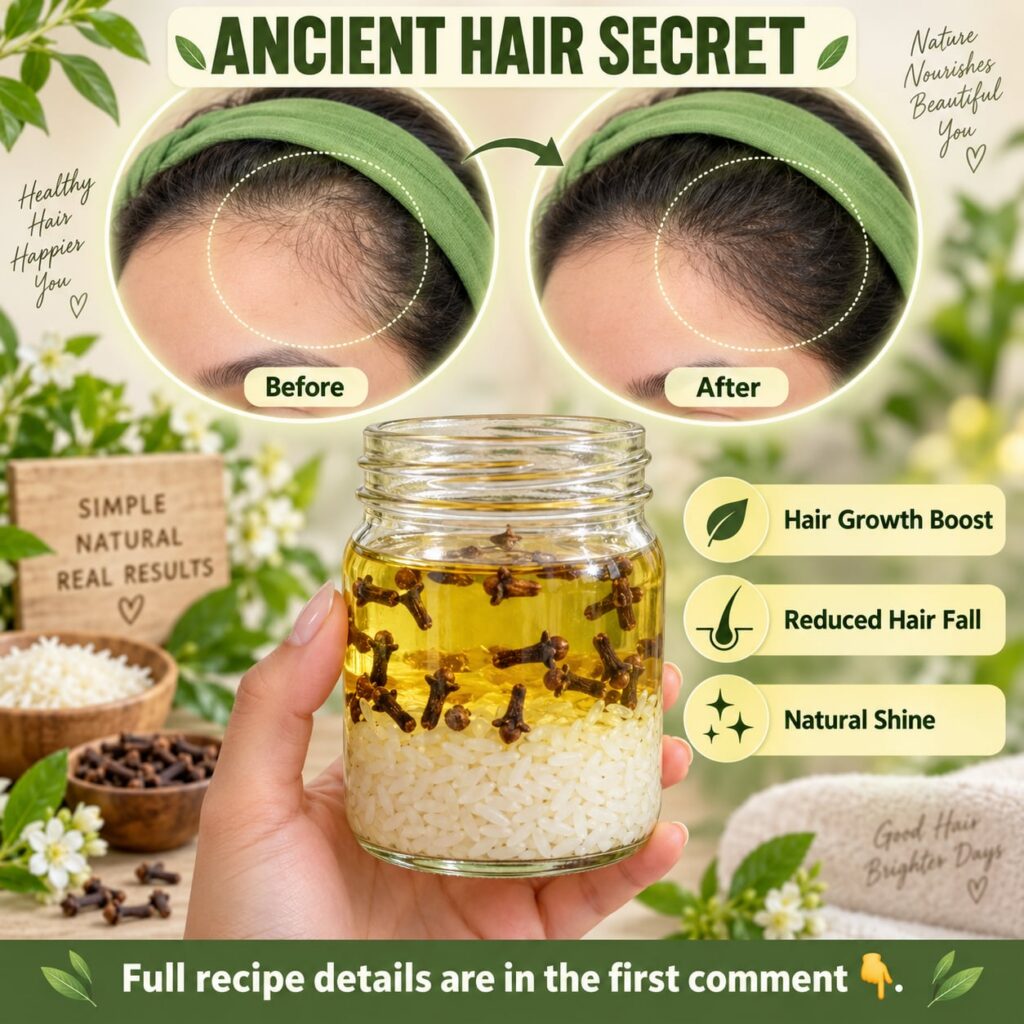
Why Rice and Cloves? A Look at Their Beauty Benefits
These two kitchen staples are more than just cooking ingredients; they’ve been cherished in traditional beauty practices for centuries. Let’s explore why people are turning to them for their hair care needs:
The Wonders of Rice for Hair
- Nourishment: Rice is packed with amino acids, vitamins B, C, and E, and minerals, which are thought to help nourish hair follicles.
- Strength and Shine: People have used rice water for its perceived ability to make hair smoother, stronger, and add a beautiful natural shine. It’s often associated with reducing friction and increasing elasticity.
- Scalp Health: A healthy scalp is the foundation for healthy-looking hair. Rice’s properties may help to create a balanced environment for your scalp.
The Power of Cloves for Hair
- Antioxidant Rich: Cloves are rich in antioxidants, which are believed to help protect hair from environmental stressors.
- Stimulating Sensation: Many popular beauty routines use cloves for their warming and stimulating sensation when applied topically, which some believe supports healthy circulation to the scalp.
- Aromatic Delight: Beyond their potential hair benefits, cloves also offer a wonderfully warm and comforting aroma that can enhance your hair care experience.
Your Easy DIY Rice and Clove Hair Oil Recipe
Ready to try this natural method for yourself? Here’s a simple, step-by-step guide to making your own rice and clove hair oil. This recipe focuses on creating an infused oil, allowing the beneficial properties of both ingredients to be gently extracted.
What You’ll Need:
- 1/4 cup uncooked rice (white or brown, whichever you have)
- 1 tablespoon whole cloves
- 1 cup carrier oil (such as coconut oil, olive oil, almond oil, or jojoba oil)
- A clean, dry glass jar with a lid
- A fine mesh strainer or cheesecloth
Step-by-Step Instructions:
-
Clean the Rice: Rinse the rice thoroughly under cold water until the water runs clear. This helps remove any impurities. Pat it dry completely on a clean cloth or paper towel.
-
Combine Ingredients: Place the dried rice and whole cloves into your clean glass jar.
-
Add Carrier Oil: Pour the carrier oil over the rice and cloves, ensuring they are fully submerged. Gently stir with a clean spoon.
-
Infuse the Oil (Two Methods):
- Sun Infusion (Traditional Method): Seal the jar tightly and place it in a sunny spot for 1-2 weeks. Give it a gentle shake every day or two. The warmth of the sun helps to infuse the oil with the properties of the rice and cloves.
- Gentle Heat Infusion (Quicker Method): Place the jar (without sealing it completely) into a saucepan filled with water (creating a double boiler). Heat the water over low heat for 2-3 hours. Do not let the oil boil. This method gently warms the oil to encourage infusion. Let it cool completely afterwards.
-
Strain the Oil: Once infused, use a fine mesh strainer or cheesecloth to separate the oil from the rice and cloves. Squeeze out every last drop of the precious oil.
-
Store: Transfer your homemade rice and clove hair oil into a clean, airtight bottle. Store it in a cool, dark place.
How to Use Your Homemade Hair Oil
Using this DIY oil is simple and can be a relaxing part of your self-care routine:
- Pre-Shampoo Treatment: Gently massage a small amount of the oil into your scalp using your fingertips. Work it down to the ends of your hair.
- Leave-In Time: Leave the oil on for at least 30 minutes, or even overnight for a deeper treatment. You can cover your hair with a warm towel or shower cap.
- Wash Out: Shampoo and condition your hair as usual. You might need to shampoo twice to ensure all the oil is removed.
- Frequency: Start by using this oil 1-2 times a week and adjust based on your hair’s needs and how it feels.
Important Considerations Before You Try This
- Patch Test: Always perform a patch test on a small area of your skin (like behind your ear or inner arm) before applying any new DIY product all over your scalp. Wait 24 hours to check for any irritation.
- Consistency is Key: Natural remedies often require consistent use to see results. Don’t expect immediate magical transformations; enjoy the process and look for gradual improvements in your hair’s feel and appearance.
- Individual Results Vary: What works wonderfully for one person might not for another. Listen to your hair and adjust your routine as needed.
- Not a Medical Treatment: While these natural ingredients are popular in beauty routines, this DIY oil is not a medical treatment for hair loss or other conditions. If you have significant hair concerns, always consult with a healthcare professional.
Embrace Your Natural Glow!
Embracing natural beauty solutions like this rice and clove hair oil can be a rewarding journey. It’s a way to connect with age-old wisdom, use ingredients you trust, and nurture your hair with a gentle touch. Many people are trying this routine and seeing lovely transformations, reporting smoother-looking, more vibrant hair. Why not give it a try and see if this simple secret can help unlock your hair’s potential?
We’d love to hear about your experiences! Share your thoughts in the comments below.