Hey gorgeous! Ever wondered how to get that coveted youthful glow without breaking the bank or using harsh chemicals? Today, we’re diving deep into the wonderful world of natural toners, focusing on a true kitchen hero: cloves! This humble spice isn’t just for your recipes; it’s a secret weapon for your skin.
Clove is a powerhouse in DIY skincare, cherished for its antioxidant-rich and purifying nature. It’s fantastic for skin that might be looking a little dull, congested, or uneven. When used as a gentle infusion (never a harsh essential oil directly!), clove can help support a fresher, clearer, and more vibrant complexion over time. Ready to transform your skin? Let’s get mixing!

Why Clove is Your Skin’s New Best Friend
Before we jump into the recipes, let’s chat about why cloves are so amazing for your skin. Cloves are packed with antioxidants, which help fight off environmental damage and can contribute to a more youthful appearance. They also have natural purifying properties that can help keep your pores clear and minimize the look of blemishes. The result? Skin that feels cleaner, looks brighter, and has a more even tone.
However, like with any potent natural ingredient (especially when combined with others like turmeric, hibiscus, or vitamin E), it’s super important to be gentle. Always do a patch test before applying any new toner to your entire face, and be extra careful to avoid the delicate eye area. Your skin bestie always recommends safety first!
4 Easy Clove-Based Toners for Different Skin Goals
Below are four easy, high-performance clove-based toners, designed to target different skin goals. Pick the one that sounds perfect for your skin today!
1. Clove + Turmeric Toner: For Pores & Dark Spots
This toner is a powerhouse for minimizing the look of large pores and tackling those pesky dark spots, helping you achieve a more even and radiant complexion.

Ingredients:
- Whole cloves – 8 to 10
- Turmeric powder – a tiny pinch (⅛ tsp or less)
- Green tea – 1 tea bag (or 1 tsp loose leaves)
- Rose water – 2 tbsp
- Aloe vera gel – 1 tsp
- Vegetable glycerin – ½ tsp (optional, for extra hydration)
- Boiled & cooled water – ½ cup
Procedure:
- In a small saucepan, simmer the whole cloves in ½ cup of water for 3–4 minutes.
- Switch off the flame and immediately add the green tea bag (or loose leaves). Steep for 4 minutes.
- Let the mixture cool completely, then strain it well to remove cloves and green tea.
- Add the tiny pinch of turmeric powder (remember, less is more to avoid staining!), then mix in the rose water, aloe vera gel, and vegetable glycerin (if using).
- Pour your beautiful toner into a clean spray bottle or glass bottle.
2. Clove + Rose Water Toner: For Hydration & Calm
This gentle toner combines the purifying benefits of clove with the soothing and hydrating power of rose water, perfect for sensitive or dry skin needing a refreshing boost.
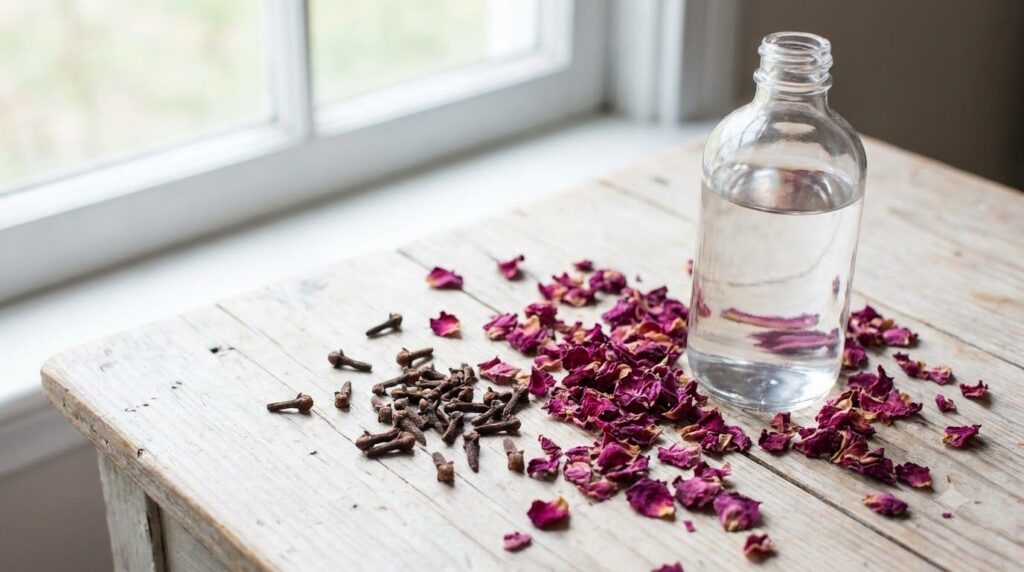
Ingredients:
- Whole cloves – 8 to 10
- Distilled water – ½ cup
- Pure rose water – ¼ cup
Procedure:
- Simmer the whole cloves in ½ cup of distilled water for 3–4 minutes.
- Remove from heat and let it cool completely.
- Strain the clove-infused water to remove all cloves.
- Mix the strained clove water with pure rose water.
- Store in a clean spray bottle or a sealed glass container.
3. Clove + Rice Water Toner: For Brightening & Tightening
Inspired by ancient beauty secrets, this toner uses rice water’s brightening and skin-tightening properties alongside cloves for an all-around youthful glow.
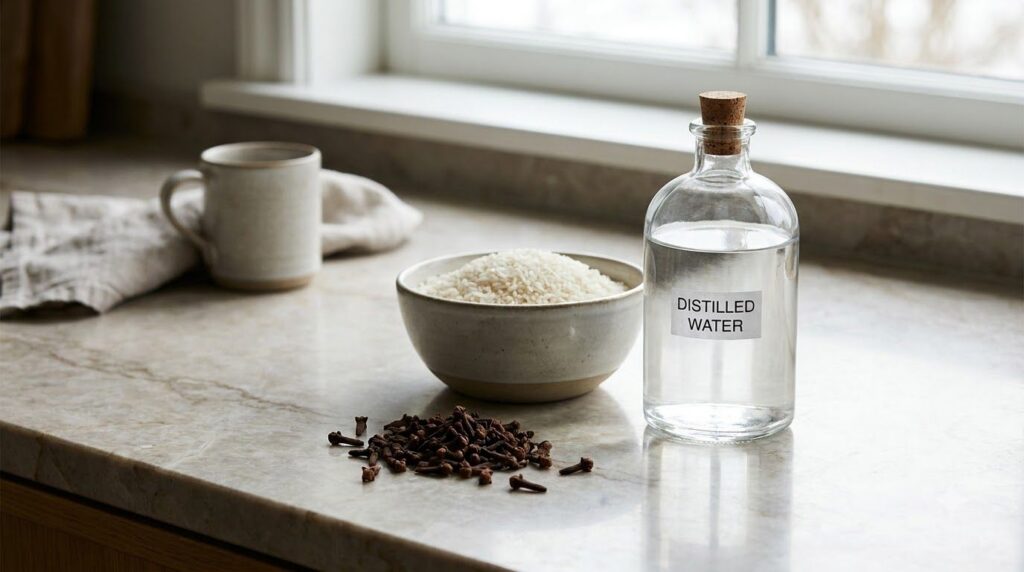
Ingredients:
- Whole cloves – 8 to 10
- White rice – ¼ cup
- Distilled water – 1 cup (split into ½ cup for cloves, ½ cup for rice)
Procedure:
- Simmer the whole cloves in ½ cup of distilled water for 3–4 minutes. Let it cool completely and then strain.
- Rinse the rice thoroughly under cold water.
- Place the rinsed rice in a bowl and add the remaining ½ cup of distilled water. Let it soak for at least 30 minutes, or even overnight in the fridge. Swirl occasionally.
- Strain the rice water into a clean container, pressing the rice gently to extract all the liquid.
- Mix the strained clove water with the rice water.
- Pour into a clean spray bottle or glass bottle.
4. Clove + Hibiscus Toner: For Anti-Aging & Even Tone
Hibiscus, often called the ‘Botox plant,’ combined with cloves, creates a toner rich in AHAs and antioxidants, perfect for promoting an even skin tone and reducing the appearance of fine lines.
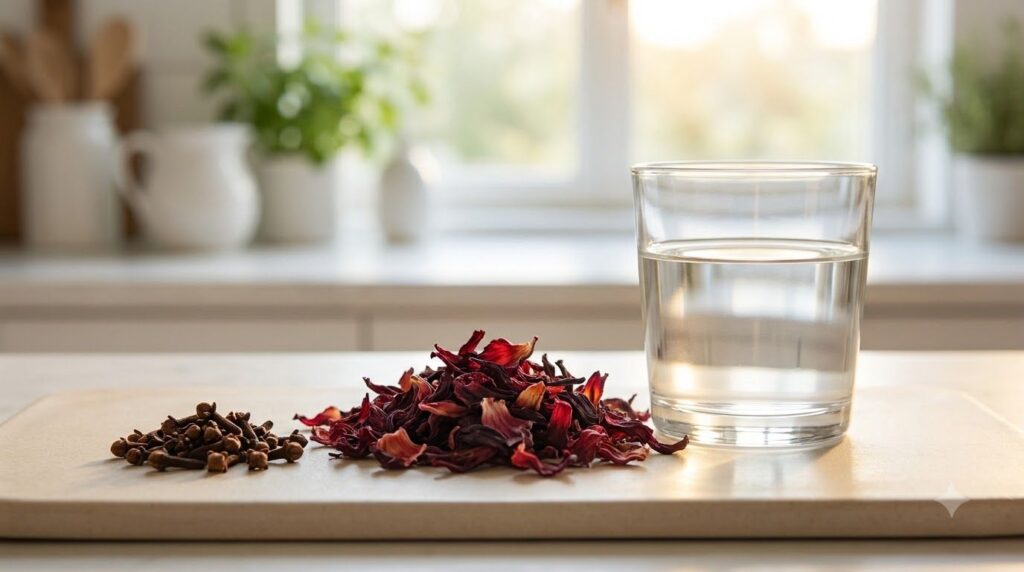
Ingredients:
- Whole cloves – 8 to 10
- Dried hibiscus flowers – 1 tbsp
- Distilled water – 1 cup
Procedure:
- In a small saucepan, simmer the whole cloves in 1 cup of distilled water for 3–4 minutes.
- Remove from heat and add the dried hibiscus flowers. Let them steep together for 10-15 minutes, or until the water turns a beautiful reddish-pink color.
- Let the mixture cool completely.
- Strain thoroughly to remove all cloves and hibiscus petals.
- Store your vibrant toner in a clean spray bottle or a sealed glass container.
How to Use Your DIY Clove Toners
Using your homemade toner is super easy and fits right into your existing skincare routine:
- Cleanse: Start with a freshly cleansed face.
- Apply: You can either spray the toner directly onto your face (with eyes closed, of course!) or dampen a cotton pad with the toner and gently swipe it across your face and neck.
- Pat: Gently pat your skin until the toner is absorbed.
- Moisturize: Follow up immediately with your favorite serum and moisturizer while your skin is still slightly damp to lock in all that goodness.
When to Use:
- Morning: To refresh your skin, remove any overnight oils, and prepare it for makeup.
- Evening: To ensure your skin is perfectly clean after cleansing and ready for your nighttime treatments.
- Throughout the Day: A quick spritz can refresh your skin, especially on hot days or if your skin feels a bit tired.
Important Tips & Storage
- Patch Test: Seriously, always do a patch test on a small, inconspicuous area of your skin (like behind your ear or on your inner arm) 24 hours before applying to your face, especially with ingredients like turmeric or hibiscus.
- Freshness is Key: Since these toners are all natural and preservative-free, they’re best used fresh. Store them in the refrigerator for up to 5-7 days. If you notice any changes in smell, color, or texture, it’s time to make a fresh batch.
- Avoid Essential Oils: We’re using whole cloves for infusion. Clove essential oil is very potent and should not be applied directly to the skin, especially on the face, without extreme dilution by an expert. Stick to our gentle infusion method!
Ready for Your Glow?
Embracing natural ingredients like cloves in your skincare routine can be incredibly rewarding. These DIY toners are not just affordable and easy to make, but they also offer a gentle yet effective way to achieve healthier, more radiant, and youthful-looking skin. Give them a try and let your natural beauty shine through!
Which clove toner are you excited to try first? Share your thoughts and experiences in the comments below!