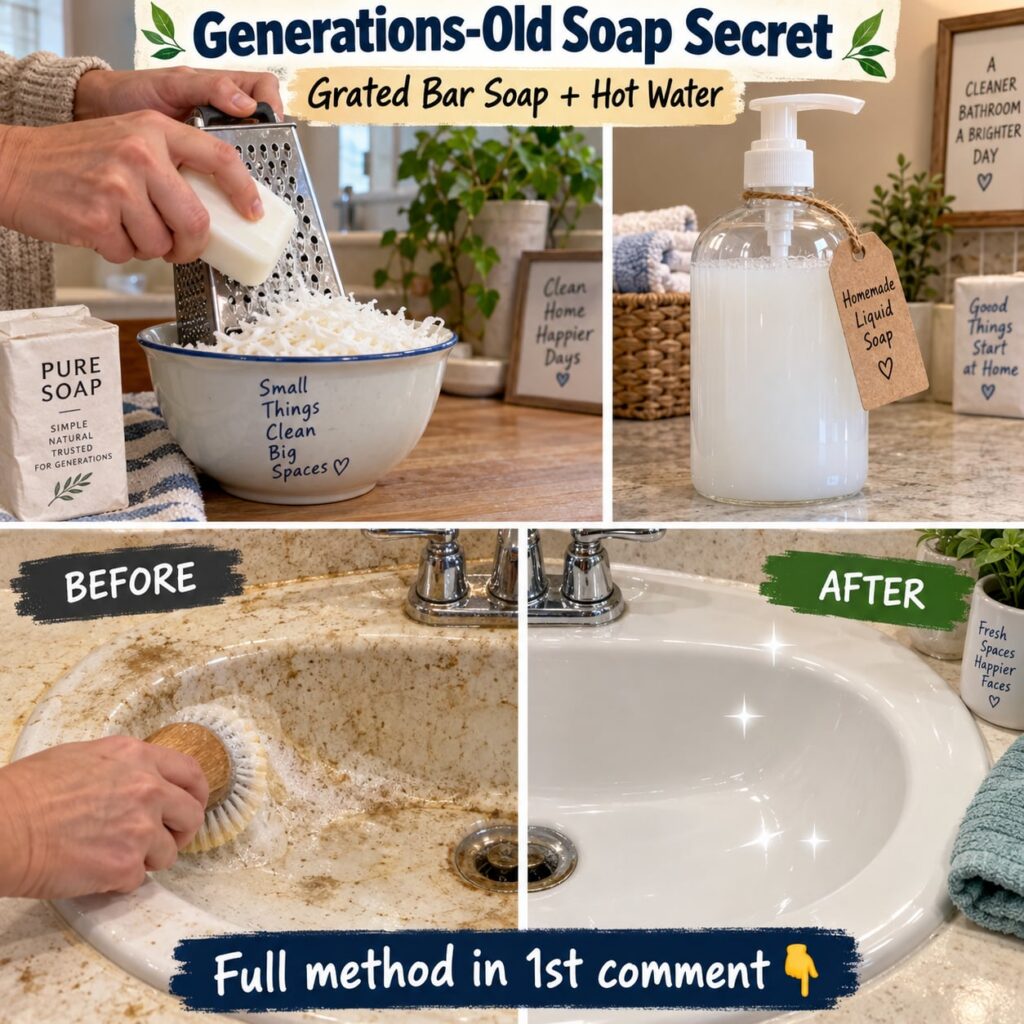
Tired of scrubbing stubborn bathroom grime with harsh chemicals that leave your home smelling like a laboratory? There’s a simpler, more natural way to tackle those tough stains and leave your bathroom sparkling clean. This generations-old hack transforms a basic bar of soap into a powerful liquid cleaner that can help you conquer soap scum, dirt, and everyday buildup without the need for expensive, chemical-laden products.
It’s an incredibly cost-effective and surprisingly effective solution that taps into the natural cleaning power of soap, making it an excellent alternative for a fresh and clean home.
What You’ll Need
Ingredients
- 1 standard bar of plain soap (e.g., castile soap, unscented bath soap)
- 4-6 cups of water (about 1-1.5 liters)
Tools
- Grater
- Saucepan or heat-safe bowl
- Stirring spoon
- Empty spray bottle
- Funnel (optional, for pouring)
Why This DIY Can Be Useful
Soap has been a cleaning staple for centuries for a good reason. Its molecules have both water-loving and oil-loving ends, allowing them to lift dirt, grease, and grime from surfaces and suspend them in water so they can be easily rinsed away. By turning a bar of soap into a liquid solution, you create a gentle yet effective cleaner that can break down bathroom buildup without the harsh abrasives or strong fumes often found in commercial products.
This DIY approach not only saves you money but also reduces your exposure to unnecessary chemicals, making it a great choice for households looking for greener cleaning options.
How to Make It
- Grate the Soap: Using a grater, finely grate the entire bar of soap into a saucepan or heat-safe bowl. Finer gratings will dissolve more quickly.
- Heat the Water: In the saucepan with the grated soap, add 4-6 cups of water.
- Dissolve the Soap: Gently heat the mixture over medium-low heat on the stove, stirring continuously until the grated soap is completely dissolved and no solid pieces remain. Do not let it boil vigorously; a gentle simmer is sufficient.
- Cool and Thicken: Once the soap is fully dissolved, remove the saucepan from the heat. Allow the mixture to cool completely. As it cools, the solution will thicken, often resembling a gel-like consistency. This can take several hours.
- Transfer to Spray Bottle: Once cooled and thickened, carefully pour the liquid soap solution into your empty spray bottle. A funnel can be helpful to avoid spills. If it’s too thick to pour, you can add a little more warm water and stir until it reaches your desired consistency.
How to Use It
This homemade liquid soap cleaner is ideal for various bathroom surfaces.
- For Sinks, Tubs, and Tiles: Spray the solution liberally onto the dirty surface.
- Let It Sit: Allow the cleaner to sit for 5-10 minutes, giving it time to break down the grime. For tougher stains, you might let it sit a bit longer.
- Scrub: Using a sponge, brush, or cloth, scrub the treated area. You’ll notice the grime loosening up.
- Rinse Thoroughly: Wipe down the surface with a clean, damp cloth or rinse thoroughly with water to remove all soap residue. Buff dry with a clean, dry cloth for a streak-free shine.
- For Shower Doors: Spray and wipe with a micro-fiber cloth, then rinse.
What to Expect
You can expect your homemade soap cleaner to effectively tackle everyday bathroom grime, soap scum, and light dirt. Surfaces like ceramic tiles, porcelain sinks, and fiberglass tubs should come out visibly cleaner and sparkling. While it’s powerful for general cleaning, remember it’s a mild solution and may not instantly remove very heavy hard water stains, deep-seated mold, or extremely tough mildew without additional scrubbing or a specific treatment for those issues.
Helpful Tips
- Adjust Consistency: If your solution is too thick for your spray bottle, simply add a small amount of warm water and shake or stir well until you achieve a sprayable consistency. If it’s too thin, you can try adding a bit more grated soap and reheating, or letting it sit uncovered for a while to allow some water to evaporate.
- Warm Water Boost: For particularly stubborn spots, you can warm the spray bottle slightly in a bowl of warm water before use. A slightly warmer solution can sometimes be more effective at cutting through grease and grime.
- Scent It Naturally: While a plain bar of soap is effective, you can add a few drops of essential oils (like tea tree for extra sanitizing power, or lemon/lavender for a pleasant scent) to the cooled mixture before bottling, if desired.
Important Notes / Safety
- Patch Test: Always perform a patch test on an inconspicuous area first, especially on delicate or new surfaces, to ensure there are no adverse reactions or discoloration.
- Rinse Well: Ensure all soap residue is thoroughly rinsed from surfaces, especially in the shower or tub, to prevent slippery conditions and future soap scum buildup.
- Storage: Store your homemade cleaner in a cool, dark place. Since it contains no strong preservatives, it’s best to use it within a few weeks to a month. If you notice any changes in smell or appearance, it’s time to make a fresh batch.
- Ventilation: While this cleaner is natural, good ventilation is always recommended when cleaning to help surfaces dry properly.