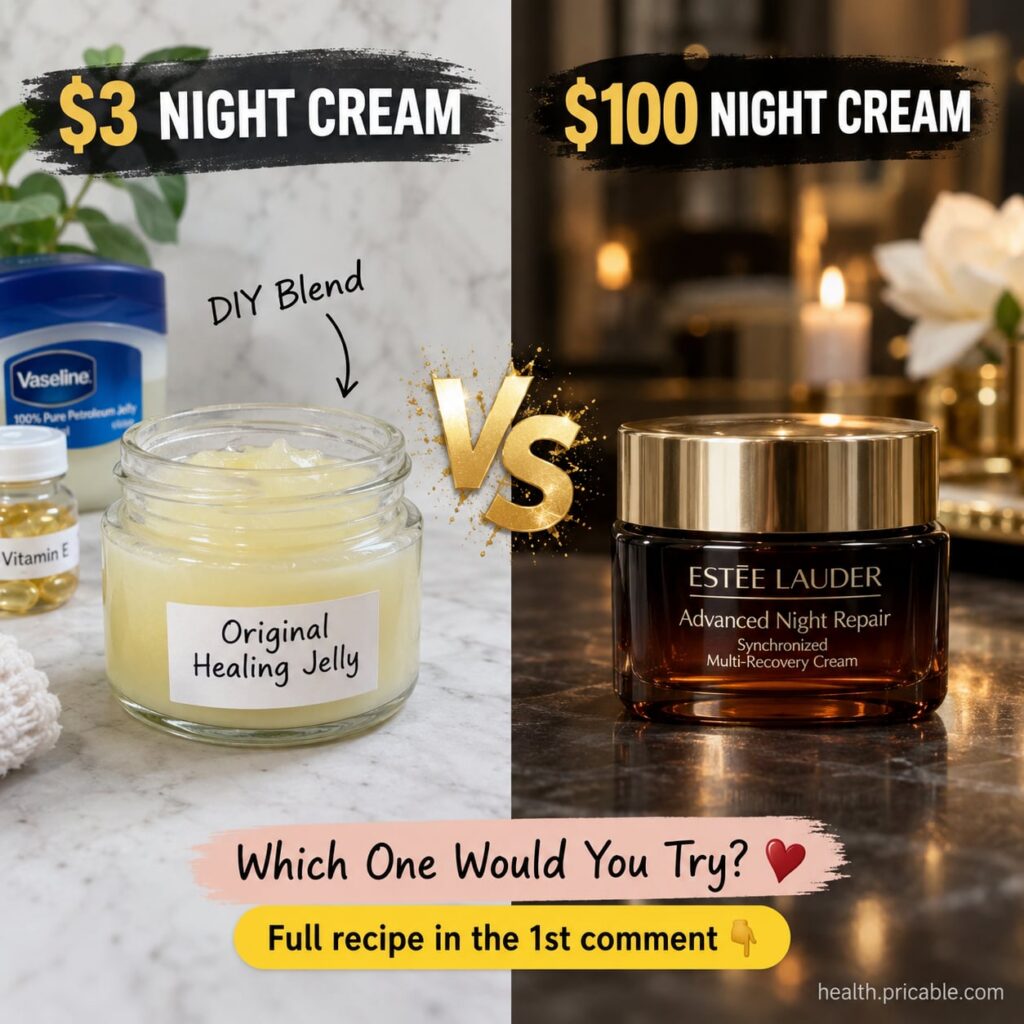
Looking for an affordable way to support a radiant, smoother-looking complexion? This simple DIY blend, combining common household items like Vaseline and Vitamin E, is often discussed as a budget-friendly alternative to high-end night creams. Let’s dive into how you can make your own.
Quick Recipe
This easy-to-make cream can help your skin feel nourished and appear more radiant.
Prep time: 5 minutes
Best for: Dryness, dullness, supporting a smoother-looking complexion
Use type: Night cream/balm
Main ingredients:
- Petroleum jelly (Vaseline)
- Vitamin E oil (from capsules)
Ingredients
- 2 tablespoons petroleum jelly (such as Vaseline)
- 1-2 Vitamin E oil capsules (400 IU or 800 IU each)
- A small, clean, airtight container for storage
How to Make It
- Prepare the petroleum jelly: Scoop 2 tablespoons of petroleum jelly into a small, heat-safe bowl.
- Melt gently (optional): For easier mixing, you can gently warm the petroleum jelly. You can do this by placing the bowl in a larger bowl of warm (not boiling) water for a few minutes, or microwave it for 10-15 seconds until it softens. Be careful not to overheat.
- Add Vitamin E: Prick the Vitamin E capsules with a clean pin or needle and squeeze the oil into the softened petroleum jelly.
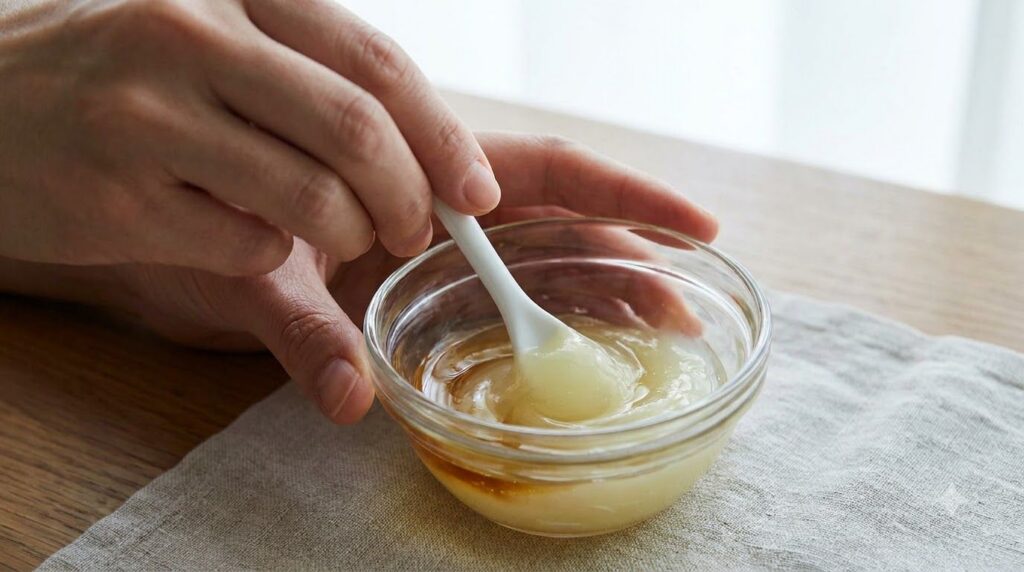
- Mix thoroughly: Stir the mixture well with a clean spoon or spatula until the Vitamin E oil is fully incorporated and the blend is smooth.
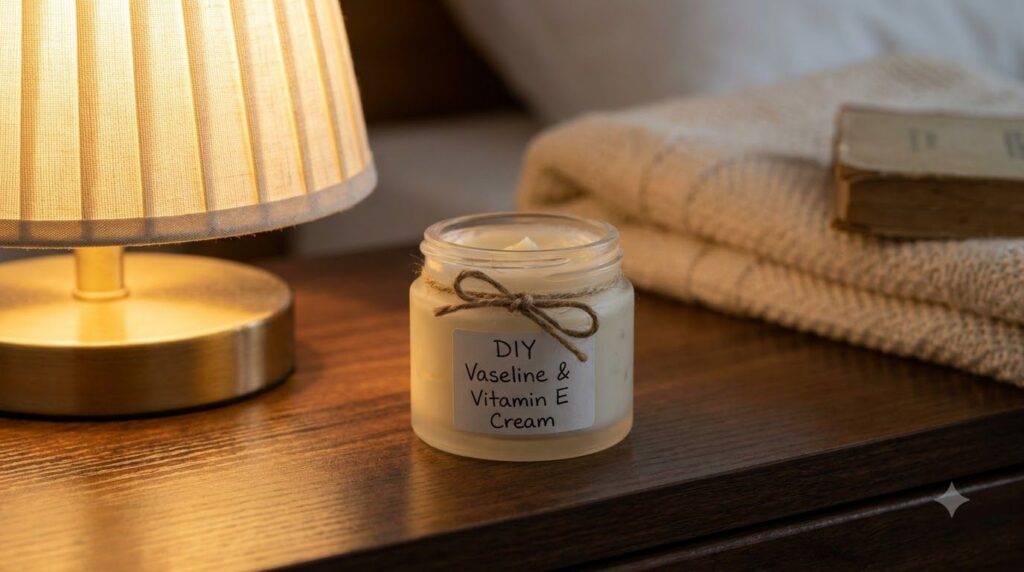
- Transfer and set: Carefully transfer your DIY cream into your clean, airtight container. Allow it to set at room temperature for an hour or in the refrigerator for 15-20 minutes until it solidifies into a creamy texture.
How to Use It
- Cleanse your face: Start with a clean, dry face. You can apply your regular serum or toner first if desired.
- Apply a small amount: Take a tiny pea-sized amount of the DIY Vaseline and Vitamin E cream on your fingertips. A little goes a long way.
- Gently massage: Gently dab and massage the cream onto your face and neck, focusing on areas that feel dry or need extra hydration. Use upward and outward strokes.
- Nighttime use: This cream is best used as the last step in your evening skincare routine to lock in moisture overnight.
How Often to Use It
You can use this DIY cream nightly as part of your evening skincare routine. Observe how your skin responds and adjust frequency if needed.
Why These Ingredients Are Used
Petroleum Jelly (Vaseline)
Petroleum jelly is a highly effective occlusive agent. This means it forms a protective barrier on the skin’s surface, preventing moisture loss. This barrier helps to keep your skin hydrated, leading to a plumper, smoother-looking appearance. It’s also traditionally used to protect minor cuts and scrapes, highlighting its barrier-forming properties.
Vitamin E Oil
Vitamin E is a well-known antioxidant that can help protect the skin from environmental stressors. It’s also a deeply moisturizing ingredient, supporting skin hydration and elasticity. When applied topically, it can help the skin feel softer and may contribute to a brighter-looking complexion over time.
What Results to Expect
Consistent use of this DIY Vaseline and Vitamin E cream may help your skin feel more hydrated and appear smoother. The occlusive properties of Vaseline can lock in moisture, reducing the appearance of dry patches and fine lines. Vitamin E can support a more even and radiant-looking skin tone over time, contributing to an overall fresher glow. While this blend is an excellent choice for deep hydration, individual results may vary.
Safety Notes
- Patch test first: Always perform a patch test on a small, inconspicuous area of your skin (like behind your ear or on your inner arm) 24 hours before applying it to your face to check for any irritation or allergic reactions.
- Use gently: Apply the cream with clean hands and a gentle touch to avoid stressing the skin.
- Avoid irritated or broken skin: Do not apply this cream to skin that is irritated, broken, or has active breakouts.
- Stop using if discomfort occurs: If you experience any redness, itching, burning, or discomfort, discontinue use immediately.
- Comedogenicity: While petroleum jelly is generally considered non-comedogenic (meaning it’s unlikely to clog pores), individual skin types can react differently. If you have acne-prone skin, observe carefully for any new breakouts.
- Storage: Store your homemade cream in a cool, dry place away from direct sunlight to maintain its consistency and efficacy.
FAQ
Can I use this DIY cream if I have oily skin?
While Vaseline is generally considered non-comedogenic, very oily or acne-prone skin types might find it too heavy and occlusive, potentially leading to congestion. It’s best to perform a patch test and start with very small amounts, or consider using it only on drier areas of your face.
How long can I store this homemade cream?
Since this recipe uses pure petroleum jelly and Vitamin E oil without water, it tends to be quite stable. Stored in a clean, airtight container in a cool, dry place, it should last for several months, similar to the shelf life of its individual ingredients. Always check for any changes in smell or texture.
Can I add other ingredients to this blend?
For simplicity and stability, it’s best to stick to these two ingredients. Adding water-based ingredients or other oils can change the shelf life and might require preservatives. If you wish to experiment, do so with caution and in very small batches.
Final Thoughts
This DIY Vaseline and Vitamin E cream offers a wonderfully simple and cost-effective way to boost your skin’s hydration and support a radiant appearance. It’s a reminder that sometimes, the most effective beauty solutions are the ones you can easily make at home. Give this blend a try and see how your skin responds to this nourishing, moisture-locking treatment. Share your experiences in the comments below!