Are you looking for a simple yet impressive dessert that’s both beautiful and delicious? Layered desserts are a fantastic way to satisfy your sweet tooth and delight guests, but sometimes they can feel intimidating to create. This DIY guide will show you how to assemble a stunning layered dessert with a rich, creamy topping, making it an achievable treat for any occasion. It’s a versatile dessert that looks intricate but is surprisingly easy to put together, offering a wonderful balance of textures and flavors in every spoonful.
What You’ll Need
For the Creamy Vanilla Topping:
- 1 (8 oz) block cream cheese, softened
- 1/2 cup powdered sugar (or to taste)
- 1 teaspoon vanilla extract
- 1/4 cup heavy cream (optional, for thinner consistency)
For the Layered Base (suggestions):
- Crushed graham crackers, vanilla wafers, or cubed pound cake
- Fresh fruit (e.g., berries, sliced bananas, peaches)
Tools:
- Mixing bowl
- Electric mixer (handheld or stand mixer) or whisk
- Spatula or spoon
- Clear dessert glasses or jars
- A pitcher or pourable container (for the topping)
Why This DIY Can Be Useful
This DIY focuses on creating a customizable layered dessert. The creamy topping provides a smooth, rich contrast to crunchier base layers like cookies or cake, while fresh fruit adds a burst of flavor and freshness. Cream cheese forms a stable, luxurious base for the topping, ensuring it holds its shape and provides a satisfying texture that complements various dessert components. It’s a simple way to elevate everyday ingredients into something special, making dessert prep enjoyable and rewarding.
How to Make It
Prepare the Creamy Vanilla Topping:
- In a mixing bowl, combine the softened cream cheese, powdered sugar, and vanilla extract.
- Using an electric mixer or a whisk, beat the ingredients together until smooth and creamy. Start on low speed to avoid a cloud of powdered sugar, then increase to medium.
- If you prefer a slightly thinner, more pourable topping, gradually add the heavy cream, beating until it reaches your desired consistency. Be careful not to overmix.
- Once smooth, transfer the creamy topping to a pitcher or a container with a spout for easy pouring.
How to Use It
Assembling your layered dessert is the fun part! You can customize this based on your preferred flavors and what you have on hand.
- Prepare Your Base Layers: If using cookies, crush them into coarse crumbs. If using cake, cut it into small cubes. Wash and slice any fresh fruit.
- Start Layering: In your clear dessert glasses, begin with a layer of crushed cookies or cake cubes at the bottom.
- Add Fruit: Place a layer of fresh fruit over the base layer.
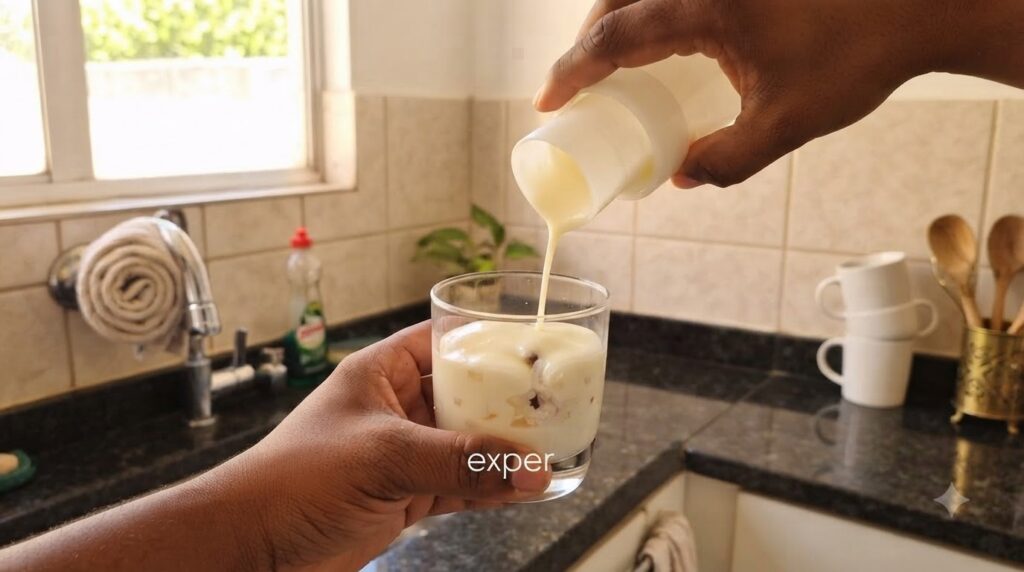
- Pour the Creamy Topping: Carefully pour a generous layer of the creamy vanilla topping over the fruit. The thick consistency should allow it to create a distinct layer.
- Repeat Layers: Continue alternating layers of your base (cookies/cake), fruit, and creamy topping until the glass is filled to your desired level, typically leaving a little space at the top.
- Chill: Place the assembled desserts in the refrigerator for at least 30 minutes to allow the layers to set and the flavors to meld.
What to Expect
You can expect a beautiful dessert with clearly defined layers that offer a delightful interplay of textures and flavors. The creamy topping will be smooth and rich, balancing the sweetness of the sugar with a hint of vanilla and the slight tang of cream cheese. The base layers will provide a pleasant texture, and the fruit will add a fresh, vibrant contrast. The dessert should be easy to scoop and enjoy, presenting an elegant finish that belies its simple creation process.
Helpful Tips
- Chill Your Bowl: For an extra fluffy topping, chill your mixing bowl and whisk attachment (if using an electric mixer) in the freezer for 10-15 minutes before mixing the cream cheese topping.
- Use Room Temperature Cream Cheese: Ensure your cream cheese is truly softened to room temperature. This prevents lumps and ensures a smooth, uniform topping.
- Variety is Key: Experiment with different crushed cookies (e.g., chocolate wafers, shortbread), cake flavors (e.g., chocolate, lemon), and fruits (e.g., kiwi, mango, raspberries) to create endless variations.
- Pre-Portion: If making for a party, using individual glasses makes serving easy and adds a touch of sophistication.
- Garnish: Before serving, add a fresh berry, a mint leaf, or a sprinkle of extra cookie crumbs on top for a professional finish.
Important Notes / Safety
- Always use fresh, high-quality ingredients, especially for dairy and fruit, to ensure the best taste and food safety.
- Keep finished desserts refrigerated until ready to serve, especially if they contain fresh fruit and dairy, to maintain freshness and prevent spoilage.
- Consider any allergies among your guests when choosing ingredients like nuts, gluten, or dairy.