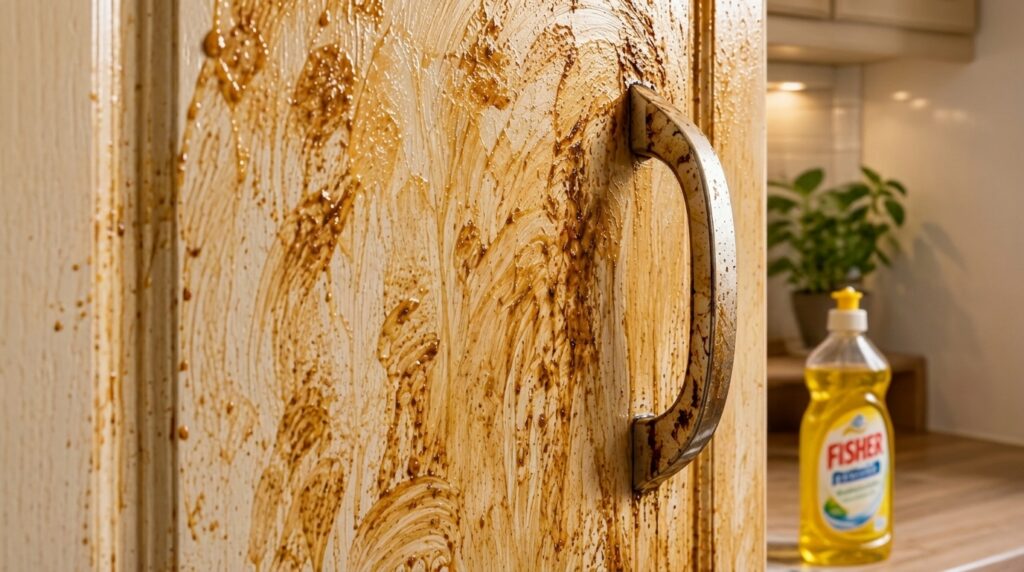
After a delicious home-cooked meal, the last thing anyone wants to face is a kitchen covered in stubborn grease. Cooking, while rewarding, often leaves behind a sticky residue on our beloved kitchen cabinets, making them look dull and unkempt. This common challenge can feel overwhelming, especially when traditional cleaners contain harsh chemicals or don’t quite get the job done without a lot of scrubbing.
Many homeowners struggle with finding an effective yet safe solution to cut through the grime without damaging cabinet finishes. You might have tried various products, only to be disappointed by streaks, residue, or the sheer effort required. But what if there was a simple, natural way to restore the shine to your kitchen?
This comprehensive guide is for anyone who wants to conquer post-cooking cleanup with ease. Whether you’re a seasoned chef or a casual cook, you deserve a clean and inviting kitchen without the headache.
In this article, you’ll learn how to create your own powerful, natural kitchen cabinet degreaser using common household ingredients. We’ll walk you through a simple step-by-step process, provide expert tips for the best results, and ensure your cabinets are sparkling clean, naturally and effectively. Get ready to transform your kitchen from greasy to gleaming!
Why You’ll Love This Guide
- Easy to prepare
- Uses common household ingredients
- Budget-friendly
- Beginner-friendly cleaning solution
- Eco-friendly and non-toxic
- Effectively removes tough grease
- Leaves cabinets spotless and shiny
- Safe for most kitchen surfaces
Materials Needed
- 1 cup warm water
- 1/2 cup white vinegar
- 1 tablespoon baking soda
- 1 tablespoon liquid dish soap (mild, grease-cutting formula)
- Optional: 5-10 drops of lemon essential oil (for fragrance and extra cleaning power)
Equipment Needed
- Spray bottle
- Mixing bowl
- Measuring cups and spoons
- Microfiber cloths (2-3)
- Soft sponge or brush (optional, for stubborn spots)
Step-by-Step Instructions
-
Gather Your Materials (5 minutes)
Collect all ingredients and equipment. This ensures a smooth and uninterrupted cleaning process, preventing you from searching for items midway through.
-
Prepare the Cleaning Solution (2 minutes)
In the mixing bowl, combine the warm water, white vinegar, baking soda, and liquid dish soap. Stir gently until the baking soda dissolves. Avoid vigorous stirring, as baking soda and vinegar can fizz. The baking soda helps to lift grease and deodorize, while vinegar effectively cuts through grime.
-
Add Essential Oil (Optional, 30 seconds)
If using, add 5-10 drops of lemon essential oil to the mixture. Stir lightly. This not only adds a pleasant, fresh scent but can also enhance the degreasing properties of the solution.
-
Transfer to Spray Bottle (1 minute)
Carefully pour the mixture into a clean spray bottle using a funnel if needed. This method makes application easy, even, and prevents spills.
-
Prepare Cabinets (5-10 minutes)
Before spraying, wipe down cabinet surfaces with a dry microfiber cloth to remove any loose dust or crumbs. This step ensures that the degreaser can work directly on the grease and grime without hindrance.
-
Apply the Solution (5-10 minutes)
Spray the degreaser solution directly onto a greasy cabinet surface. For heavily soiled areas, let it sit for 2-5 minutes to allow it to penetrate and begin breaking down the grease. You’ll notice the solution starting to work its magic.
-
Wipe Down (10-20 minutes)
Using a clean, damp microfiber cloth, wipe away the solution and the lifted grease. Work in small sections to prevent the solution from drying on the cabinets, ensuring all grime is removed efficiently.
-
Rinse and Dry (10-15 minutes)
Dampen a second clean microfiber cloth with plain water and wipe down the cabinets again to remove any residue from the cleaning solution. Immediately follow with a dry microfiber cloth to buff the surface dry, preventing water spots and restoring a brilliant shine.
-
Repeat as Needed
For extremely stubborn grease spots or heavily neglected areas, you may need to repeat the application and wiping process. A soft sponge or brush can be used gently on tough spots, but always test on an inconspicuous area first to prevent any potential damage.
Expert Tips
- Test First: Always test the cleaning solution on a small, inconspicuous area of your cabinets before applying it everywhere, especially on painted or delicate finishes, to ensure no discoloration or damage occurs.
- Warm Water is Key: Using warm water helps to dissolve grease more effectively than cold water, enhancing the cleaning power of your solution.
- Don’t Over-soak: Avoid saturating wooden cabinets with too much liquid, as excessive moisture can damage the wood. A light spray and quick wipe are usually sufficient.
- Clean Regularly: Regular, light cleaning prevents heavy grease buildup, making future cleanups much easier. Aim for a quick wipe-down once a week.
- Use Microfiber: Microfiber cloths are excellent for cleaning and buffing, leaving streak-free results. Use separate cloths for applying, rinsing, and drying for best outcomes.
- Ventilate: Ensure good ventilation in your kitchen while cleaning, especially if you are sensitive to smells, even natural ones.
- For Tough Spots: For very stubborn, baked-on grease, you can create a paste with baking soda and a little water, apply it, let it sit for 10-15 minutes, then gently scrub with a soft brush before wiping clean.
Variations
- Stronger Cleaning Version: For very tough grease, you can slightly increase the amount of liquid dish soap to 1.5 tablespoons. This provides extra grease-cutting power.
- Lemon-Free Version: If you prefer no added fragrance or don’t have essential oils, simply omit the lemon essential oil. The base solution is still highly effective at degreasing.
- All-Purpose Kitchen Cleaner: This versatile solution can also be used to clean countertops, backsplashes, and even stovetops (avoiding direct contact with electrical components).
- Eco-Friendly Boost: For an even more eco-friendly touch, consider using an environmentally friendly, biodegradable dish soap.
Storage Instructions
Store any leftover cleaning solution in the sealed spray bottle in a cool, dark place. It generally lasts for up to 2-3 weeks. Over time, the baking soda may settle at the bottom, so give it a gentle shake before each use. Do not store for more than a month for optimal effectiveness.
Safety Notes
- Surface Compatibility: While generally safe, always perform a patch test on a hidden area of your cabinet material (especially on delicate wood finishes, laminates, or painted surfaces) to ensure there’s no adverse reaction before full application.
- Children and Pets Safety: Keep the spray bottle and cleaning ingredients out of reach of children and pets. Although the ingredients are natural, direct ingestion is not recommended.
- Ventilation: Ensure adequate ventilation when cleaning, especially in enclosed spaces, to allow for fresh air circulation.
- Avoid Mixing: Never mix this natural solution with commercial bleach or other strong chemical cleaners, as this can create dangerous fumes or adverse reactions.
Frequently Asked Questions
- How long does this cleaning solution last?
- It typically lasts for 2-3 weeks when stored in a sealed spray bottle in a cool, dark place. Shake gently before each use.
- Can I prepare it in advance?
- Yes, you can prepare a batch in advance. However, for best results, it’s recommended to use it within a few weeks, as the efficacy of baking soda and vinegar may diminish slightly over time.
- Can I change an ingredient?
- While you can omit the essential oil without affecting cleaning power, changing core ingredients like vinegar or baking soda might significantly affect the solution’s cleaning power. Always follow the recommended recipe for optimal results.
- Does it work on all cabinet surfaces?
- It works well on most sealed wood, laminate, and painted cabinets. However, it’s crucial to perform a patch test on an inconspicuous area first, especially for unsealed or very delicate finishes, to ensure compatibility.
- Is it safe for pets?
- The ingredients are natural, but it’s best to keep pets away from the area during cleaning and ensure surfaces are fully rinsed and dry before they come into contact. Store the solution out of their reach.
- Will it remove old, caked-on grease?
- Yes, for very old or caked-on grease, you might need to let the solution sit longer (5-10 minutes) or use a baking soda paste as suggested in the expert tips, and repeat the process for best results.
- Can I use this on high-gloss cabinets?
- Yes, but be extra gentle. After wiping, use a very clean, dry microfiber cloth to buff immediately to prevent any streaking on high-gloss finishes. Always patch test first.
Conclusion
Tackling greasy kitchen cabinets doesn’t have to be a daunting task. With this simple, natural DIY degreaser, you have a powerful and eco-friendly solution right at your fingertips. Say goodbye to harsh chemicals and hello to sparkling, clean surfaces that truly shine.
We encourage you to try this recipe and experience the satisfaction of a fresh, spotless kitchen. Not only is it effective, but it’s also gentle on your cabinets and kind to the environment. Embrace the joy of a clean home with solutions you can trust.
So, gather your ingredients, follow these easy steps, and reclaim the pristine beauty of your kitchen cabinets. Your kitchen will thank you, and you’ll love the results!