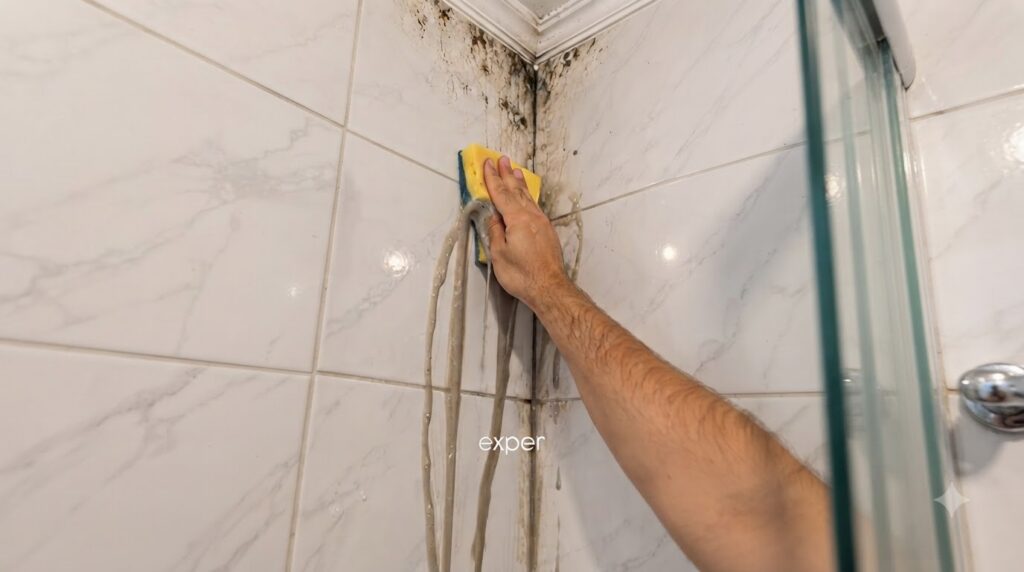
Are you battling stubborn grime, soap scum, or even a bit of mold in your bathroom, especially in those hard-to-reach tiled corners? Over time, these areas can accumulate unsightly buildup that standard cleaning methods often miss. Rather than reaching for harsh chemicals, you can often achieve impressive results with common household ingredients and a bit of elbow grease.
This DIY approach to deep cleaning your tiled surfaces can help you refresh your bathroom, making it look and feel much cleaner. It’s a practical, cost-effective method that uses ingredients you might already have, offering a satisfying transformation without harsh fumes.
What You’ll Need
- 1/2 cup baking soda
- 1/4 cup white vinegar
- 1 cup warm water
- Spray bottle
- Small mixing bowl
- Sturdy scrub brush or an old toothbrush (for grout lines and corners)
- Non-abrasive sponge (like a standard kitchen sponge with a scrubbing side)
- Clean cloths or towels
- Rubber gloves
- Bucket (for rinse water)
Why This DIY Can Be Useful
This DIY cleaning solution leverages the natural cleaning power of two common household staples:
- Baking Soda: Known for its mild abrasive properties, baking soda helps to gently scrub away tough stains, grime, and soap scum without scratching surfaces. It’s also a natural deodorizer.
- White Vinegar: The acetic acid in white vinegar acts as a powerful disinfectant and helps dissolve mineral deposits, hard water stains, and soap scum. It also has mild antifungal properties, making it useful against early signs of mold.
When used together (carefully, as outlined in the instructions), they create a fizzing action that can help lift dirt and make scrubbing more effective.
How to Prepare Your Cleaning Solutions
- Make the Baking Soda Paste: In a small mixing bowl, combine 1/2 cup of baking soda with just enough warm water (start with a few tablespoons) to form a thick, spreadable paste. It should be consistent enough to stick to vertical surfaces.
- Prepare the Vinegar Spray: In your spray bottle, combine 1/4 cup of white vinegar with 1 cup of warm water. Shake gently to mix.
How to Use It
- Pre-wet the Area: Briefly spray the grimy tiled area with warm water to help loosen surface dirt.
- Apply Baking Soda Paste: Using your gloved hand or a spoon, generously apply the baking soda paste directly onto the heavily stained areas, especially in corners, grout lines, and any visible mold spots. Let it sit for 5-10 minutes.
- Spray with Vinegar Solution: Lightly spray the vinegar and water solution directly over the baking soda paste. You’ll notice a fizzing reaction. This effervescence helps to break down the grime further. Let it sit for another 5-10 minutes.
- Scrub Thoroughly: Using your scrub brush, old toothbrush (for grout), or the scrubbing side of your sponge, firmly scrub the treated areas. Focus on the corners and stained spots. The baking soda provides the abrasion, and the vinegar helps dissolve the buildup.
- Rinse Clean: Once you’ve scrubbed the area, use clean water and a fresh cloth or sponge to thoroughly wipe down and rinse the tiles. Repeat rinsing until all residue is gone and the water runs clear.
- Dry: Wipe the area dry with a clean, dry cloth to prevent new water spots.
What to Expect
You can expect a noticeable reduction in grime, soap scum, and light mold. Tiled surfaces and grout lines should appear significantly cleaner and brighter. For very deep-set stains or extensive mold, you might need to repeat the process or consider stronger commercial cleaners. This DIY method is effective for regular deep cleaning and maintenance, but it’s not a substitute for professional mold remediation for serious issues.
Helpful Tips
- Work in Sections: If you have a large area to clean, work on one small section at a time to prevent the solutions from drying out.
- Old Toothbrush for Grout: An old toothbrush is incredibly effective for scrubbing narrow grout lines and tight corners where a sponge or larger brush can’t reach.
- Regular Maintenance: To prevent heavy buildup, incorporate a quick wipe-down with the vinegar spray into your regular cleaning routine.
- Ventilation: While these ingredients are natural, ensure good ventilation in your bathroom during cleaning by opening a window or turning on the exhaust fan.
Important Notes / Safety
- Always Patch Test: Before applying to a large area, test the baking soda paste and vinegar spray on an inconspicuous spot of your tile and grout to ensure no discoloration or damage occurs. This is especially important for natural stone tiles or colored grout.
- Do NOT Mix Vinegar with Bleach: Never combine white vinegar with bleach or products containing bleach. This creates toxic chlorine gas, which can be extremely dangerous.
- Wear Gloves: While natural, these ingredients can dry out your skin with prolonged contact. Always wear rubber gloves.
- Avoid on Certain Surfaces: Vinegar is acidic and generally safe for ceramic and porcelain tile, but it should be used cautiously or avoided on natural stone (like marble, granite, or travertine) as it can etch the surface over time.
- Rinse Thoroughly: Ensure all cleaning solution residue is rinsed away to prevent streaks or dullness on your tiles.