Dreaming of softer, smoother, and younger-looking skin naturally? You’re in the right place! We all want that radiant, timeless glow without breaking the bank or using harsh chemicals. Today, we’re sharing a simple yet powerful DIY beauty secret that harnesses the magic of everyday ingredients: our homemade Rice & Rose Baby Oil.
This gentle, nourishing oil is packed with skin-loving properties, making it a wonderful addition to your nightly beauty routine. It’s easy to make, incredibly affordable, and will leave your skin feeling pampered and rejuvenated. Let’s dive into how you can create this elixir for a truly youthful complexion.
Why Rice & Rose? The Secret to Radiant Skin
Before we get to the recipe, let’s talk about why this combination is so fantastic for your skin:
The Power of Rice
- Skin Brightening: Rice has been a staple in Asian beauty for centuries, known for its ability to brighten the complexion and even out skin tone. It contains compounds like ferulic acid and allantonin that help reduce the appearance of dark spots and hyperpigmentation.
- Anti-Aging Properties: Rich in antioxidants and vitamins B and E, rice helps to fight free radicals, which are responsible for premature aging. This can lead to smoother skin and reduced fine lines.
- Gentle Exfoliation: While we’re infusing it, rice’s natural enzymes can contribute to a subtle, gentle exfoliation, promoting cell turnover for fresher, more glowing skin.
The Elegance of Roses
- Soothing & Anti-inflammatory: Rose petals are renowned for their calming properties. They can help reduce redness and irritation, making them perfect for sensitive skin.
- Antioxidant Boost: Like rice, roses are packed with antioxidants, which protect your skin from environmental damage and support a healthy, youthful appearance.
- Natural Hydration: Rose helps to retain moisture in the skin, keeping it soft and supple.
- Aromatherapy Benefits: Beyond skin benefits, the delicate scent of rose offers a delightful aromatherapy experience, promoting relaxation and well-being.
The Gentle Touch of Baby Oil
- Moisturizing: Baby oil (typically mineral oil) is an excellent emollient and occlusive. It creates a protective barrier on the skin, locking in moisture and leaving it incredibly soft and smooth.
- Hypoallergenic: It’s formulated to be gentle, making it a suitable carrier oil for many skin types, even those prone to sensitivity.
- Affordable & Accessible: One of the most common and budget-friendly oils, it makes this DIY recipe accessible to everyone.
Your DIY Rice & Rose Baby Oil Recipe
Ready to create your own glow-boosting oil? Here’s what you’ll need and how to do it!
Ingredients:
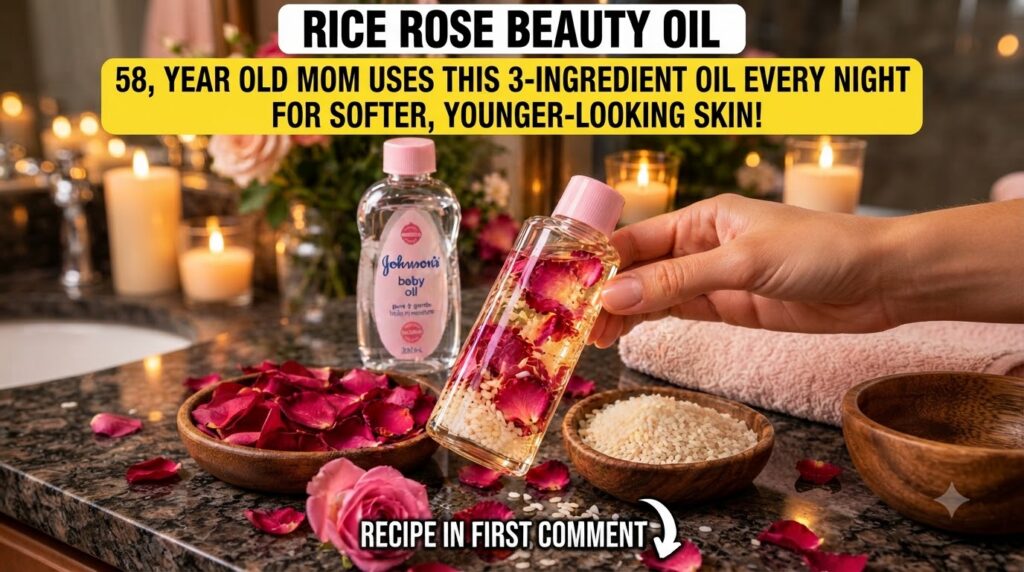
- 1/4 cup uncooked white rice (any variety)
- 1/4 cup dried rose petals (ensure they are organic and pesticide-free)
- 1 cup baby oil (e.g., Johnson’s Baby Oil, or any plain mineral oil)
- A clean, airtight glass bottle or jar (preferably dark glass to protect the oil)
- A fine-mesh strainer or cheesecloth
Instructions:
- Prepare Your Ingredients: Lightly rinse the rice under cold water to remove any excess starch, then spread it on a clean cloth or paper towel to air dry completely. Ensure the rose petals are also dry.
- Combine: In your clean glass bottle or jar, combine the dried rice and dried rose petals.
- Add Baby Oil: Pour the baby oil over the rice and rose petals, making sure they are fully submerged.
-
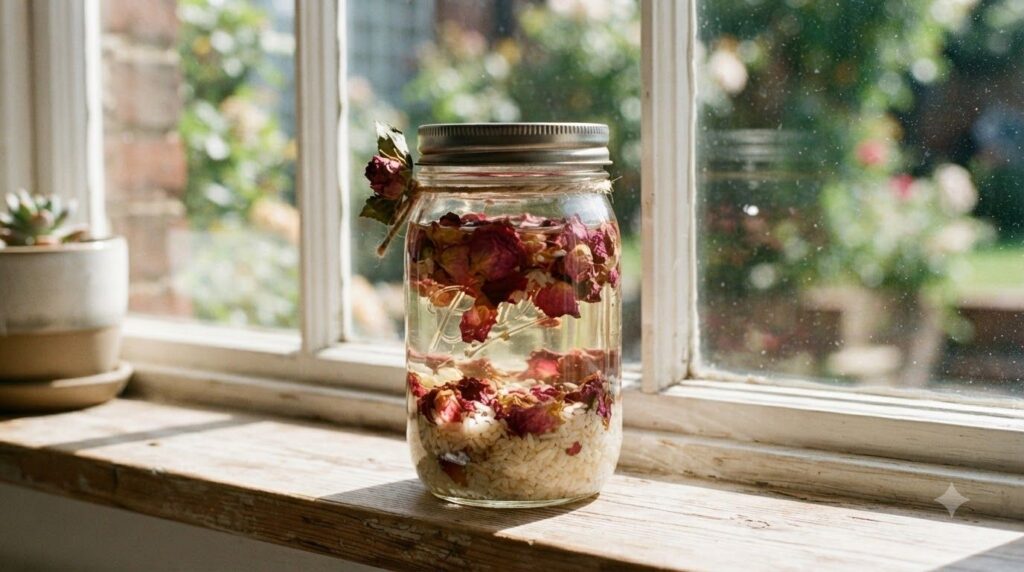
Let your rice and rose petals infuse in the baby oil for optimal benefit. Infuse: Seal the jar tightly. Place it in a cool, dark place for 1-2 weeks. For best results, give the jar a gentle shake every day or two to help the infusion process. You can also place it in a sunny spot for a few days to gently warm it and speed up the infusion, but ensure it doesn’t get too hot.
- Strain the Oil: After 1-2 weeks, use a fine-mesh strainer or cheesecloth to separate the infused oil from the rice and rose petals. Squeeze out every last drop of the precious oil!
- Store: Transfer your beautiful, newly infused oil into a clean, airtight glass bottle. Label it with the date.
How to Use Your Rice & Rose Baby Oil:
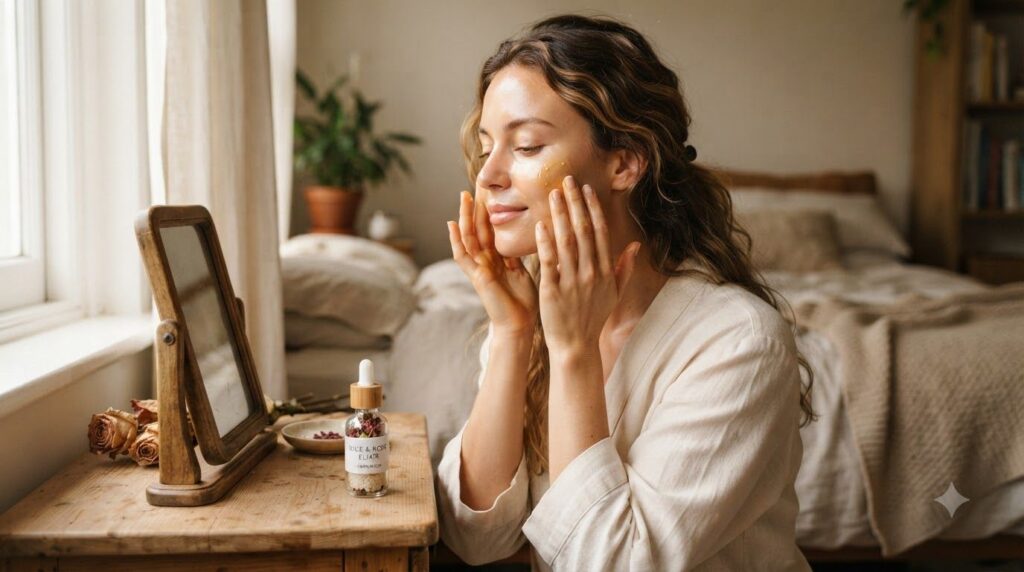
- Nightly Facial Oil: After cleansing and toning, take 2-3 drops of the oil and gently massage it onto your face and neck. Allow it to absorb before going to bed.
- Body Moisturizer: Apply it generously to damp skin after a shower or bath to lock in moisture, especially on dry areas like elbows and knees.
- Hand & Cuticle Treatment: Massage a small amount into your hands and cuticles for extra softness.
- Hair Shine Boost: Use a tiny amount on the ends of your hair to add shine and tame frizz.
Tips for Best Results:
- Consistency is Key: For visible results, use your DIY oil consistently every night.
- Patch Test: Always perform a patch test on a small area of your skin before applying any new product all over your face, especially if you have sensitive skin.
- Storage: Store your oil in a cool, dark place to maintain its potency. It should last for several months.
- Fresh Petals: If using fresh rose petals, make sure they are completely dry before infusing to prevent mold. However, dried petals are generally safer and more potent for oil infusions.
Embrace Your Natural Radiance!
This DIY Rice & Rose Baby Oil is more than just a beauty product; it’s a ritual of self-care. By using natural ingredients, you’re nourishing your skin with pure goodness, supporting its health, and embracing a more sustainable approach to beauty. Get ready to unveil a softer, more youthful, and radiantly glowing complexion!
Give this recipe a try and let us know your experience in the comments below. Happy DIY-ing!