Are you looking for a natural, simple way to give your hair a temporary boost of depth and shine? Many people are turning to a popular homemade beauty secret: the DIY coffee hair rinse! This easy-to-make solution uses humble coffee to help enhance your hair’s natural color and add a beautiful sheen.
It’s an affordable and accessible option if you’re curious about natural beauty hacks and want to experiment with ingredients you likely already have in your kitchen. Let’s explore how this simple rinse works and how you can try it at home.
Why Coffee for Your Hair?
Coffee isn’t just for your morning pick-me-up! It contains antioxidants and natural pigments that can offer several benefits when applied to hair. The caffeine in coffee is also often studied for its potential stimulating effects on the scalp and hair follicles, though more research is always ongoing.
For those with darker hair, the rich brown tones of coffee can help deepen your natural color, adding a beautiful, temporary tint. It’s not a permanent dye, but it can create a lovely, richer appearance.
Benefits People Love About the Coffee Hair Rinse
While results can vary, here are some of the reasons people love incorporating a coffee rinse into their hair care routine:
- Temporary Color Enhancement: For brunettes, it can add a noticeable, temporary richness and depth to your natural hair color.
- Added Shine: Many users report their hair feeling softer and looking shinier after a coffee rinse.
- Scalp Stimulation: The caffeine content is thought by some to help stimulate the scalp, promoting a healthy environment for hair.
- Natural & Affordable: It’s an easy DIY solution using common household ingredients, saving you money on expensive products.
What You’ll Need
Gathering your ingredients is easy! You likely have most of these on hand already.
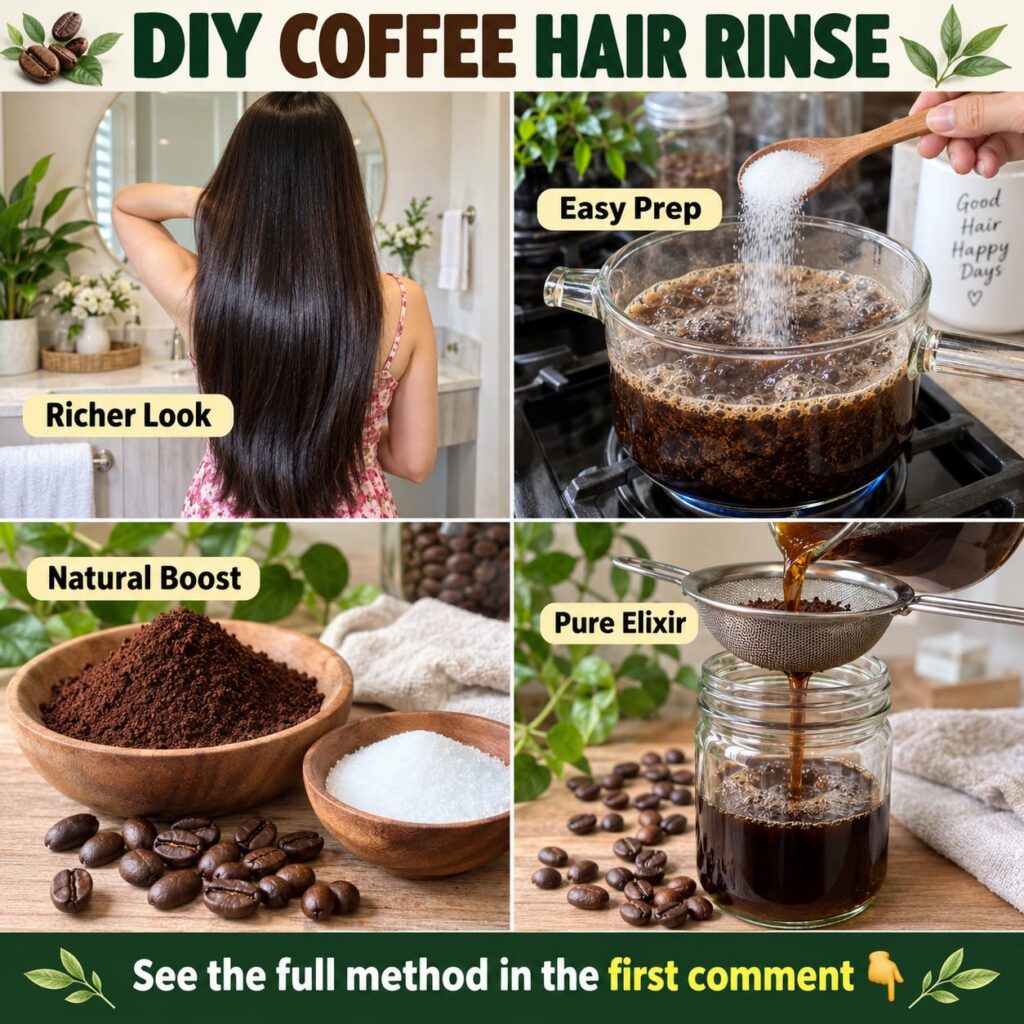
- 2-4 cups of brewed black coffee (cooled to lukewarm or room temperature)
- An empty spray bottle or applicator bottle (optional, but makes application easier)
- A large bowl or basin (for catching the rinse)
- An old towel (to protect your clothes from stains)
- Shower cap (optional)

Your Step-by-Step Guide to a DIY Coffee Hair Rinse
Ready to try it? Here’s how to prepare and apply your coffee hair rinse for the best results:
1. Brew Your Coffee
Brew a strong pot of black coffee. You’ll need about 2-4 cups, depending on your hair length and thickness. Allow it to cool completely to lukewarm or room temperature before using. Hot coffee can scald your scalp!
2. Prepare Your Hair
Wash your hair with your regular shampoo. Skip the conditioner for now, as you want your hair to be clean and ready to absorb the rinse. Gently towel-dry your hair until it’s damp, not dripping wet.
3. Protect Your Space
Coffee can stain, so it’s wise to take precautions. Put on an old shirt, drape an old towel over your shoulders, and if you’re doing this over a sink, ensure any porous surfaces are protected. You can also do this in the shower before turning the water on.
4. Apply the Rinse
Lean over a large bowl or basin. Slowly pour or spray the cooled coffee evenly over your hair, from roots to ends. Massage it gently into your scalp. Ensure all your hair is thoroughly saturated. You can collect the runoff in the bowl and reapply it for maximum saturation.
5. Let It Soak
Once your hair is fully saturated, twist it up and cover it with a shower cap (optional, but helps keep it from dripping and improves absorption). Let the coffee sit on your hair for at least 20-30 minutes. For a more noticeable effect, some people leave it on for up to an hour.
6. Rinse Thoroughly
After the desired time, rinse your hair with cool or lukewarm water until the water runs clear. You can follow up with a light conditioner if your hair feels dry, focusing on the ends. Avoid shampooing immediately after, to allow the coffee’s benefits to linger.
Tips for Best Results
- Use Dark-Roast Coffee: Darker roasts tend to have stronger pigments for a more noticeable effect.
- Consistency is Key: For best results, use the rinse 1-2 times a week. Remember, the darkening effect is temporary and builds up over time.
- Patch Test: Always do a patch test on a small, inconspicuous section of hair (like underneath at the nape of your neck) to see how your hair reacts, especially if you have lighter hair or highlights.
- Mind Your Hair Color: This rinse is generally recommended for darker hair shades. On very light or blonde hair, it might leave an unwanted tint or dullness.
Important Considerations Before You Try
While a coffee rinse is a popular DIY treatment, it’s important to manage expectations:
This is a temporary beauty enhancement, not a permanent hair dye. The results will gradually fade with washing. ‘BEAUTY 2’ does not make any medical claims or guarantees about permanent hair growth or color changes. Always listen to your hair and stop use if you experience any irritation.
Ready to give your hair a natural, rich boost? The DIY coffee hair rinse is a simple, enjoyable way to experiment with natural beauty. Try it out and see the difference a little coffee can make!