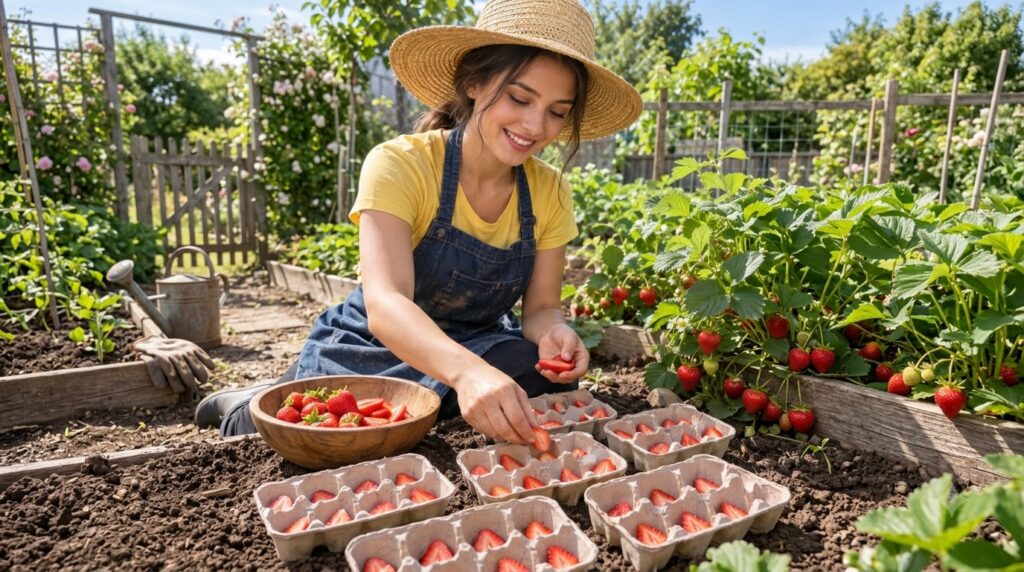
Imagine plucking sweet, juicy strawberries right from your backyard, grown by your own hands! What if we told you there’s a surprisingly simple and cost-effective way to start your strawberry patch using something you probably already have in your recycling bin? Yes, we’re talking about growing strawberries from slices, right in an egg carton!
This method is a fantastic way to utilize kitchen scraps, reduce waste, and kickstart your gardening journey without needing to buy expensive seeds or starter plants. It’s perfect for beginners and seasoned gardeners alike who love a good DIY project and the satisfaction of homegrown produce. Let’s dive into how you can turn a humble strawberry slice into a thriving berry plant!
Why Grow Strawberries from Slices?
Beyond the joy of growing your own food, starting strawberries from slices offers several benefits:
- Budget-Friendly: You only need a fresh strawberry from the grocery store and an egg carton.
- Educational: It’s a wonderful project for teaching kids about plant life cycles and sustainable gardening.
- Space-Saving: The egg carton method is ideal for those with limited space, allowing you to start seedlings indoors.
- Sustainable: It’s a great way to repurpose materials and reduce waste.
What You’ll Need:
- A ripe, fresh strawberry (organic is best, but any good quality berry will do)
- An empty cardboard egg carton
- Potting mix or seed-starting mix
- Spray bottle with water
- Plastic wrap or a clear lid (to create a mini-greenhouse effect)
- Sunny windowsill or grow light
Step-by-Step Guide to Growing Strawberries from Slices:
Step 1: Choose Your Strawberry Wisely
Select a ripe, healthy strawberry. The riper it is, the more mature and viable its seeds will be. Organic strawberries are often preferred as they haven’t been treated with chemicals that might affect seed germination, but any fresh, good-quality berry can work.
Step 2: Prepare Your Egg Carton
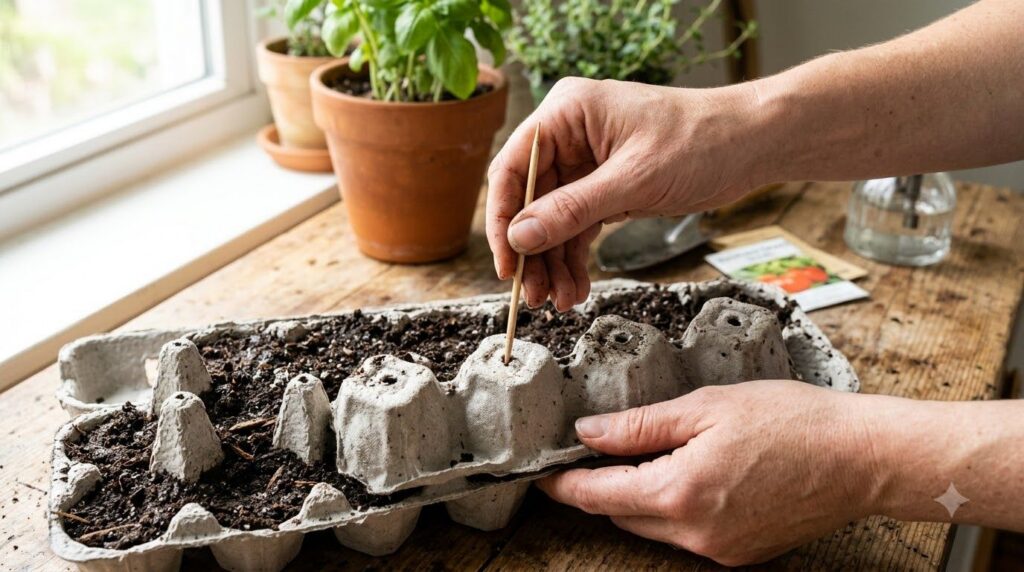
Punch small drainage holes at the bottom of each compartment of your cardboard egg carton. This is crucial to prevent waterlogging, which can lead to mold and rot. Fill each compartment about three-quarters full with a good quality potting mix or seed-starting mix. Lightly dampen the soil with your spray bottle.
Step 3: Slice the Strawberry
Carefully slice the strawberry horizontally into thin sections, about 1/4 to 1/2 inch thick. Make sure each slice contains several visible seeds. These tiny seeds are what will sprout into new plants!
Step 4: Plant the Slices
Gently place one strawberry slice on top of the soil in each egg carton compartment. Don’t bury them too deep; the seeds need light to germinate. Lightly mist the slices and surrounding soil with water from your spray bottle to ensure good contact between the seeds and the soil.
Step 5: Create a Mini-Greenhouse
Cover the egg carton with plastic wrap or a clear lid (if your carton came with one). This creates a humid, greenhouse-like environment that is ideal for germination. Place the covered egg carton in a warm spot with plenty of indirect sunlight. A sunny windowsill is perfect.
Step 6: Care and Patience
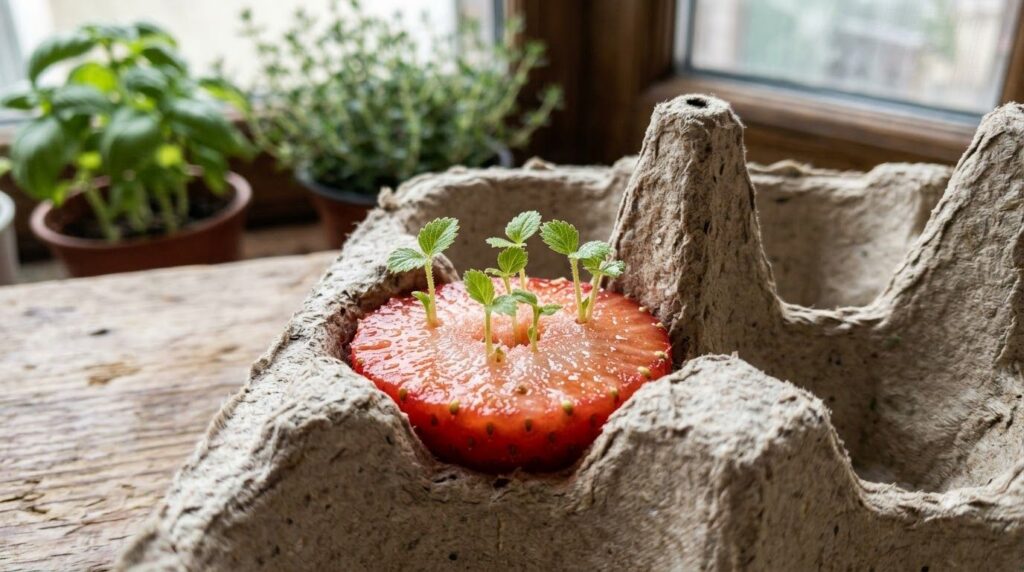
Check your mini-greenhouse daily. The soil should remain consistently moist, but not waterlogged. Mist with water as needed. You should start seeing tiny green sprouts emerge from the strawberry slices within 1-3 weeks. Once you see significant sprouting, you can gradually remove the plastic wrap to allow for better air circulation.
Step 7: Transplanting Your Seedlings
Once your seedlings have developed a few true leaves (usually 2-3 inches tall), they are ready to be transplanted. Carefully separate each seedling and plant it into a larger pot or directly into your garden bed, ensuring it has well-draining soil and plenty of sunlight. Acclimate your seedlings to outdoor conditions gradually over a week before full transplantation.
Tips for Success:
- Don’t Overwater: While moisture is key, too much water can cause mold or rot. A gentle misting is usually sufficient.
- Provide Warmth: Strawberries love warmth for germination. A temperature between 65-75°F (18-24°C) is ideal.
- Plenty of Light: Even indirect light helps. Once sprouted, ensure they get ample bright light to prevent leggy growth.
- Monitor for Pests: Keep an eye out for any small pests, especially when growing indoors.
- Patience is a Virtue: Gardening requires patience. Don’t get discouraged if not every seed sprouts; celebrate the ones that do!
Harvesting Your Homegrown Berries
After all your hard work, imagine the satisfaction of harvesting your own strawberries! While growing from seed can take longer than runners (sometimes a full year to produce fruit), the reward is immense. Once your plants mature and start to flower, you’ll soon see those beautiful berries forming. Pick them when they are fully red and fragrant for the best taste.
Growing strawberries from slices in egg cartons is a delightful, eco-friendly project that brings the joy of gardening right into your home. Give it a try and share your progress with us! Happy gardening, friends!