Imagine stepping into your garden next spring, greeted by a breathtaking display of colorful tulips swaying gently in the breeze. That dream can become a reality with a little planning and effort now! Tulips are one of the most beloved spring flowers, signaling the end of winter and bringing a burst of joy to any outdoor space. At Garden – L. Quyên, we believe everyone can cultivate a beautiful garden, and planting tulip bulbs is a wonderful place to start. This easy guide will walk you through everything you need to know to ensure a spectacular spring burst!
Why Plant Tulips?
Tulips offer an incredible variety of colors, shapes, and sizes, making them perfect for creating stunning visual impacts in your garden beds, borders, or even containers. They are relatively easy to grow and return year after year with proper care, providing a reliable splash of color when the world is just waking up from winter. Plus, the act of planting them is a rewarding experience that connects you with nature.
When is the Best Time to Plant Tulip Bulbs?
Timing is crucial for successful tulip growth. The ideal time to plant tulip bulbs is in the fall, typically when soil temperatures drop below 60°F (15°C) but before the ground freezes solid. This usually means from September to November in most temperate climates. Planting them during this period allows the bulbs to establish a strong root system before winter sets in, which is essential for vigorous spring blooms.
Choosing the Right Tulip Bulbs
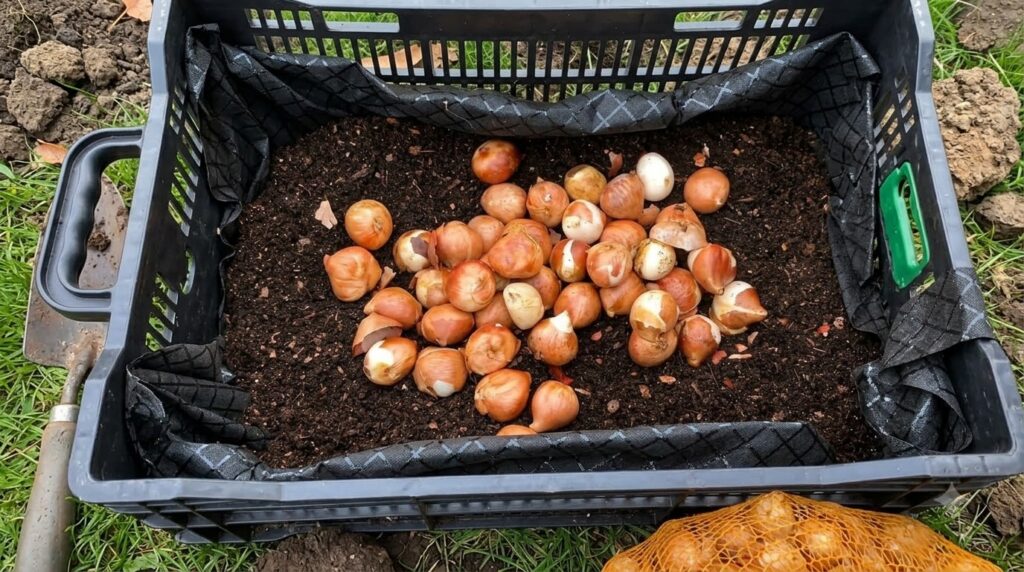
The quality of your bulbs directly impacts the quality of your blooms. Look for bulbs that are:
- Firm and plump: Avoid any that feel soft, mushy, or dried out.
- Free from blemishes: Check for mold, cuts, or signs of disease.
- Undamaged: Intact bulbs are healthier bulbs.
While larger bulbs generally produce larger flowers, even smaller, healthy bulbs can give you beautiful results.
Where to Plant Your Tulips: Location and Soil
Sunlight Requirements
Tulips thrive in full sun, meaning they need at least 6 hours of direct sunlight per day. Choose a spot in your garden that receives ample sun throughout the spring. While they can tolerate some partial shade, too little sun can lead to leggy stems and fewer blooms.
Soil Preparation
Good drainage is paramount for tulip bulbs. They are susceptible to rot if left in waterlogged soil. Aim for:
- Well-draining soil: Sandy loam is ideal. If you have heavy clay soil, amend it with organic matter like compost, peat moss, or well-rotted manure to improve drainage and aeration.
- Neutral to slightly acidic pH: Most garden soils fall within this range, which is perfect for tulips.
Before planting, loosen the soil to a depth of at least 12 inches (30 cm) to allow for good root development.
How to Plant Tulip Bulbs: A Step-by-Step Guide
Step 1: Digging the Hole
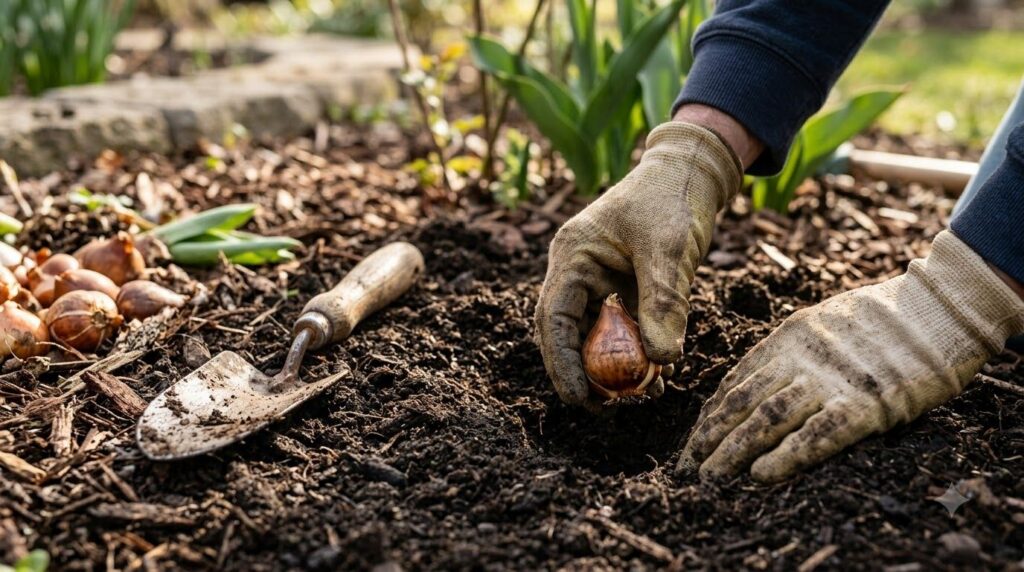
A general rule of thumb for bulb planting is to dig a hole that is three times deeper than the bulb’s height. So, if your tulip bulb is 2 inches (5 cm) tall, dig a hole approximately 6 inches (15 cm) deep. For mass plantings, you can dig a wider trench instead of individual holes.
Step 2: Spacing
Space bulbs 4-6 inches (10-15 cm) apart. Closer spacing creates a denser, more impactful display, while wider spacing allows for individual blooms to stand out. For natural-looking drifts, you can scatter bulbs randomly and plant them where they fall.
Step 3: Orienting the Bulb
Place the tulip bulb in the hole with the pointed end facing upwards. This is where the sprout will emerge. The flatter, root-forming end should face downwards.
Step 4: Backfilling and Watering
Gently cover the bulbs with the loosened soil, patting it lightly to remove any air pockets. After planting, water thoroughly to settle the soil around the bulbs. This also helps to kickstart root growth.
Post-Planting Care for Success
Watering
After the initial watering, you generally won’t need to water again until spring unless you live in an exceptionally dry climate. Too much moisture during their dormant period can lead to rot.
Mulching
Apply a layer of organic mulch (like straw, shredded leaves, or wood chips) 2-4 inches (5-10 cm) thick over the planting area. This helps to:
- Insulate the bulbs from extreme cold.
- Maintain consistent soil moisture.
- Suppress weeds.
Remove heavier mulch in early spring as new growth begins to emerge.
Protection from Pests
Critters like squirrels, voles, and mice can be fond of tulip bulbs. If this is a concern in your area, consider:
- Planting bulbs in cages made of chicken wire.
- Mixing grit or crushed oyster shells into the soil around the bulbs.
- Planting deterrents like Fritillaria nearby (though be aware of their distinct scent).
Enjoying Your Spring Bloom!
Once spring arrives, you’ll be rewarded with vibrant tulips gracing your garden. After the flowers fade, allow the foliage to remain until it yellows and dies back naturally. This is crucial as the leaves photosynthesize and store energy in the bulb for next year’s blooms. You can then gently remove the faded foliage.
Planting tulip bulbs is a simple yet incredibly rewarding gardening activity that promises a spectacular payoff. With these tips from Garden – L. Quyên, you’re well on your way to creating a stunning spring landscape that will bring joy to you and all who see it. Happy planting!