Are you craving that smooth, radiant complexion often described as “porcelain skin”? We’ve all seen those amazing transformations and wished for a simple, affordable way to achieve such a luminous glow. Well, get ready to unlock a viral beauty secret that’s incredibly easy to make right in your own home!
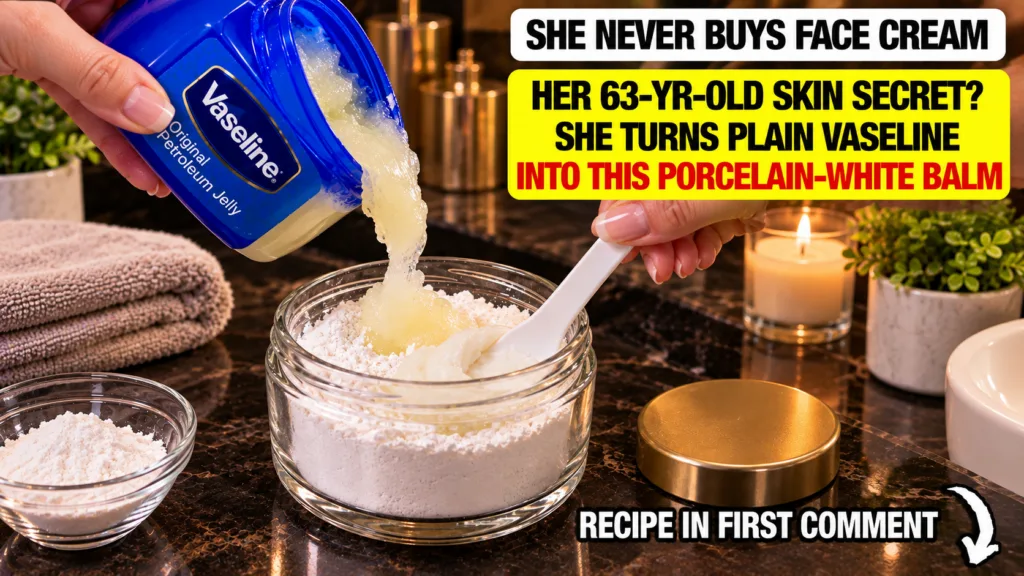
Today, we’re diving into a DIY beauty hack that transforms plain Vaseline into a luxurious, white balm using just one other natural ingredient: cosmetic-grade white kaolin clay. This isn’t just a trend; it’s a clever way to combine two powerhouse ingredients for a truly luminous, smoother complexion.
What is Porcelain Skin?
Before we get started, let’s talk about what “porcelain skin” truly means in the beauty world. It refers to skin that appears exceptionally smooth, clear, even-toned, and radiant, almost like the delicate finish of fine porcelain. It’s often associated with a youthful, healthy glow, free from visible pores, dark spots, or uneven texture. While genetics play a role, achieving a more “porcelain-like” appearance is definitely within reach with the right care and natural remedies.
The Magic Duo: Vaseline and Kaolin Clay
The secret to our DIY Porcelain Balm lies in the synergistic effect of these two simple, yet powerful, ingredients.
Vaseline Original Petroleum Jelly: Your Skin’s Best Friend
Often underestimated, Vaseline (petroleum jelly) is a cult favorite for a reason. It’s an occlusive agent, meaning it creates a protective barrier on your skin’s surface. This barrier effectively locks in moisture, preventing water loss and helping to heal and repair the skin barrier. It’s fantastic for:
- Deep hydration by sealing in existing moisture.
- Protecting sensitive or chapped skin.
- Smoothing out rough patches.
- Promoting a healthy, dewy look.
Contrary to popular belief, Vaseline is non-comedogenic for most people, meaning it won’t clog your pores, especially when used in moderation.
Cosmetic-Grade White Kaolin Clay: The Gentle Purifier
Kaolin clay, often referred to as white clay, is one of the mildest and most gentle cosmetic clays available. It’s perfect even for sensitive skin types. Its benefits include:
- Gentle Exfoliation: It helps to slough off dead skin cells, revealing brighter, fresher skin underneath.
- Oil Absorption: Kaolin clay can absorb excess oil and impurities from the skin, helping to minimize the appearance of pores and prevent breakouts.
- Detoxification: It draws out toxins and environmental pollutants, purifying the skin.
- Brightening: Regular use can lead to a more even skin tone and a natural radiance.
Why This DIY Balm Works for “Porcelain Skin”
When Vaseline and Kaolin Clay come together, they create a formidable team. The Vaseline provides a protective, moisture-locking base, ensuring your skin stays hydrated and supple. The Kaolin Clay then works its magic by gently purifying, exfoliating, and absorbing excess oil, which helps refine your skin’s texture and brighten its appearance. The result? A smoother, more even-toned, and beautifully radiant complexion that truly glows!
DIY Porcelain Balm Recipe
Ready to make your own? It’s incredibly simple!
Ingredients:
- 1 tablespoon Vaseline Original Petroleum Jelly
- 1-2 tablespoons Cosmetic-Grade White Kaolin Clay (adjust for desired consistency)
- Small, clean, airtight container for storage
- Small mixing bowl and spatula or spoon
Instructions:
- Prepare Your Workspace: Ensure all your tools and containers are clean and sterilized to prevent contamination.
- Measure Vaseline: Scoop 1 tablespoon of Vaseline into your small mixing bowl.
- Add Kaolin Clay: Gradually add the kaolin clay, starting with 1 tablespoon.
- Mix Thoroughly: Using your spatula or spoon, mix the Vaseline and kaolin clay together. Continue mixing until you achieve a smooth, consistent, white balm. If it’s too sticky, add a little more clay; if too thick, add a tiny bit more Vaseline.
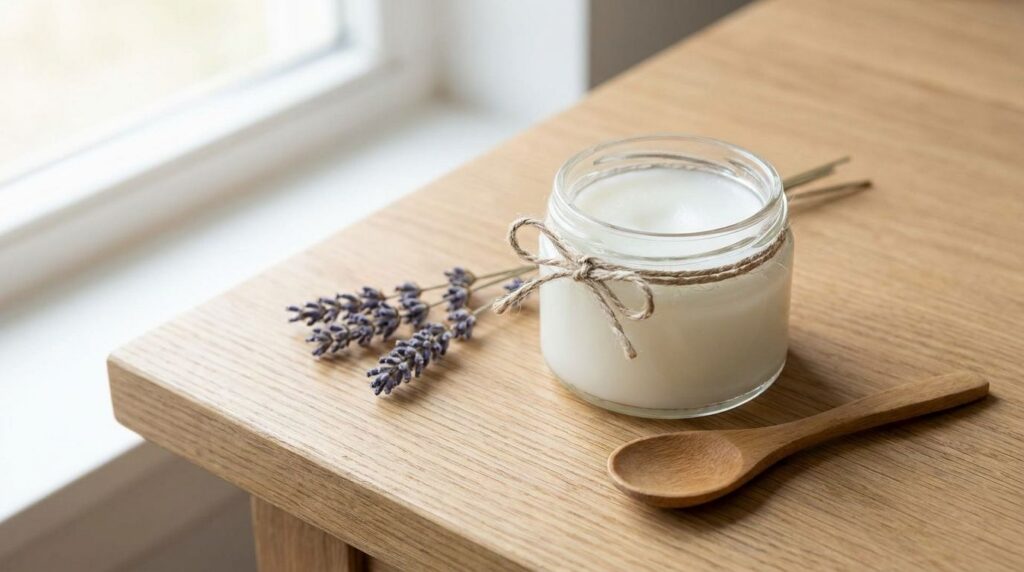
- Transfer and Store: Carefully transfer your newly made Porcelain Balm into your clean, airtight container.
How to Use Your DIY Porcelain Balm
There are several ways to incorporate this balm into your routine:
-
Overnight Mask: After cleansing and toning your face, apply a thin, even layer of the balm all over your face, avoiding the eye area. Leave it on overnight and rinse off with warm water in the morning. This is fantastic for deep hydration and refining skin texture.
-
Spot Treatment: For specific areas with dryness, uneven texture, or enlarged pores, apply a small dab of the balm and gently massage it in.
-
Before Makeup: A tiny amount can be pressed into the skin as a smoothing primer, creating a flawless canvas for makeup application.
Important Considerations & Patch Test
As with any new beauty product, especially DIY recipes, it’s crucial to perform a patch test first. Apply a small amount of the balm to an inconspicuous area of your skin (like behind your ear or on your inner arm) and wait 24-48 hours to check for any adverse reactions like redness, itching, or irritation.
- Storage: Store your balm in a cool, dry place away from direct sunlight. It should last several weeks, but always use clean hands or a spatula to scoop out the product to prevent bacterial growth.
- Frequency: Start by using the balm 2-3 times a week, especially if using it as an overnight mask, and adjust based on how your skin responds.
Embrace Your Natural Glow!
This DIY Porcelain Balm is an incredible way to leverage the benefits of simple, natural ingredients for truly remarkable results. Say goodbye to expensive products and hello to a glowing, smooth, and radiant complexion with this easy homemade remedy. Give it a try and let us know your results!
Happy DIY-ing!