Dinner just got easier and more delicious with these irresistible Crispy Honey Garlic Chicken Tenders! If you’re craving something that hits all the right notes—sweet, savory, and wonderfully crunchy—then this recipe is exactly what you need. These tenders are golden brown on the outside, tender and juicy on the inside, all coated in a sticky, flavorful honey garlic glaze that’s simply divine.
This dish is surprisingly simple to whip up, making it a perfect quick weeknight meal for busy families. It tastes incredibly indulgent, like a special treat, but it’s actually a healthier alternative to many fried chicken options. You’ll love how easily these crispy honey garlic chicken tenders come together, bringing smiles to everyone at the dinner table. It’s a guaranteed family favorite!
Get ready to impress without the stress. Whether you’re a seasoned cook or just starting out, these chicken tenders are designed for success. They are truly beginner-friendly and use common ingredients you likely already have in your pantry.
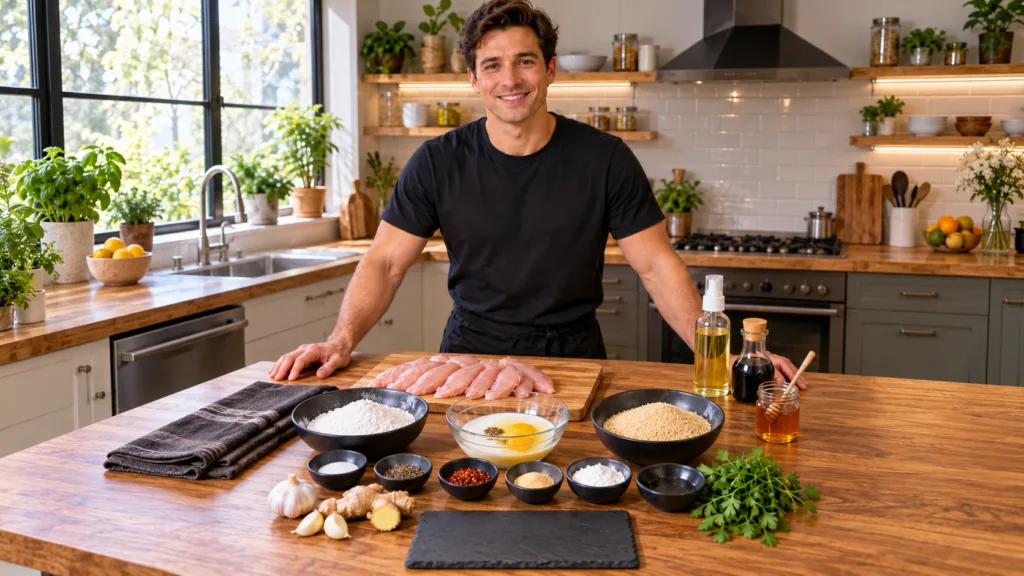
Why You’ll Love This Recipe
- Ready in 30 Minutes: Perfect for busy weeknights when time is short.
- Budget-Friendly: Uses affordable, everyday ingredients.
- Family Favorite: A crowd-pleaser that even picky eaters will adore.
- Full of Flavor: The perfect balance of sweet, savory, and a hint of garlic.
- Beginner Friendly: Simple steps make it easy for anyone to master.
- Versatile: Great as a main dish, appetizer, or in wraps and salads.
Ingredients
For the Chicken Tenders:
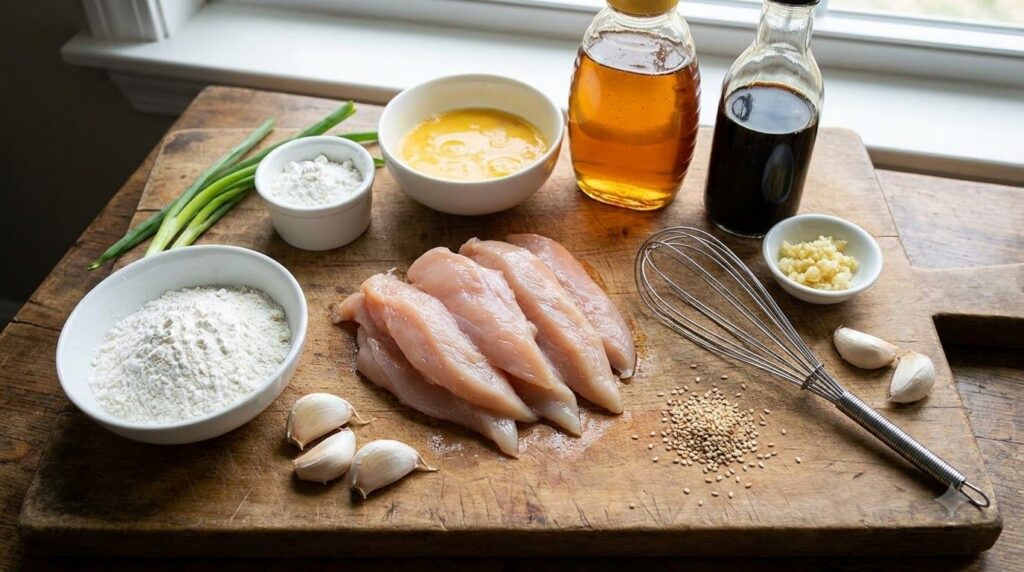
- 1.5 lbs boneless, skinless chicken breasts or tenders: Cut into 1-inch thick strips if using breasts.
- 1/2 cup all-purpose flour: For a light coating that helps create crispiness.
- 1/4 cup cornstarch: The secret to an extra crispy exterior.
- 1 tsp salt: Seasoning for the chicken.
- 1/2 tsp black pepper: Adds a touch of spice.
- 1/2 tsp garlic powder: Enhances the savory flavor.
- 2 large eggs: Beaten, to help the coating stick.
- 1/4 cup milk: Added to the eggs for a lighter wash.
- 2 tbsp olive oil or vegetable oil: For pan-frying the tenders.
For the Honey Garlic Sauce:
- 1/2 cup honey: The star of the sweet and sticky glaze.
- 1/4 cup soy sauce: Adds depth and umami.
- 2 cloves garlic, minced: Fresh garlic is key for flavor.
- 1 tbsp rice vinegar: Balances the sweetness and adds a slight tang.
- 1 tsp grated fresh ginger (optional): For an aromatic kick.
- 1 tsp sesame oil: A little goes a long way for nutty flavor.
- 1/4 tsp red pepper flakes (optional): For a touch of heat.
- 1 tbsp cornstarch slurry (1 tbsp cornstarch mixed with 1 tbsp water): To thicken the sauce.
Kitchen Equipment
- Large skillet or cast-iron pan
- Two shallow bowls for dredging
- Whisk
- Tongs
- Measuring cups and spoons
- Cutting board
- Sharp knife
- Small saucepan for the sauce
Step-by-Step Instructions
- Prepare the Chicken: If using chicken breasts, slice them into 1-inch thick strips. Pat the chicken dry with paper towels. This helps the coating stick better.
- Set Up Dredging Station: In one shallow bowl, whisk together the flour, cornstarch, salt, pepper, and garlic powder. In a second shallow bowl, whisk the eggs and milk until well combined.
- Coat the Chicken: Dip each chicken strip first into the egg mixture, letting any excess drip off. Then, dredge it thoroughly in the flour mixture, pressing gently to ensure an even coating. Set aside on a plate.
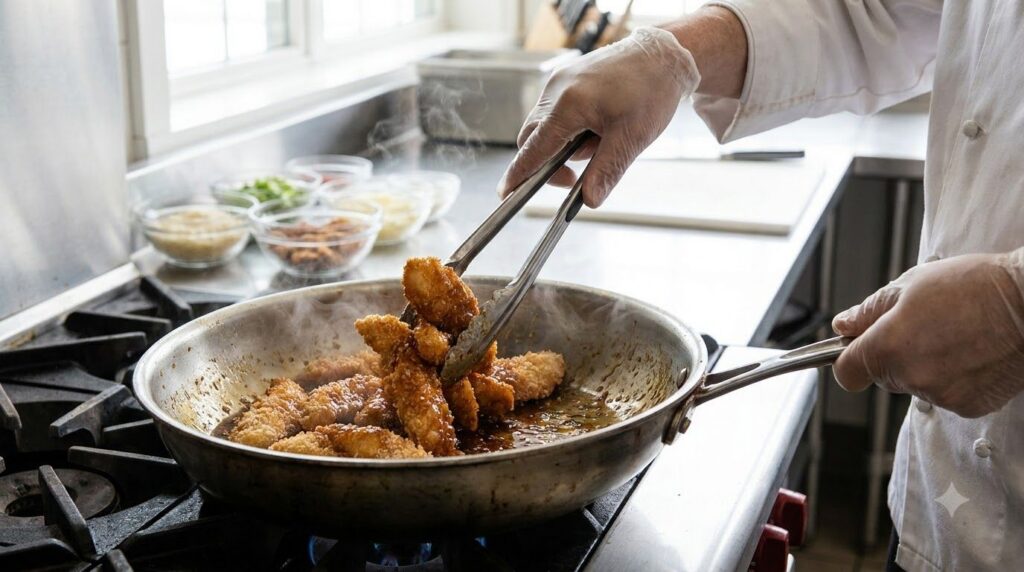
- Pan-Fry the Chicken: Heat the olive oil in a large skillet over medium-high heat. Once shimmering, carefully add the coated chicken tenders in a single layer, making sure not to overcrowd the pan. You may need to cook in batches.
- Cook Until Golden: Cook for 3-4 minutes per side, until golden brown and cooked through to an internal temperature of 165°F (74°C). Remove the cooked tenders from the skillet and place them on a wire rack set over a baking sheet to drain any excess oil and keep them crispy.
- Make the Honey Garlic Sauce: In a small saucepan, combine the honey, soy sauce, minced garlic, rice vinegar, ginger (if using), sesame oil, and red pepper flakes (if using). Bring to a gentle simmer over medium heat.
- Thicken the Sauce: Whisk in the cornstarch slurry and continue to simmer for 1-2 minutes, stirring constantly, until the sauce thickens to your desired consistency. It should be able to coat the back of a spoon.
- Toss and Serve: Add the cooked crispy chicken tenders directly into the saucepan with the honey garlic sauce. Toss gently to coat all the tenders evenly. Serve immediately and enjoy!
Expert Tips
- Don’t Overcrowd the Pan: Cooking chicken in batches ensures that each piece gets perfectly crispy. Overcrowding lowers the oil temperature and can lead to soggy chicken.
- Pat Chicken Dry: This is a crucial step! Excess moisture prevents the coating from adhering well and becoming crispy.
- Use a Meat Thermometer: To ensure your chicken is cooked safely and perfectly, use a meat thermometer. Chicken is done when it reaches 165°F (74°C).
- Fresh Garlic and Ginger: While garlic powder works in a pinch, fresh minced garlic and grated ginger truly elevate the sauce’s flavor.
- Adjust Sauce Thickness: If your sauce is too thick, add a tiny bit of water. If it’s too thin, simmer a little longer or add another small cornstarch slurry.
- Keep it Warm and Crispy: If you’re cooking in batches, keep the cooked tenders warm in a 200°F (95°C) oven on a wire rack while you finish the rest.
Variations
- Spicy Kick: Increase the red pepper flakes in the sauce, or add a dash of sriracha or hot sauce to the glaze.
- Vegetarian Option: Swap chicken tenders for firm tofu or tempeh, cut into strips and follow the same coating and cooking steps.
- Air Fryer Version: Instead of pan-frying, spray the coated chicken tenders with cooking spray and air fry at 375°F (190°C) for 12-15 minutes, flipping halfway, until golden and cooked through.
- Gluten-Free: Use a gluten-free all-purpose flour blend and gluten-free soy sauce (tamari).
- Sesame Chicken Style: Garnish with toasted sesame seeds and extra green onions for a classic Asian-inspired look and taste.
- Lemon Honey Garlic: Add 1 tablespoon of fresh lemon juice to the sauce for a brighter flavor.
What to Serve With
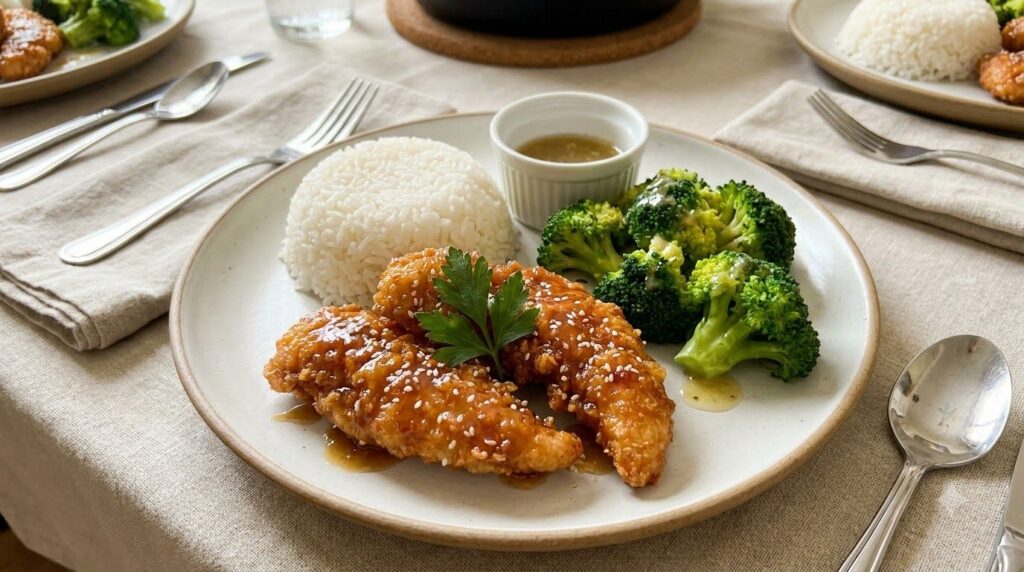
These Crispy Honey Garlic Chicken Tenders are incredibly versatile and pair well with so many things!
- Rice: Fluffy white rice, brown rice, or even a flavorful fried rice.
- Noodles: Lo mein or simple buttered noodles.
- Vegetables: Steamed broccoli, roasted asparagus, sautéed green beans, or a fresh side salad.
- Potatoes: Creamy mashed potatoes or crispy roasted potatoes.
- Drinks: Iced tea, sparkling water with lemon, or a light lager.
- Dessert: A refreshing fruit salad or some vanilla ice cream.
Storage
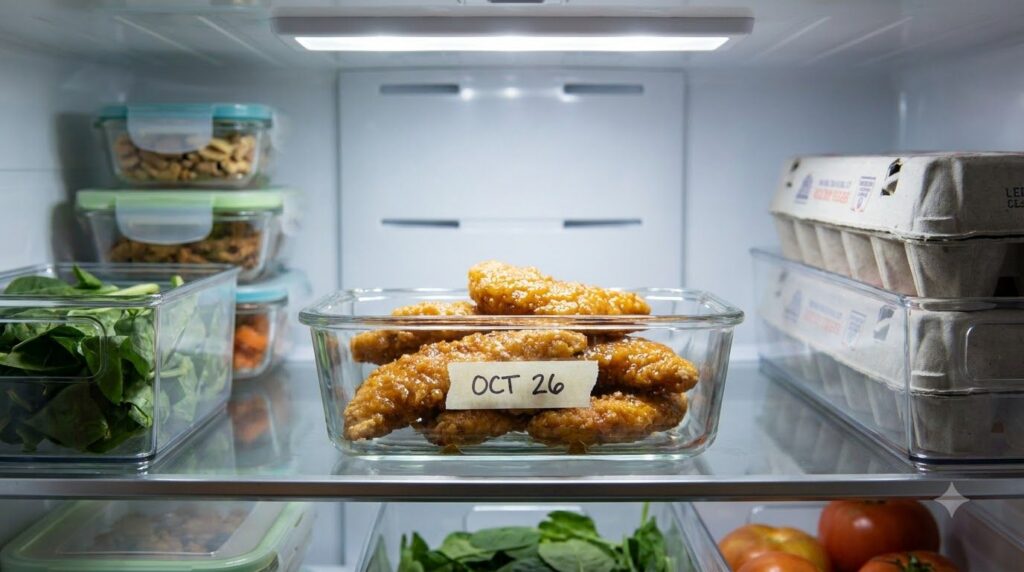
- Refrigerator: Store leftover honey garlic chicken tenders in an airtight container in the refrigerator for up to 3-4 days.
- Freezer: To freeze, allow the cooked tenders to cool completely. Arrange them in a single layer on a baking sheet and freeze until solid. Then, transfer to a freezer-safe bag or container for up to 2-3 months.
- Reheating: Reheat in a preheated oven at 350°F (175°C) for 10-15 minutes, or in an air fryer at 350°F (175°C) for 5-8 minutes, until heated through and crispy again. Microwaving is possible, but it may make them less crispy.
Frequently Asked Questions
Can I bake these chicken tenders instead of pan-frying?
Yes, you can! For a baked version, coat the chicken as directed, then spray lightly with cooking spray. Bake at 400°F (200°C) for 20-25 minutes, flipping halfway, until golden and cooked through. They might not be as crispy as pan-fried, but they’re still delicious.
Can I make the honey garlic sauce ahead of time?
Absolutely! The honey garlic sauce can be made up to 3 days in advance and stored in an airtight container in the refrigerator. Reheat gently on the stovetop before tossing with the chicken.
What can I use instead of cornstarch for crispiness?
You can substitute arrowroot powder or potato starch for cornstarch to achieve similar crispiness. These work well in both the coating and the sauce for thickening.
My sauce is too thin, what should I do?
If your sauce isn’t thickening, make a small slurry with 1 teaspoon of cornstarch and 1 teaspoon of cold water. Whisk it into the simmering sauce a little at a time until you reach your desired consistency.
How do I prevent the chicken from becoming soggy?
To keep the chicken crispy, don’t overcrowd the pan when frying, and place cooked tenders on a wire rack to allow air circulation. If you’re not serving immediately, only toss the tenders in the sauce right before eating.
Can I use chicken thighs for this recipe?
Yes, boneless, skinless chicken thighs can be used! Cut them into similar strip sizes as the tenders and adjust cooking time slightly as thighs can take a bit longer to cook through.
Nutrition
- Calories: 380
- Protein: 35g
- Fat: 15g
- Carbs: 25g
- Fiber: 1g
- Sugar: 18g
- Sodium: 650mg
Nutritional information is an estimate and may vary.
Conclusion
There you have it—a recipe for Crispy Honey Garlic Chicken Tenders that’s sure to become a cherished addition to your meal rotation! It’s truly a testament to how easy and rewarding home cooking can be, offering incredible flavor with minimal fuss. This dish is perfect for those busy evenings when you want something satisfying, healthy, and utterly delicious for your family.
We hope you give these amazing tenders a try soon! When you do, please come back and share your experience in the comments below. Your feedback and ratings help our cooking community grow and inspire others to try new recipes. Happy cooking, and don’t forget to explore more delightful meals here on the blog!

