There’s nothing quite like the taste of freshly harvested, homegrown potatoes. They’re a staple in many kitchens, and growing them yourself ensures you get the freshest, most delicious tubers possible. If you’re looking for an eco-friendly and highly effective way to grow a bountiful potato harvest, the organic layering method is a game-changer! This technique not only maximizes your yield in a small space but also promotes healthy soil and sustainable practices.
Join us at Garden – L. Quyên as we dive into the wonderful world of organic potato gardening. Let’s get our hands dirty and cultivate a harvest that you’ll be proud to bring to your table!
Why Choose the Organic Layering Method?
The organic layering method, sometimes called ‘hilling’ in containers, is a fantastic approach for several reasons:
- Increased Yield: By continuously adding layers of soil or compost as the plant grows, you encourage more stolons (underground stems) to form, leading to more potatoes.
- Space-Saving: It’s perfect for small gardens, patios, or even balconies, as you can grow a significant amount in vertical containers like barrels or large pots.
- Pest and Disease Control: Growing in containers can help reduce exposure to soil-borne pests and diseases that might affect in-ground crops.
- Easier Harvest: When it’s time to harvest, you simply tip the container and collect your bounty, much easier than digging.
- Sustainable: This method often utilizes kitchen scraps, compost, and organic materials, enriching your soil and reducing waste.
What You’ll Need
Before you begin, gather your essentials:
- Seed Potatoes: Choose certified disease-free seed potatoes. You can find these at garden centers or online. Avoid using supermarket potatoes, as they may be treated to inhibit sprouting or carry diseases.
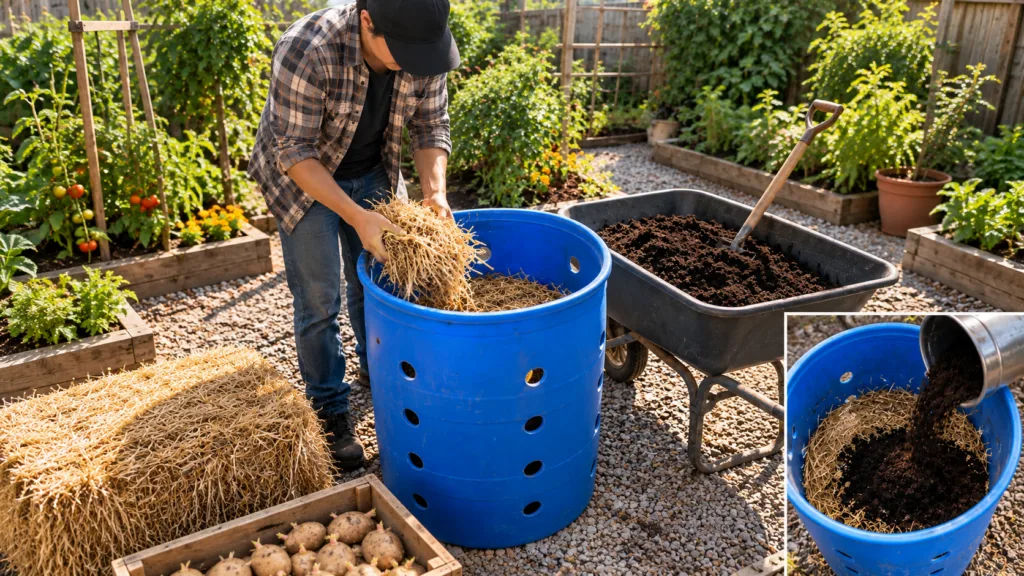
- Large Container: A large grow bag, a sturdy barrel (like a half whiskey barrel), a large pot (at least 15-20 gallons), or even a stackable tire system will work. Ensure it has drainage holes.
- Potting Mix/Compost: A good quality, well-draining organic potting mix mixed with mature compost.
- Organic Matter: Straw, shredded leaves, grass clippings (ensure they haven’t been treated with pesticides), or more compost for layering.
- Shovel or Trowel: For planting and hilling.
- Watering Can or Hose: For consistent moisture.
Step-by-Step Guide to Organic Layering
1. Chitting Your Seed Potatoes
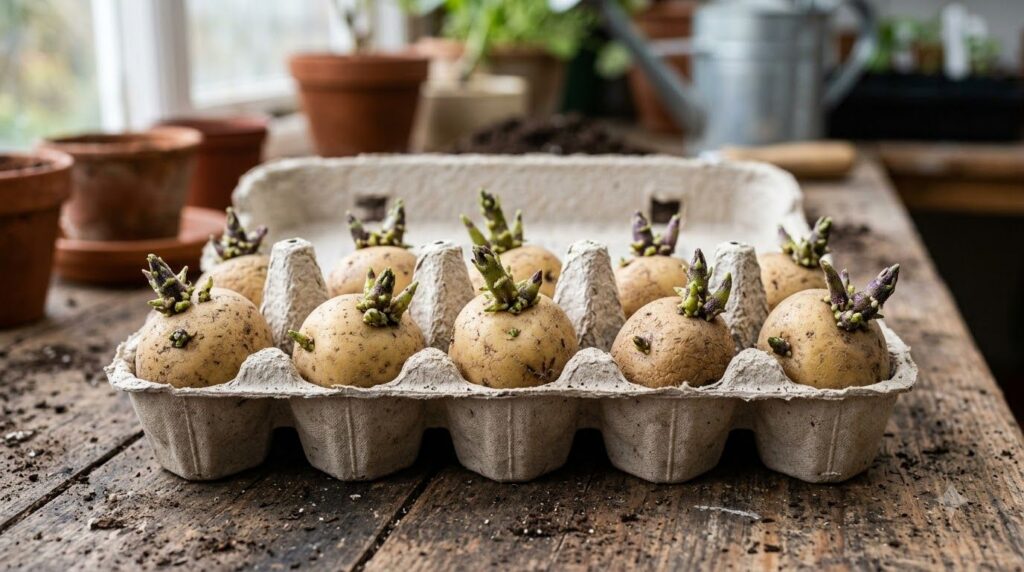
Chitting is the process of encouraging sprouts to form on your seed potatoes before planting. This gives them a head start and can lead to an earlier, larger harvest.
- Place your seed potatoes in a single layer in an egg carton or shallow tray.
- Put them in a cool, bright spot (not direct sunlight) for 2-4 weeks.
- You’ll see short, stout green or purple sprouts (called ‘chits’) emerge. These are ideal for planting.
2. Prepare Your Container
Ensure your chosen container has adequate drainage holes. If using a barrel or large pot, you might want to add a layer of gravel or broken pottery at the bottom to improve drainage, though a good potting mix should suffice.
- Fill the bottom 6-8 inches of your container with a mixture of organic potting mix and compost. This initial layer should be rich and well-draining.
3. Initial Planting
- Place 2-3 chitted seed potatoes (or 4-5 for very large containers) on top of the initial soil layer, sprouts facing upwards. Ensure they are spaced evenly.
- Cover the seed potatoes with another 6 inches of the potting mix/compost blend.
- Water thoroughly.
4. The Layering (Hilling) Process
This is where the magic happens! As your potato plants grow, you’ll continue to add layers.
- Once the green shoots emerge from the soil and are about 6-8 inches tall, it’s time for the first ‘hilling’.
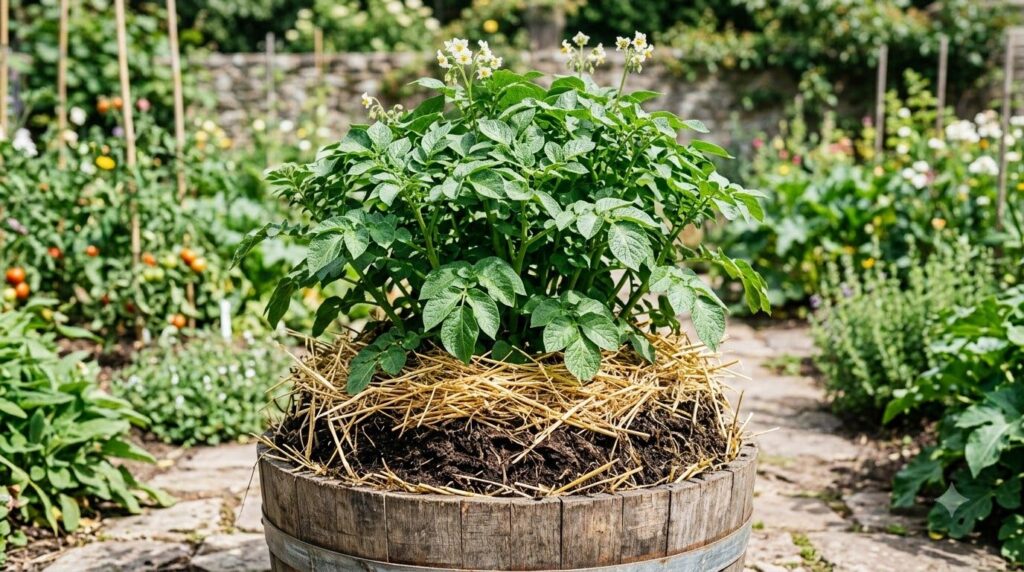
- Carefully add another 4-6 inches of organic matter (straw, compost, shredded leaves, or potting mix) around the plants, leaving only the top few inches of foliage exposed. The goal is to bury a portion of the stem, encouraging new roots and tubers to form along the buried stem.
- Repeat this process every time the plants grow another 6-8 inches, continuing to add layers until your container is nearly full.
5. Watering and Care
- Watering: Potatoes need consistent moisture, especially during flowering and tuber formation. Keep the soil evenly moist but not waterlogged. Containers tend to dry out faster, so check daily.
- Fertilizing: If you used a rich potting mix and compost, additional fertilization might not be necessary. If your plants look like they need a boost, use a balanced organic liquid fertilizer (low in nitrogen, higher in phosphorus and potassium) every few weeks.
- Sunlight: Potatoes thrive in full sun, needing at least 6-8 hours of direct sunlight per day.
- Pest Watch: Keep an eye out for common potato pests like Colorado potato beetles. Hand-picking them off can be an effective organic control.
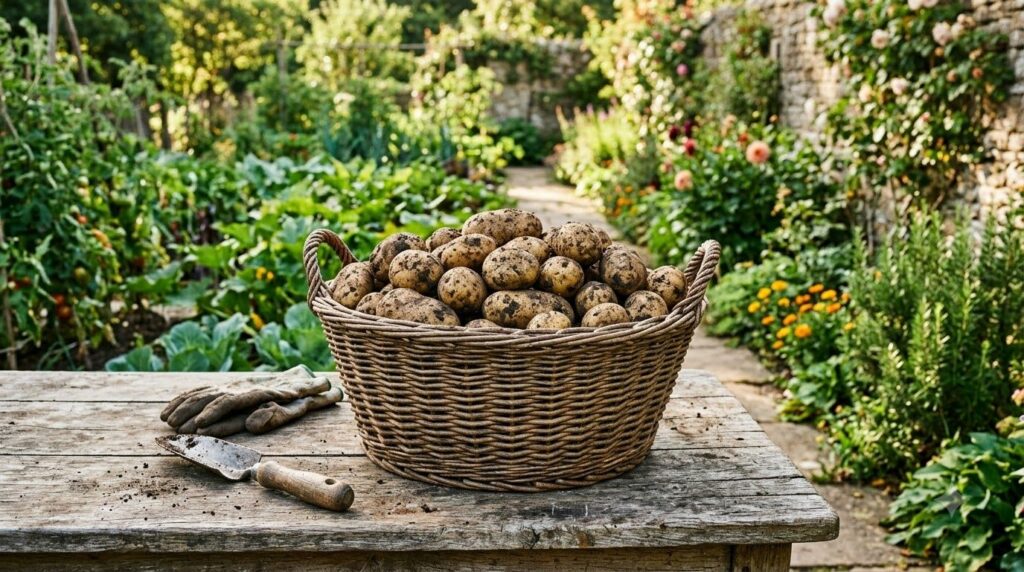
6. Harvesting Your Bounty
Your potatoes are typically ready for harvest when the foliage begins to yellow and die back, usually 90-120 days after planting, depending on the variety.
- Stop watering about 1-2 weeks before harvesting to allow the potato skins to toughen, which improves storage.
- To harvest, simply tip the entire container over onto a tarp or piece of cardboard.
- Carefully sift through the soil and organic matter to find your hidden treasures.
Tips for Success
- Choose the Right Variety: Early varieties mature faster, while late varieties offer larger yields and better storage.
- Good Drainage is Key: Potatoes hate wet feet, so ensure your container and soil mix drain well to prevent rot.
- Rotate Crops: If growing in garden beds, rotate your potato crops each year to different spots to prevent disease buildup. With containers, you can simply refresh the soil each season.
- Cure Your Potatoes: After harvesting, allow your potatoes to cure in a cool, dark, well-ventilated area for 1-2 weeks. This helps them develop a tougher skin and improves storage life.
Growing potatoes using the organic layering method is a truly rewarding experience. It’s a sustainable way to enjoy fresh, healthy, and delicious potatoes right from your own garden. So, grab your seed potatoes and a big container, and get ready for an abundant harvest!
Happy gardening!