Are you craving that coveted smoother, plumper-looking skin, but feel overwhelmed by endless products and complicated routines? We hear you! Achieving a radiant glow doesn’t always require expensive serums or intricate steps. Sometimes, the most effective solutions are found in the simplest of ingredients, right in your own home.
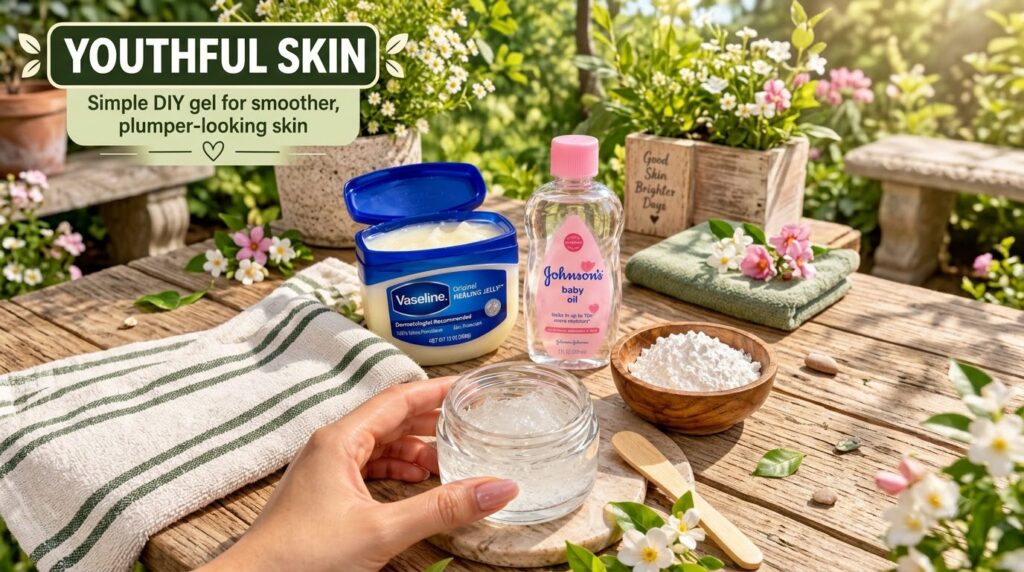
Today, we’re diving into a wonderful DIY beauty secret that people are trying for exactly that: a simple homemade gel designed to give your skin a natural boost, using common household items like Vaseline and Johnson’s Baby Oil. It’s all about unlocking your skin’s youthful appearance with a gentle, hydrating touch.
Why These Simple Ingredients Work Wonders
Before we jump into the recipe, let’s understand why Vaseline and Johnson’s Baby Oil are often chosen in DIY beauty routines for skin hydration and a smoother appearance:
- Vaseline (Petroleum Jelly): This classic product is an occlusive, meaning it creates a protective barrier on the skin’s surface. This barrier helps to seal in existing moisture and prevent transepidermal water loss, leading to better hydration and a plumper look. It’s excellent for protecting and soothing dry skin.
- Johnson’s Baby Oil (Mineral Oil): Primarily composed of mineral oil, baby oil is a gentle emollient. It helps to soften and smooth the skin by filling in gaps between skin cells. Its lightweight texture also makes it easy to spread, providing a silky feel without being overly heavy. People often find it helps with skin suppleness.
The Recipe: Simple DIY Gel for Smoother, Plumper-Looking Skin
This recipe is incredibly easy to follow and uses ingredients you might already have around the house. Remember, for all DIY beauty, a small patch test is always recommended first!
Ingredients:
- 2 tablespoons of Vaseline (petroleum jelly)
- 1 tablespoon of Johnson’s Baby Oil
- (Optional) A few drops of your favorite essential oil for fragrance, such as lavender or rose (ensure it’s skin-safe and diluted properly!)
- A small, clean, airtight container for storage
Equipment:
- A microwave-safe bowl or a double boiler setup
- A small spoon or spatula for mixing
Instructions:
- Melt the Vaseline: Place the 2 tablespoons of Vaseline into your microwave-safe bowl. Microwave in 10-15 second intervals, stirring in between, until it’s fully melted and has a liquid consistency. Alternatively, you can use a double boiler by placing the bowl over a pot of simmering water until melted.
- Add Baby Oil: Once the Vaseline is melted, carefully add the 1 tablespoon of Johnson’s Baby Oil to the bowl. Stir gently until both ingredients are thoroughly combined.
- (Optional) Add Essential Oil: If you’re adding an essential oil for scent, now is the time. Add 2-3 drops (no more!) and stir well.
- Pour into Container: Carefully pour the liquid mixture into your clean, airtight container.
- Cool and Set: Allow the mixture to cool down completely and solidify. You can place it in the refrigerator for about 30 minutes to speed up the process, or simply let it sit at room temperature for a few hours. It will transform into a soft, gel-like consistency.
- Store: Once solidified, cap your container and store it in a cool, dry place.
How to Use Your DIY Youthful Skin Gel
For best results, incorporate this gel into your evening skincare routine:
- Cleanse: Start with a freshly cleansed face.
- Apply: Take a small amount of the gel (a pea-sized amount is usually enough) and gently warm it between your fingertips.
- Massage: Gently massage the gel onto your face, neck, and décolletage in upward motions. Focus on areas where you desire extra hydration and a smoother look. Avoid getting it directly into your eyes.
- Overnight Treatment: Leave the gel on overnight to allow its moisturizing properties to work while you sleep.
- Frequency: You can use this gel a few times a week, or as needed, to help maintain soft, supple skin.
Benefits You Might Notice
Regular use of this simple DIY gel may contribute to several positive changes in your skin’s appearance:
- Enhanced Hydration: By locking in moisture, your skin may feel more hydrated and less prone to dryness.
- Smoother-Looking Texture: The emollients in the baby oil can help to soften the skin’s surface, contributing to a smoother feel and appearance.
- A Plumper Look: Well-hydrated skin often appears plumper, which can give a more youthful-looking complexion.
- Affordable Beauty: This recipe utilizes cost-effective ingredients, making it an accessible option for adding moisture to your routine.
Important Considerations Before You Try This
- Patch Test: Always, always perform a patch test on a small, inconspicuous area of your skin (like behind your ear or on your inner arm) 24 hours before applying it to your face. This helps ensure you don’t have an adverse reaction to any of the ingredients.
- Pore Clogging: While Vaseline and mineral oil are generally considered non-comedogenic for most, individual skin types vary. If you are highly prone to breakouts, monitor how your skin reacts.
- Cleanliness: Ensure all your equipment and containers are thoroughly clean to prevent bacterial growth.
- No Medical Claims: This DIY gel is for cosmetic hydration and improving the look and feel of your skin. It is not a treatment for any skin conditions or a permanent solution for wrinkles.
Embracing natural and DIY beauty doesn’t have to be complicated. With just two common ingredients, you can create a gentle, hydrating gel that people are trying for smoother, plumper-looking skin. Give this simple recipe a try and see if it helps unlock a more radiant, youthful appearance for you!